How to configure the Knox built-in VPN client in Knox Manage
Last updated August 13th, 2025
Categories:
Environment
- Knox Manage
- Knox Service Plugin
- Android Enterprise
Overview
You can establish a secure VPN to access data using the Knox built-in VPN client.
For remote VPN access, you must have an IKEv2 VPN Server set up according to your security requirements.
How do I configure the Knox built-in device VPN client in Knox Manage?
To configure:
-
Deploy the Knox built-in VPN app:
- On the Knox Partner Program console, navigate to Knox Developers.
- Under SDK Tools, click Sample Apps.
- In the Sample Apps list, select the Knox settings VPN for SEP devices or Knox settings VPN for SEP Lite devices file depending on your device.
- Click Download.
-
Configure the VPN profile for the built-in device VPN client with Knox Service Plugin:
- On the Knox Manage console, go to the Profile page and create a new enterprise VPN profile, or modify an existing one.
- Open your profile and click Modify Policy.
- Navigate to Samsung Knox > Knox Service Plugin > VPN profiles (Premium).
- Under Vendor, select “Knox built-in”.
-
Configure the Host and the Connection type, for example, IPSEC/SSL.

-
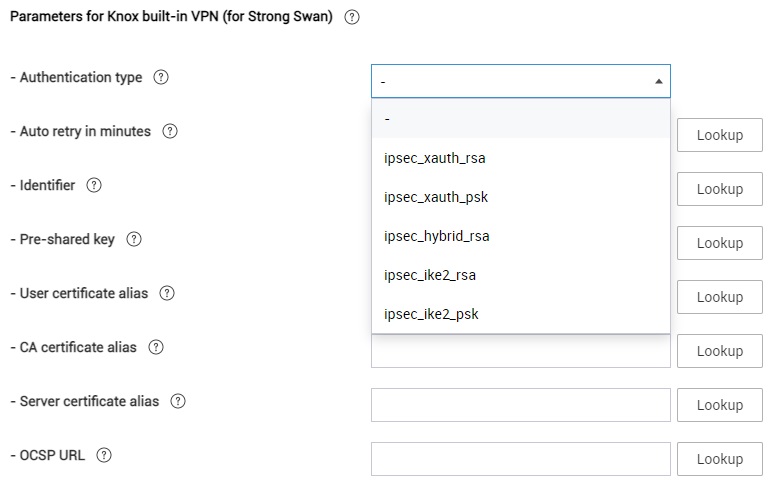
Scroll lower and fill any required User Authentication details for the Knox built-in VPN: associated keys, identifier, or alias.
-
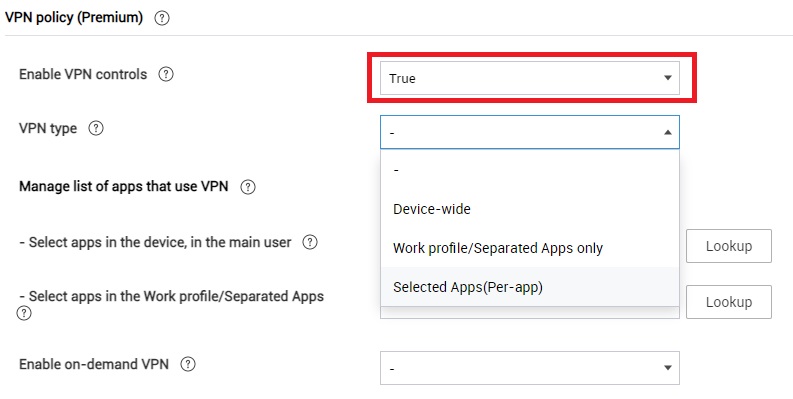
In Device-wide policies, choose VPN policy (Premium), choose True for Enable VPN controls, choose the VPN type applicable to the apps on the device, and set Manage list of apps that use VPN.
-
Push the VPN profile with the provided VPN credentials, save the profile, assign to the Group or Organization and apply. The built-in VPN connection is now established on your device.
Additional information
Refer to the documentation for more information on Knox VPN Tools.
On this page
Is this page helpful?