Shared Android device quickstart
Last updated March 18th, 2024
Normally, Android devices only support one user account, and don’t provide a sign-in system. However, there are many cases in an enterprise’s activities where a device would be more fit for purpose if it could support multiple identities, such as a device that’s transferred to a different employee during each work shift, a freely-accessible device in a common room, or a shared device for visitors and guests.
Knox Manage allows you to enroll Android devices in a special shared mode, which supports the authentication of multiple assigned users through the sign-in screen on the Knox Manage agent. You can configure a shared device so that when a user signs in, it applies settings and a profile that is either generic or unique to that user, allowing varying levels of user access and permissions depending on the user’s role and needs.
To better isolate data between user accounts on the device, there are two types of shared device:
| Shared device type | Purpose |
|---|---|
| Temporary | For guests and visitors. Data and installed apps on the device are deleted when the device user signs out, meaning no locally stored information is shared between users or between sessions. |
| Persistent | For shift workers. Data and installed apps on the device are retained when the device user signs out, meaning locally stored information is shared between users and between sessions. |
Supported devices
The following devices can be enrolled in shared mode:
- Samsung Galaxy Tab devices running Android 9 or higher
- Non-Samsung devices running Android 9 or higher
Set up a shared Android device
The process to set up a shared device has the following stages:
Register a staging user
Since Android can’t operate without at least one active user, shared devices require a staging user between regular user sessions. The staging user is an account with a supervisory scope that carries the basic device configuration and settings, and hosts a base session in the operating system that provides the sign-in screen to device users.
When a device is being prepared to enter shared mode, it must be provisioned with the staging user.
To create a staging user:
- Go to User, then click Add.
- Fill in the basic and required user account information. For more detailed instructions, see Register a single user.
- Set Staging user to Yes.
- Make sure Using Type is set to Shared Device.
- Set Shared device type to Temporary or Persistent according to your deployment needs.
- Click Save and confirm.
You can activate a shared device with this staging user account. Alternately, you can use a staging user profile to activate multiple devices.
Configure a staging user profile
Next, create and configure a profile for the staging user. You can configure multiple staging devices by applying this profile to staging users.
To configure a staging user profile:
-
Go to Profile > Modify Profile > Set Profile page.
-
Select Android Enterprise > Kiosk & Staging to view the profile settings.
-
Set Staging Device Settings to Apply.
-
Set Utilities Setting to Allow and select the required Android features to enable for the staging user:
-
Power
-
System Status Bar
-
Notification Bar
-
Key Guard
-
-
Set Device Setting to Allow and select the items that the staging user can access in the Settings app on the device:
-
Wi-Fi
-
Bluetooth
-
NFC
-
Mobile Data
-
Mobile Networks
-
Hotspot
-
Location
If you select Wi-Fi, go to Android Enterprise > Wi-Fi to configure the access point that the device can connect to during staging user sessions.
-
-
Click Save & Assign to finish the configuration.
Enroll the device
Lastly, after configuring the staging user and its settings, you must enroll the device and activate shared mode:
-
Go to User, then take note of the staging user’s ID.
-
Then, enroll the device with the staging user through one of these methods:
Regardless of the method you choose, make sure you enter the staging user ID, or the device won’t enroll in shared mode.
-
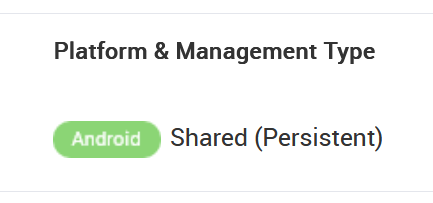
After enrollment, go to Device, then search for and find the device. If it successfully enrolled as a shared device, its value in the Platform & Management Type column is Shared followed by the type (Temporary or Persistent).

Staging settings defined prior to Knox Manage 23.12 must be migrated to avail the new kiosk staging user features.
If you want to update your existing staging device settings, go to Profile > Kiosk & Staging > Staging Device Settings to edit the existing profile and add your staging device settings.
You can also create a new profile for staging devices, and assign it to the staging user’s group or organization.
Go to Setting > Configuration > Staging device, and click Push Profile. This automatically updates the Knox Manage agent on the device. The Staging device page is also disabled.
If you click Push Profile without creating a profile, the previous staging settings are reset and the new settings are applied.
If you do not have any enrolled staging devices or they are disconnected or their licenses expired, the Staging device page is not available.
Device user sign-in
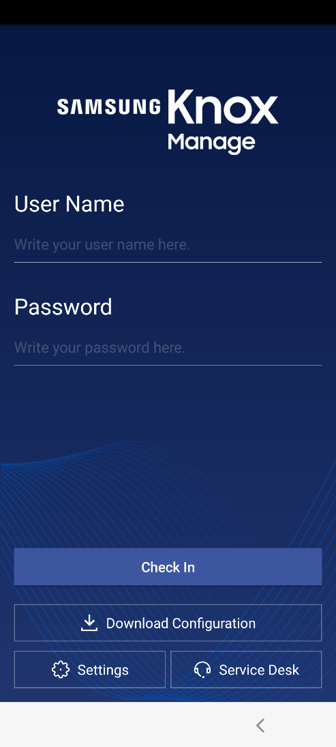
When the shared device is enrolled and deployed to the field, it displays the sign-in screen when no user session is active. A user starts a session by signing in with their Knox Manage account credentials.
- Samsung devices used as shared devices are automatically activated when a user first signs-in to it.
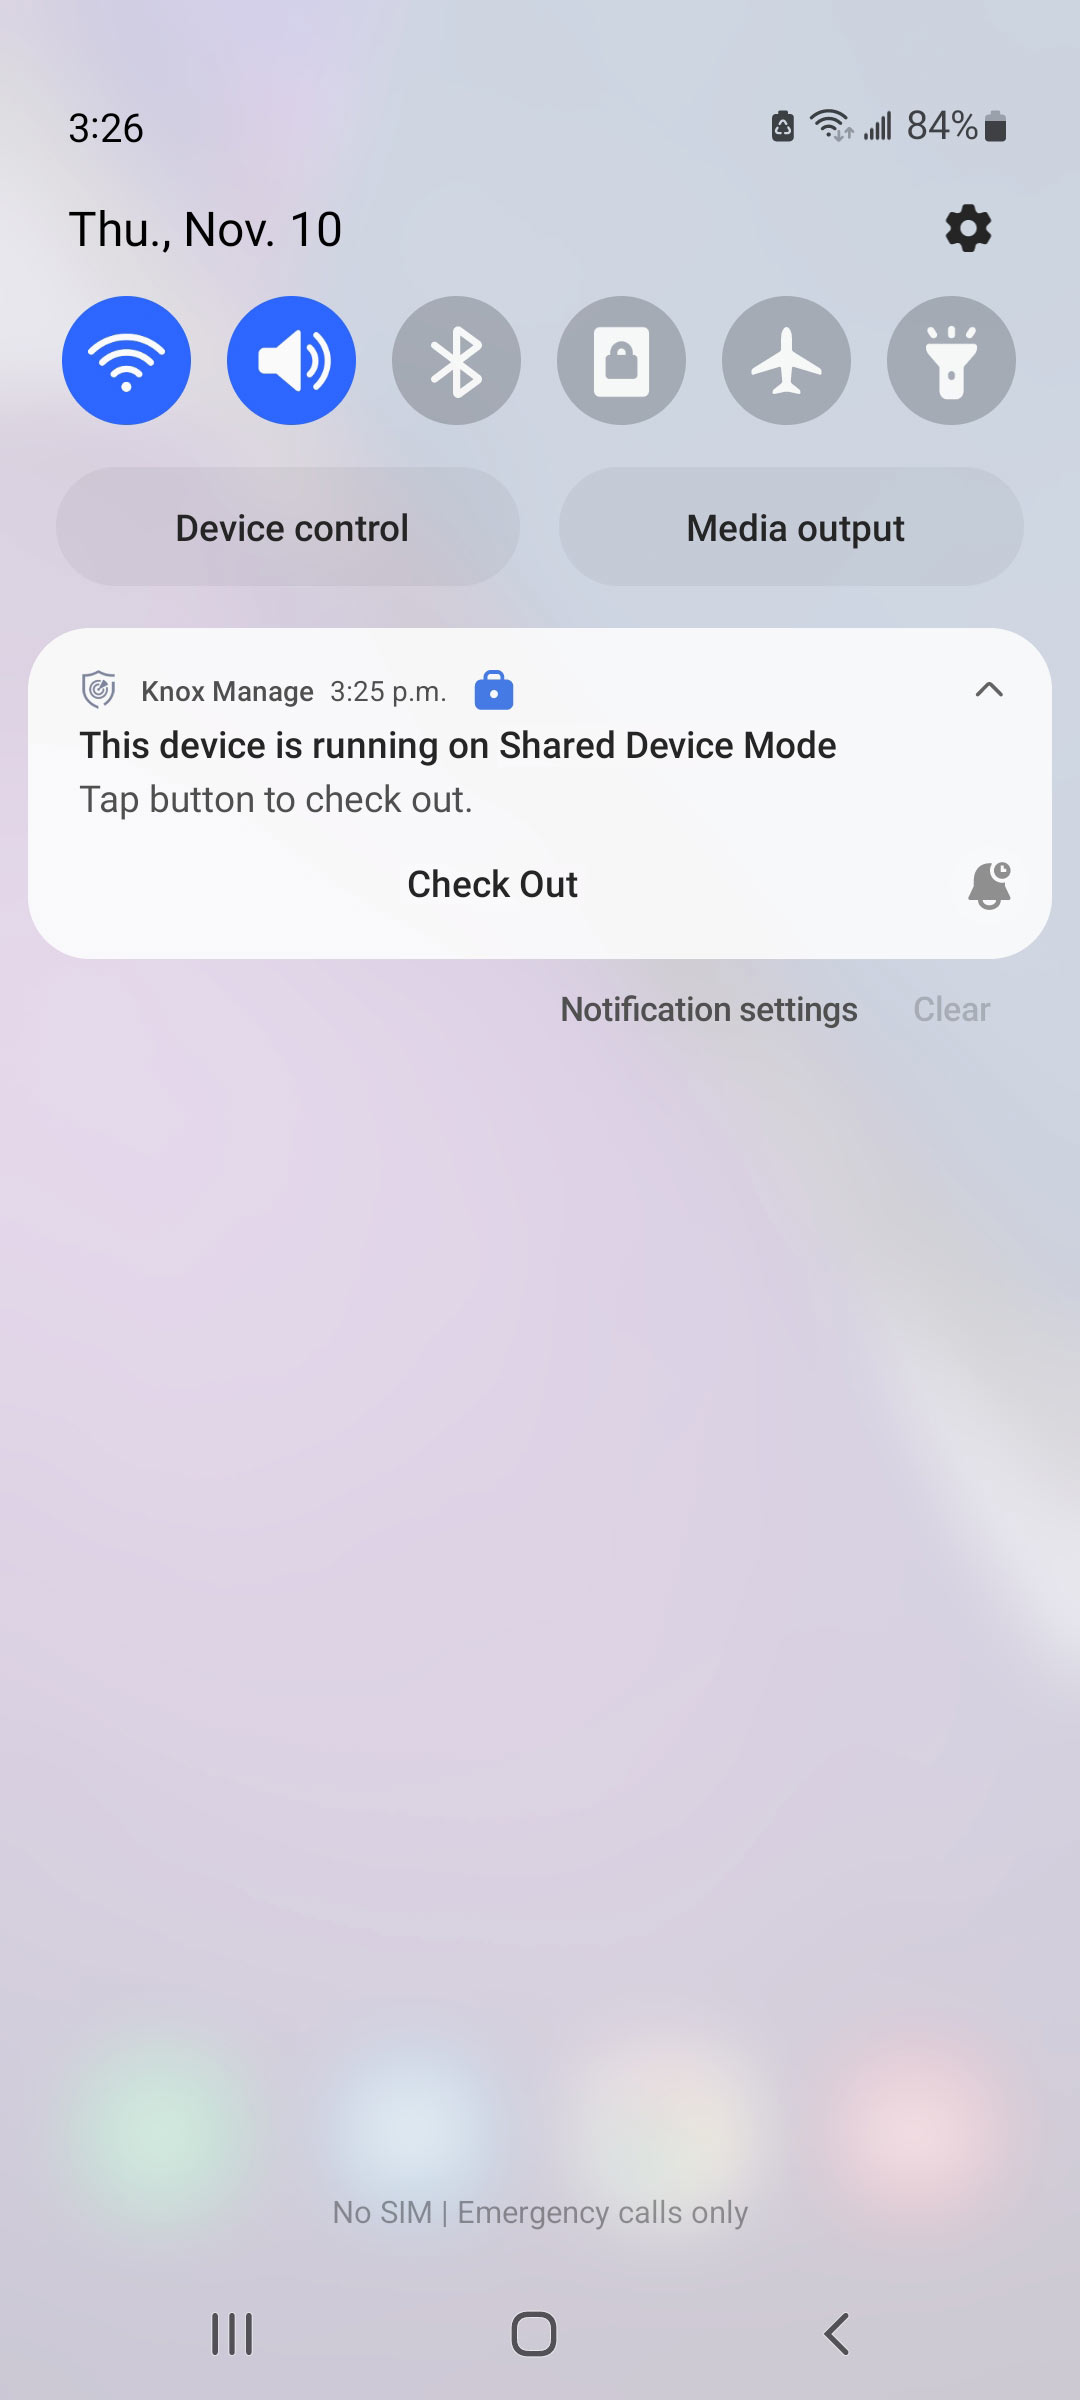
- For non-Samsung devices, the device user must activate the device by manually running the Knox Manage agent when they first sign in to the device. The device user can launch the Knox Manage app or tap the Knox Manage notification to run the agent.
There’s a limit on the number of secondary users a device can support, which varies depending on its make. If a shared device exceeds its maximum number of secondary user accounts and another secondary user tries to sign in, it blocks the sign-in attempt and warns them with the error code KMA_E1001.
For more information on shared Android device errors, see Shared device in the client error codes reference.

When the device user has finished their activities, they can end their session by tapping Check Out in the persistent Knox notification.

If it’s a temporary shared device, the app and user data on the device is erased.
On shared devices of type persistent, the apps common to the staging users and device users are cached and available to device users when they sign in. Apps specific to a user are automatically downloaded and installed when the device user signs in to the shared device.
Policies and device commands for shared devices
Shared devices can receive device commands and policies that are compatible with work profiles. Policies designed for fully managed mode won’t take effect.
When you apply an Android Enterprise profile to a shared device, it applies to both the staging users and device users.
Exit shared mode
In case of emergencies or issues with the shared device mode, the device user can run the Exit Shared Device Mode action on the device to exit shared mode. Once they submit the action, the device user enters a passcode issued to them by an admin.
Use Knox Remote Support
You can perform a remote support session on a shared device with Knox Remote Support, provided the Knox Remote Support agent is first installed on the device.
In order for the agent to be functional and accessible, it must be:
- Installed to the personal or primary profile of the device.
- Accessed during a staging user session, not a temporary or persistent user session.
To install the Knox Remote Support agent on a shared device, the staging user must:
- Open the Knox Manage agent, then select Service Desk on the sign-in screen or in the navigation bar.
- Select Download Remote Support app. The Knox Remote Support agent downloads and installs.
Once installed, the agent launches and shows a remote support access code, indicating that it’s ready for a remote session.
See also
On this page
Is this page helpful?