Transition to the new console
Last updated June 17th, 2026
If you currently use the original console, it’s easy to transition to using the new console. You can try it, then switch back to the original console at any time.
If you’re new to Knox Manage, see the following tutorial to learn how to get started with Knox Manage.
Currently, switching to the new console is optional. As more of the features and platforms are ported from the original console to the new console, the latter will eventually become feature-complete. While development is underway, both consoles will remain available, but eventually the new console will become the primary experience.
How the new console affects your tenant
Switching to the new console is a non-destructive action, so it’s safe to do so on your production tenant.
Switching costs
The cost of switching to the new console is limited and based primarily on employee familiarity with the Knox Admin Portal. Since the new console is integrated into the Knox Admin Portal, admins must sign into it to access the new console. This might require you to adjust your identification, access, and authentication plan.
Additionally, admins unfamiliar with the Knox Admin Portal may require additional training to use it. The Samsung Knox team recommends that you and your admins read the Knox Admin Portal admin guide before making the switch.
Data retention
When you transition to the new console, all accounts, admins, devices, device users, groups, apps, synced services, and all other data are preserved in the transfer.
Features that are available in the original console, but not the new console, are displayed as read-only. For instance, you must switch back to the original console to manage device platforms that the new console doesn’t support. Additionally, any profiles and kiosks that you created in the original console can’t be edited in the new console.
If you switch from the new console to the original console, your data is similarly synced. However, profiles created in the new console can’t be edited in the original console. Any policies that you set in the new console will be hidden in the original console, but all settings will remain and continue to apply to any assigned devices.
Requirements to switch to the new console
To try the new console, you need:
-
A Samsung account for your tenant. If you don’t have one, Create a Samsung Knox account.
-
A valid and active Knox Manage or Knox Suite license. The existing licenses activated in your tenant and assigned to your devices aren’t affected.
How to transition to the new console
The following steps guide you through using the new console for the first time as an existing Knox Manage user.
Step 1: Switch between consoles
Before you can test out the new console, you must switch to it.
Only the super admin who created the tenant switch between the new console and the original console. If the super admin switches to a different console, they switch all sub-admins to that console. As a result, super admins should notify their sub-admins whenever they switch so that sub-admins can anticipate the change in their environment. If a sub-admin is not online when the super admin switches between consoles, their next session starts on the console that was switched to.
To switch to the new console:
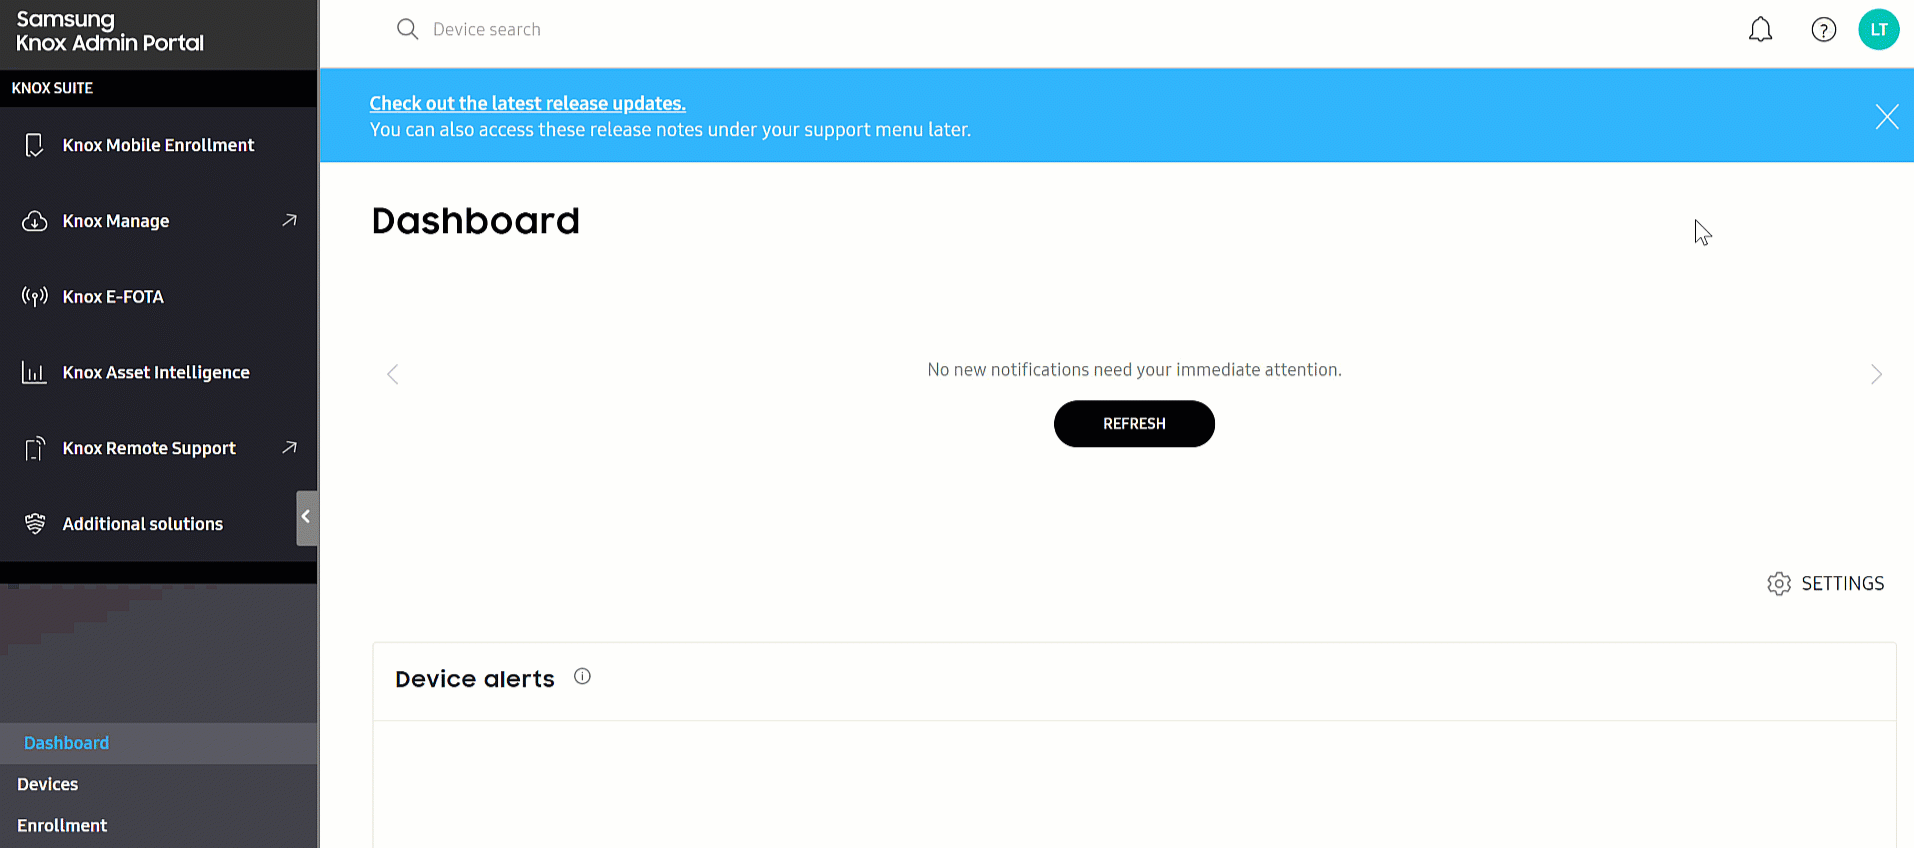
- Go to the Knox Admin Portal and click your account icon. Then click Settings to access features for all services.
- Under KNOX MANAGE, click GENERAL SETTINGS.
- Under PREFERRED CONSOLE, select New console.
- Click SAVE and confirm your choice.
If you’re not the super admin who created the tenant, then reach out to them and ask them to switch the tenant to the original console.
Step 2: Familiarize yourself with the new console
When you switch to the new console for the first time, the Welcome tour pops up. It shows you how to access the new console’s key functions, such as users, apps, and profiles.
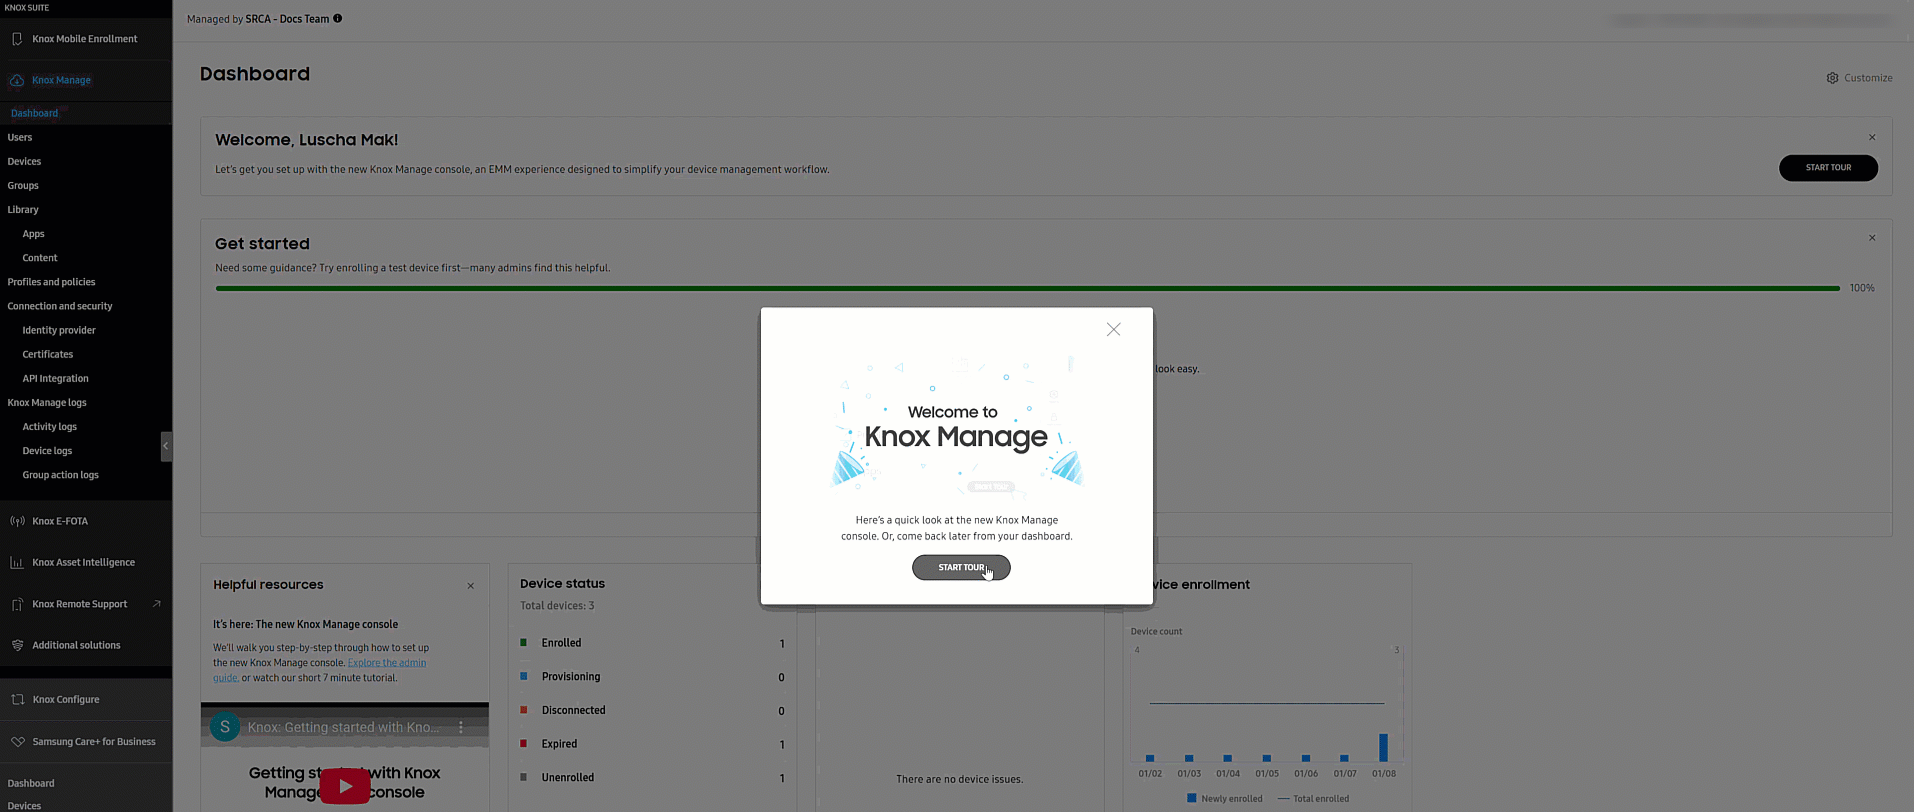
Beyond the key functions, under Connection and security in the left navigation pane, you can find your identity providers, certificates, and API clients. The Knox Manage logs includes activity logs, which are comparable to audit logs in the original console, device logs, and group action logs.
Step 3: Create new profiles
While any profiles that you created in the original console continue to apply to devices, you can’t edit them in the new console and must create new profiles. If multiple profiles are applied to the same device and have conflicting settings, you can set which profile takes priority.
To create profiles in the new console:
- Go to the Profiles and policies page and click CREATE PROFILE.
- Enter a profile name and then select any policies to configure their settings.
- You can then review your profile and save it or assign it to a group.
To learn how to create profiles in the new console, see Create a profile and policies
Step 4: Create new kiosks
If you have devices configured with kiosk mode, you may want to create new kiosks in the new console to deploy. Like profiles, while kiosks still apply to the devices they’re assigned to, you can’t edit them from the new console.
In the new console, the kiosk builder is completely integrated into profile configuration, whereas in the original console, you could also create kiosks independently and assign them to profiles later.
To create kiosks in the new console:
- Go to the Profiles and policies page and click CREATE PROFILE.
- Enter a profile name and then select any policies to configure their settings.
- Go to Kiosk settings and select the type of kiosk you want to build: multi-app mode, single-app mode, or web mode.
- Once you finish building your kiosk, click SAVE KIOSK.
For more information on how to use the kiosk builder in the new console, see Kiosk types and minimum requirements.
On this page
Is this page helpful?