Install the Samsung Cloud Connector client
Last updated June 17th, 2026
This page covers how to install the Samsung Cloud Connector (SCC) client where the Lightweight Directory Access Protocol (LDAP) and certificate authority (CA) are installed.
From Knox Manage 26.06, the SCC client version format is changed to align with the Knox Manage version that it was launched. For example, 26.06.
The SCC Client Installer filename resembles SCC_Setup_{version}_{build date}. For example, SCC_Setup_26.06_20260130.
- Starting with Knox Manage 26.06, the SCC server is updated to 26.06, and the supported JDK for the server is JDK 21. For JDK requirements for SCC server 26.06, SCC client 26.06, and SCC client 2.81 or earlier, see Prerequisites for installing SCC.
- If your SCC client version is 2.3.1 or earlier on JDK version 1.8.0_261 or higher, your SCC client won’t be able to access SCC server 26.06 due to enhanced security protocols.
- For security and system stability, we strongly recommend using the latest version of the SCC client.
- SCC client versions 2.5.2 and earlier are scheduled to be deprecated in a future release.
Knox Manage supports only one SCC client connection for a tenant ID or domain. This means that you can map each of your tenants to one SCC client only.
The IP address and port number of the Layer 4 (L4) switch for accessing the SCC server are assigned in the configuration file.
By default, SCC client version 26.06 uses the Transport Layer Security (TLS) 1.3 protocol. All previous versions of the SCC client uses TLS 1.2.
Install the SCC client for your tenant
To install the SCC client for your tenant:
-
Click your account icon in the top-right of the console, then click Settings.
-
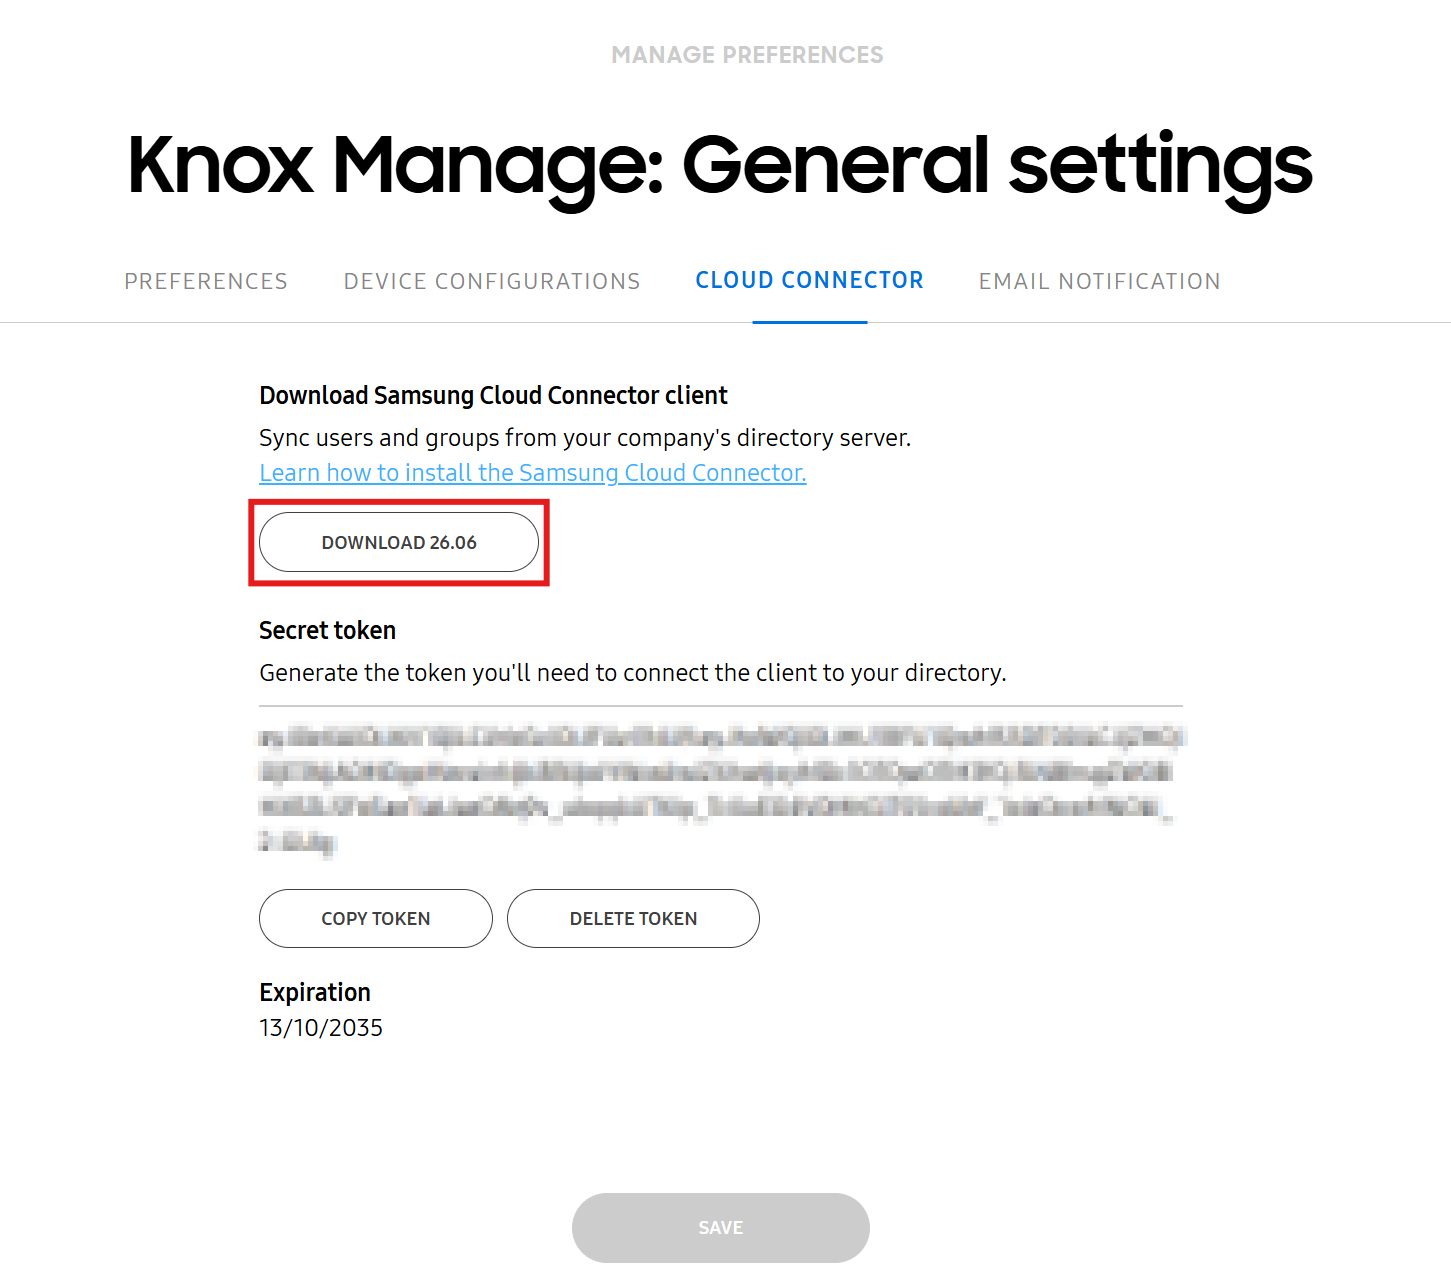
Go to Knox Manage > General settings, then click the Cloud connector tab.
-
Click DOWNLOAD SCC version. For example, DOWNLOAD 26.06.
-
Extract the contents of the downloaded ZIP file.
-
Execute the .exe file. The filename format resembles SCC_Setup_{version}_{build date}. For example: SCC_Setup_26.06_20260130.exe.
-
Select your language and click OK.
-
Click Next when the installation wizard starts.
-
Read the End User License Agreement. If you agree, click Next.
-
Click Browse and specify the directory where JDK Home is installed. If you see the message The selected directory is not a Java directory, choose another directory.
-
Click Next.
-
Select an installation directory for the Destination Folder, then click Next. The default path is
C:\SamsungSDS\.The SCC client Installer only supports x86-based 32-bit systems. Do not change the installation path to
C:\Program Files. -
Enter your tenant ID and secret token, and click Install.
-
Your tenant ID is the corporate domain that comes after the at sign (@) when you sign in to the Knox Manage console.
-
See Copy the secret token for steps to copy your secret token. You can also revoke the current token and re-generate a new one if needed.
-
-
Once installed, click Finish.
- (Optional) To register the SCC client as an automatic background service in Windows, click Register for Windows Service.
To protect your systems from the Log4J security vulnerability and to avoid compatibility issues, you should update the following software on applicable systems to:
- SCC client version 2.6.2 or higher. If you continue using older versions of the client, the SCC can disconnect unexpectedly and errors may occur that affect service reliability.
- Java Development Kit version 1.8.0. See Prerequisites for installing SCC for a list of formally-tested and recommended JDK 1.8.0 OpenJDK distributions.
- Java Development Kit version 21 if using SCC client version 26.06. See Prerequisites for installing SCC for a list of formally-tested and recommended JDK version 21 distributions.
On this page
Is this page helpful?