Add supported content
Last updated April 7th, 2026
You can upload content such as documents, images, and videos to your devices to circulate them to device users remotely.
Begin by adding desired content to your Knox Manage library. Knox Manage supports the following content formats:
| Content type | Format |
|---|---|
| Document | DOC/DOCX, PPT/PPTX, XLS/XLSX, GUL, HWP, PDF, RTF, WKS, WPD, TXT, CSV, VCF |
| Image | BMP, GIF, JPEG, JPG, PNG, PSD, TIF, TIFF, ICO, 3GP |
| Video | AVI, MKV, MP4, MOV, MPG, MPEG, RM, SWF, WMV, MP3, WAV |
| File | RAR, ZIP, JSON, DB3, XML, KML, KMZ, OVPN, HTML, HTM, QMG, OGG, VTPK, GEODATABASE, DKF, SB, CRYPT, XPDS, MBTILES, QGS, QPKG, MMPK, TPK, TPKX |
The maximum file size is 4 GB.
Add content
To add supported content to your library:
-
Go to Library > Content.
-
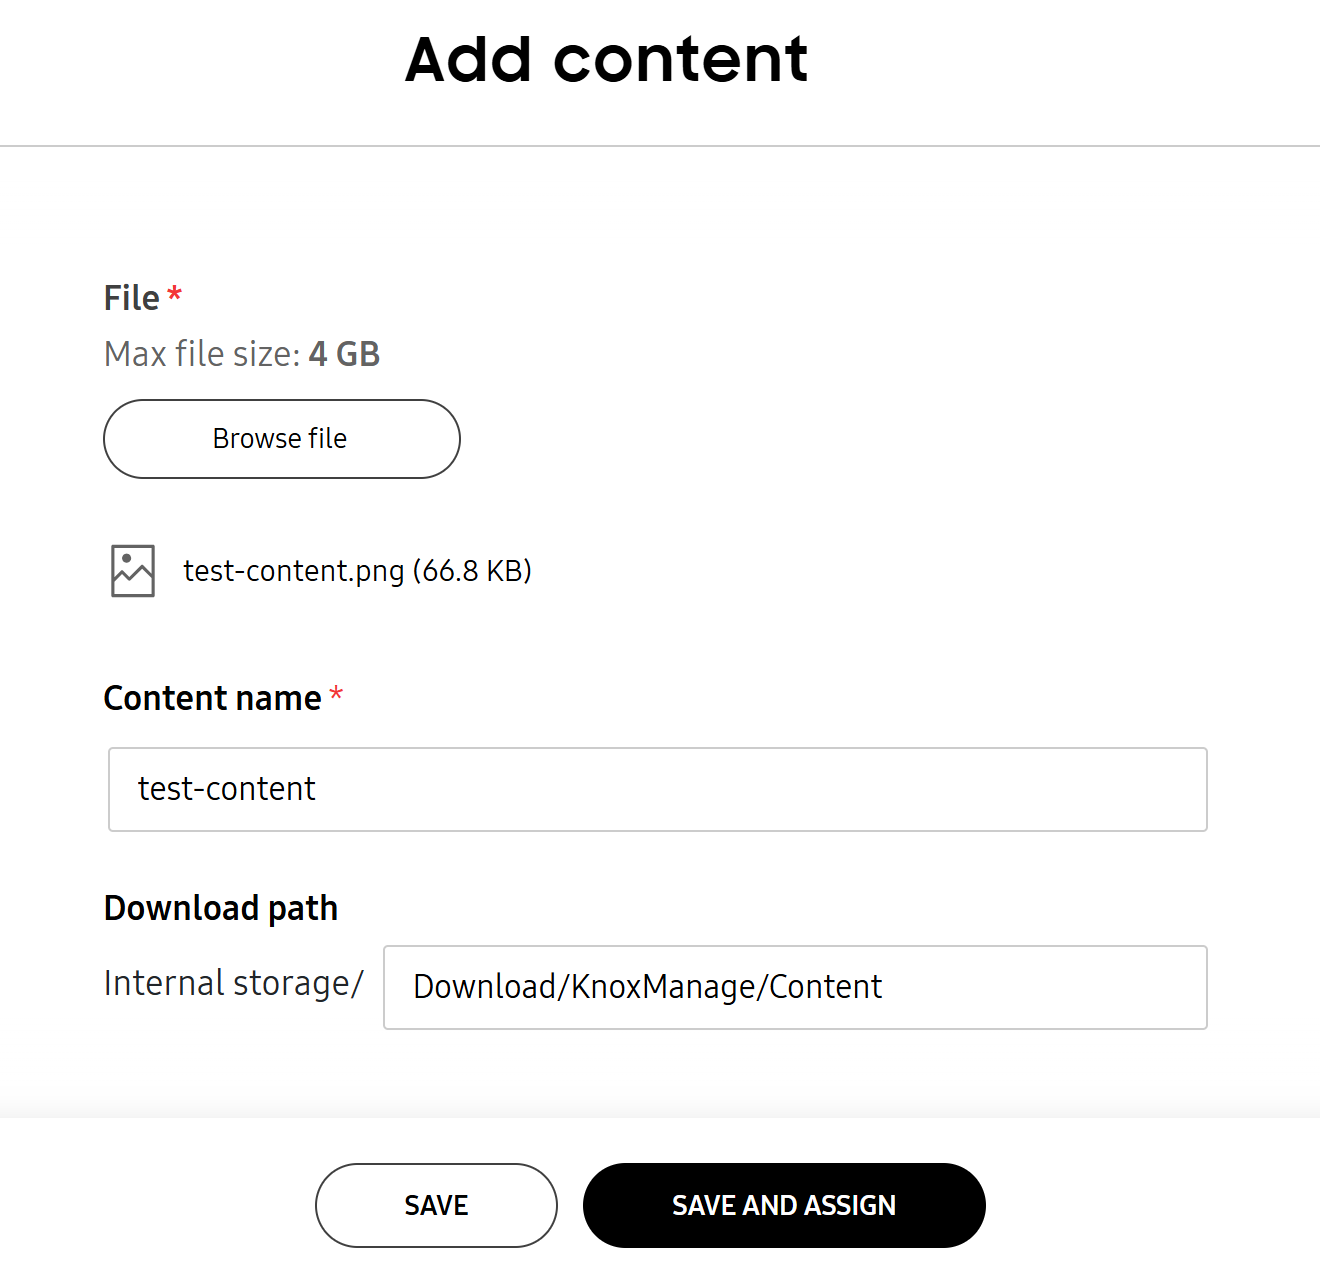
Click ADD CONTENT. The Add content page opens.
-
Under File, click Browse file and select the file that you want to upload.
- You can upload files up to 4 GB in size. The file is automatically scanned for viruses, and is only added if it has no issues.
-
In the Content name field, enter a unique name for the file.
You must rename the file if another file with the same name already exists in your Knox Manage library.
-
(Optional) Modify the default download path, if required:
- You must specify one of the media directories, such as Documents, Download, Pictures, Movies, or Music.
-
Save your changes:
- Click SAVE to save the content file and return to the Content page.
- Click SAVE AND ASSIGN to save and assign the content to one or more groups or users. For more information on assigning content, see Assign content.
On this page
Is this page helpful?