Add a report
Last updated June 17th, 2026
You can add a report in Knox Manage by creating a new one, or by adapting an existing report.
Create a new report
To create a new report using report queries, complete the following steps:
- Navigate to Advanced > Report.
- On the Report page, click Add.
-
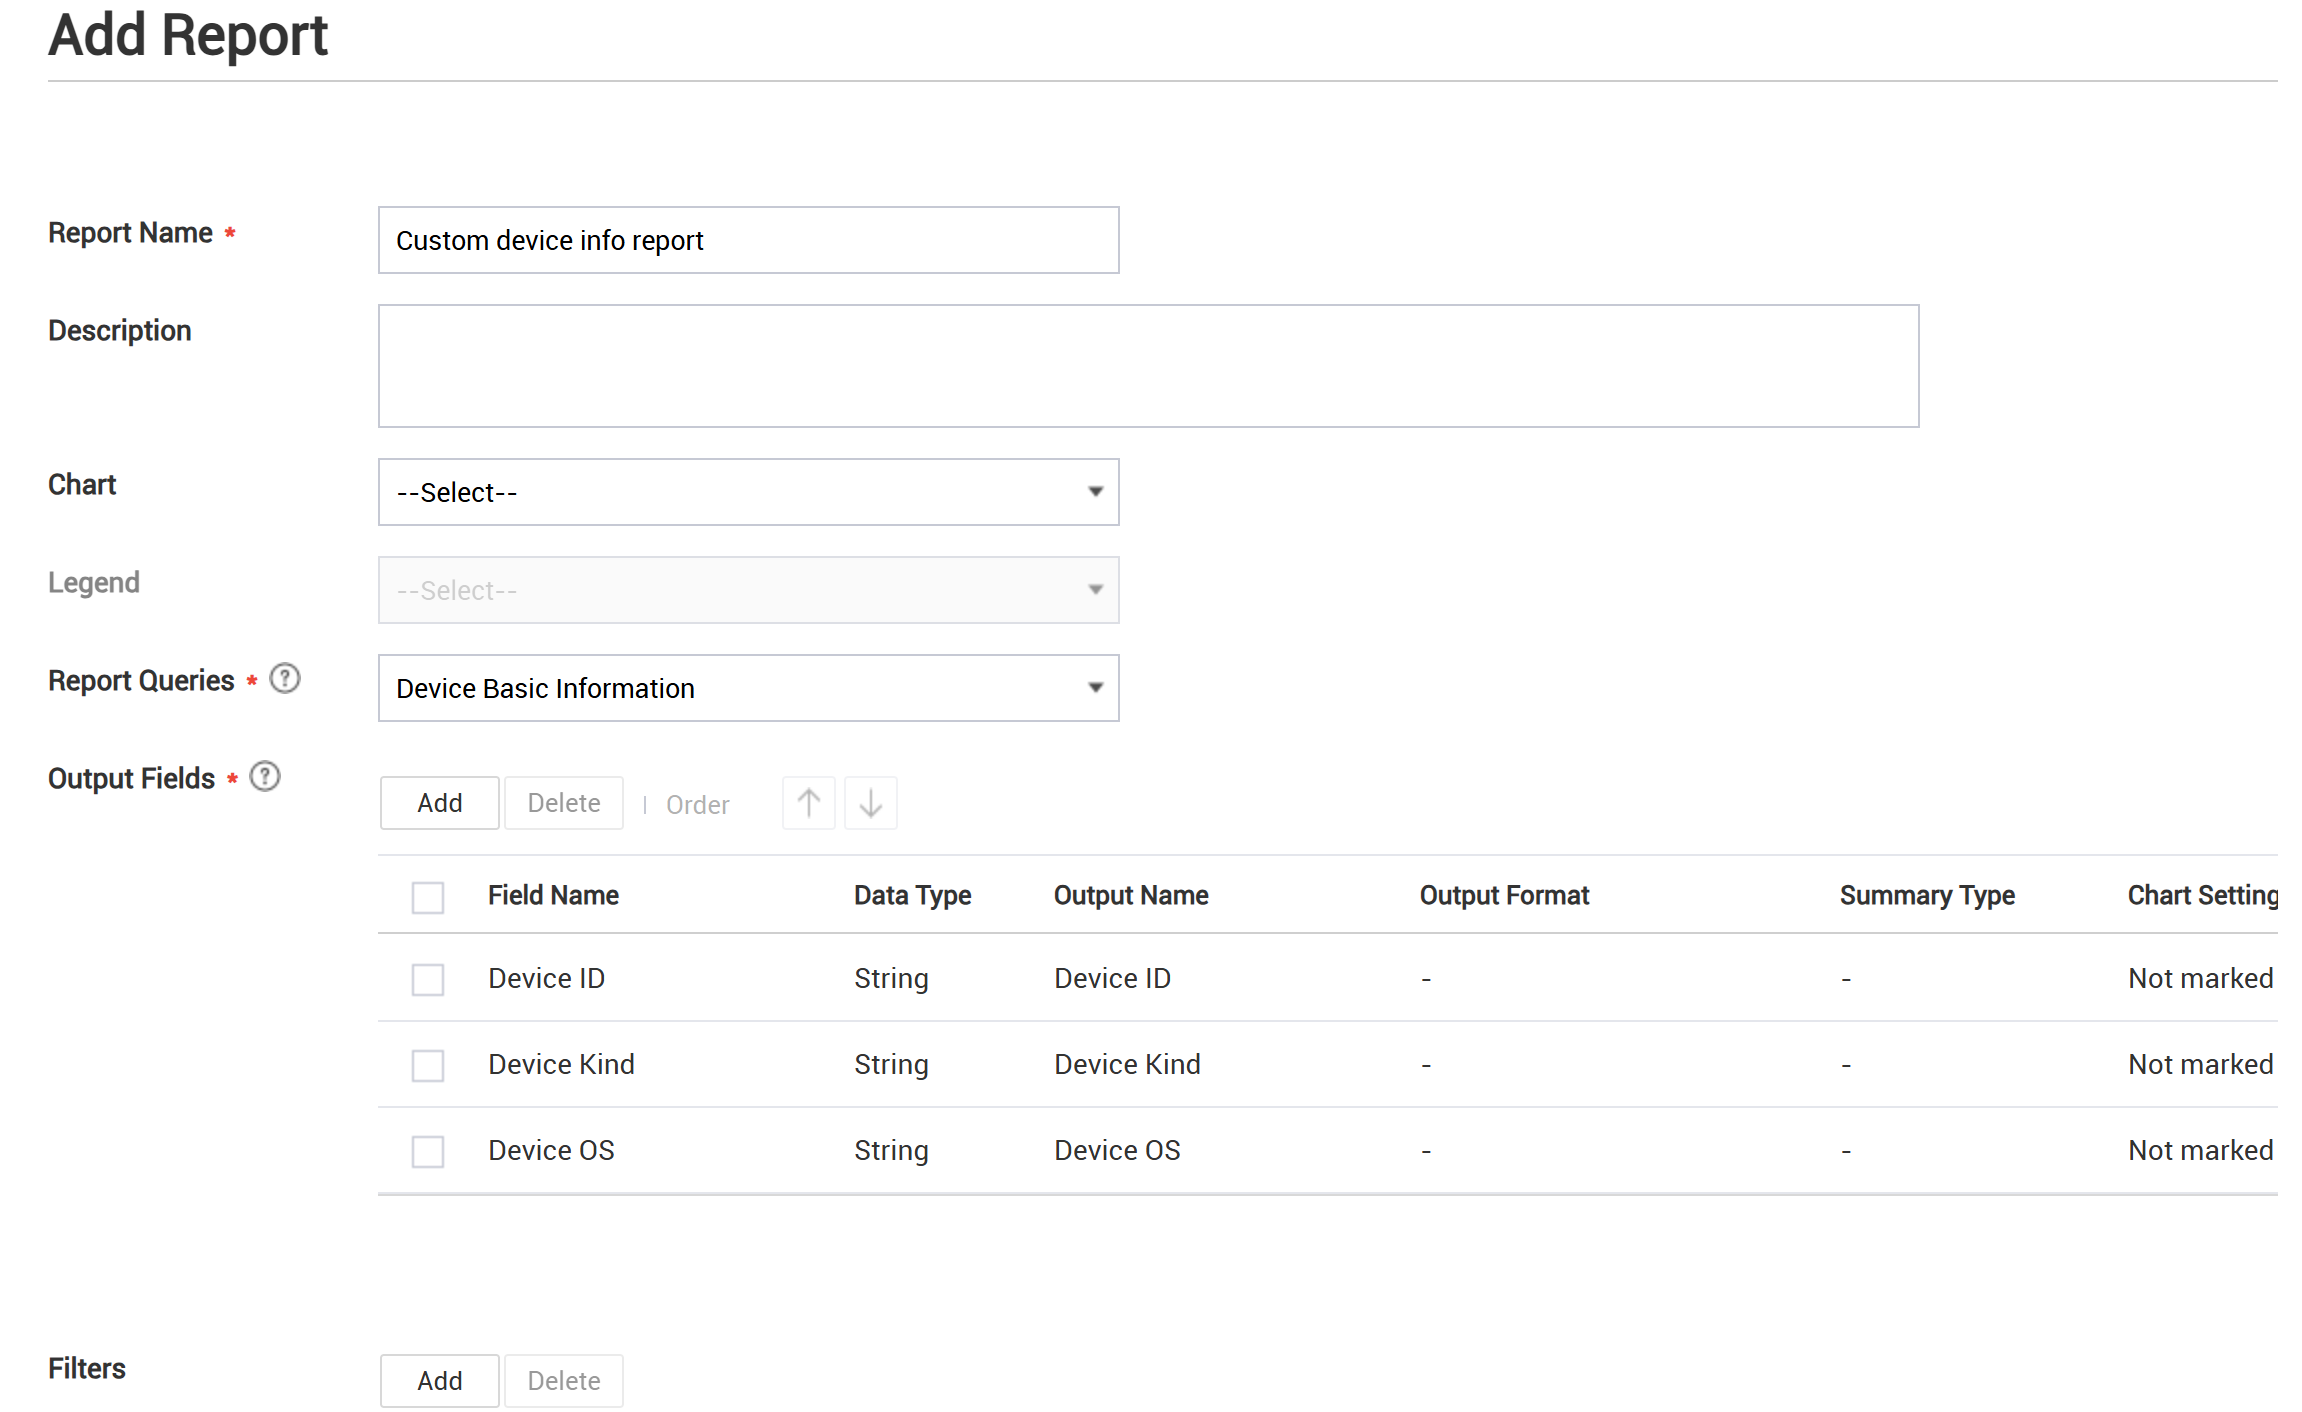
On the Add Report page, provide inputs as follows:
-
Report Name — Enter the report name.
-
Description (Optional) — Enter a brief description for the report.
-
Chart (Optional) — Select a chart type to visualize the report.
-
Legend (Optional) — Specify where the legend should appear relative to the chart (if you selected a chart type).
-
Report Queries — Select from a list of existing queries.
The App Information installed in Device query returns a maximum of 100,000 results.
-
-
Click Add next to Output Fields.
-
In the Add Output Field dialog, select fields that you want to include in your report. For a list of output fields in each report query, see Default reports and report queries.
-
Configure output fields as needed. The Data Type of the field dictates what properties you can modify.
-
String fields let you update values for Output Name (display name of the field) and Chart Setting (whether or not the field will appear as a chart category) values.
-
Number fields let you update values for Output Name (display name of the field), Output Format (the number display format), Summary Type (the numeric value to display on the chart – sum, average, maximum or minimum), and Chart Setting (whether or not the field will appear as a chart category).
-
Date fields let you update values for Output Name (display name of the field), Output Format (the date display format), and Chart Setting (whether or not the field will appear as a chart category).
You can reorder selected output fields using the up and down arrows.
-
-
(Optional) Click Add in the Filters area to open the Add Output Field dialog. Select fields that you want to use to filter your report.
- Click the Operator entry for each field to set filtering conditions.
Filters can be customized between admins. This means that if one admin creates the report with the first filter configuration, a second admin can edit the report to see a different filter configuration. When the first admin views the report, they see the first filter configuration, whereas when the second admin views the report, they see the second filter configuration.
However, if a report is scheduled to be emailed to admins, this filter customization doesn’t apply. Only the filters configured, or later edited, by the admin who created the report are applied to emailed reports.
-
Click View to preview your report before saving.
-
Click Save, then in the Save Report dialog click OK.
Add a report based on an existing report
To copy an existing report to adapt for a new report:
- Navigate to Advanced > Report.
- On the Report page, select the report you want to copy and click Copy.
- On the Copy Report page, enter a new Report Name.
- Modify other fields and settings as needed.
- Click Save, then in the Save Report dialog click OK.
On this page
Is this page helpful?