Create and delete users
Last updated June 17th, 2026
Creating a user establishes a user account in your tenant, which allows you to add them to groups and enroll devices to them. You can create a single user, or create users in bulk.
You can also add users from third-party identity providers connected to Knox Manage. To learn more about connecting a third-party identity provider to Knox Manage, see Configure third-party providers.
If you need to remove a user from your tenant, you can delete them.
Create a single user
To create a single user account:
-
On the Users page, click CREATE USER. The Create user page opens.

-
Under ENROLLMENT INFORMATION, enter a User ID and Password for the new user.
As a security best practice, the password must:
- Be between 8 to 30 characters long.
- Contain at least one number.
- Contain at least one special character.
Optionally, select Reset password after sign-in to prompt the user to reset their password after they successfully sign in for the first time.
-
Under USER INFORMATION, enter the user’s Name and their Email.
-
Assign your user to a User group. You can use the generic Default Group or create your own by clicking CREATE GROUP. For more information, see Create groups.
-
(Optional) Assign an Organization to your new user. For more information, see Create an organization.
A user can be added to only one organization at a time, but can be in both a manual group and an organization at the same time.
-
Click CREATE.
The user account is generated, and you can now add them to a group.
Create users in bulk
To create multiple user accounts at once:
-
On the Users page, click the BULK ACTIONS tab.
-
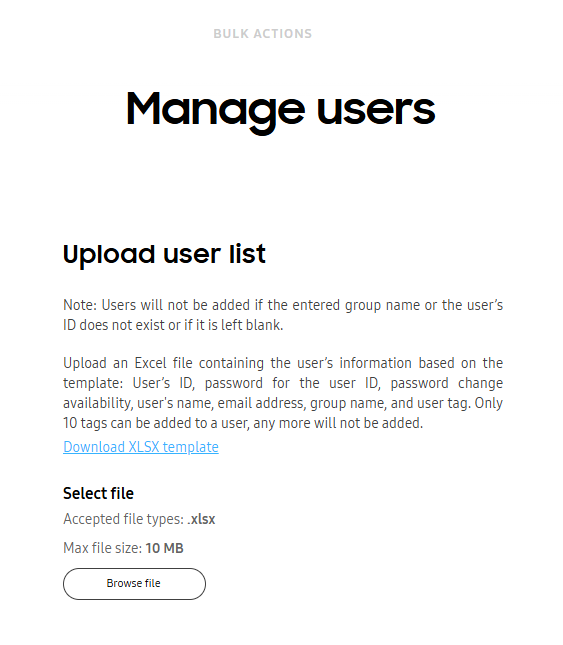
Click MANAGE USERS. The Manage users page opens.
-
Click Browse file and upload your XLSX file.
You can also download a XLSX file that contains the required column headers and a detailed explanation of each column by clicking Download XLSX template.
To ensure your file is properly formatted, configure your spreadsheet with the following headers:
- Column A — User ID
- Column B — Password
- Column C — Reset after Sign-in
- Column D — User name
- Column E — Email
- Column F — User group
- Column G — Organization code
- Column H — Tags
You must input either 0 or 1 in the Reset after Sign-in column.
- 0: The device user must reset the password after signing in.
- 1: The device user can’t reset their password after signing in. They must use the password you specified in the Password column.
Your spreadsheet should look something like this:
Column A Column B Column C Column D Column E Column F Column G Column H Field User ID Password Reset after Sign-in User name Email User group Organization code Tags Example john.doe 123456789aA! 0 John Doe john_doe@example.com Group1 (Optional) (Optional) -
Click SUBMIT.
The user accounts you entered in the XLSX file are added to your tenant, and you can now add them to a group.
Add a user from a directory
To add a directory user:
-
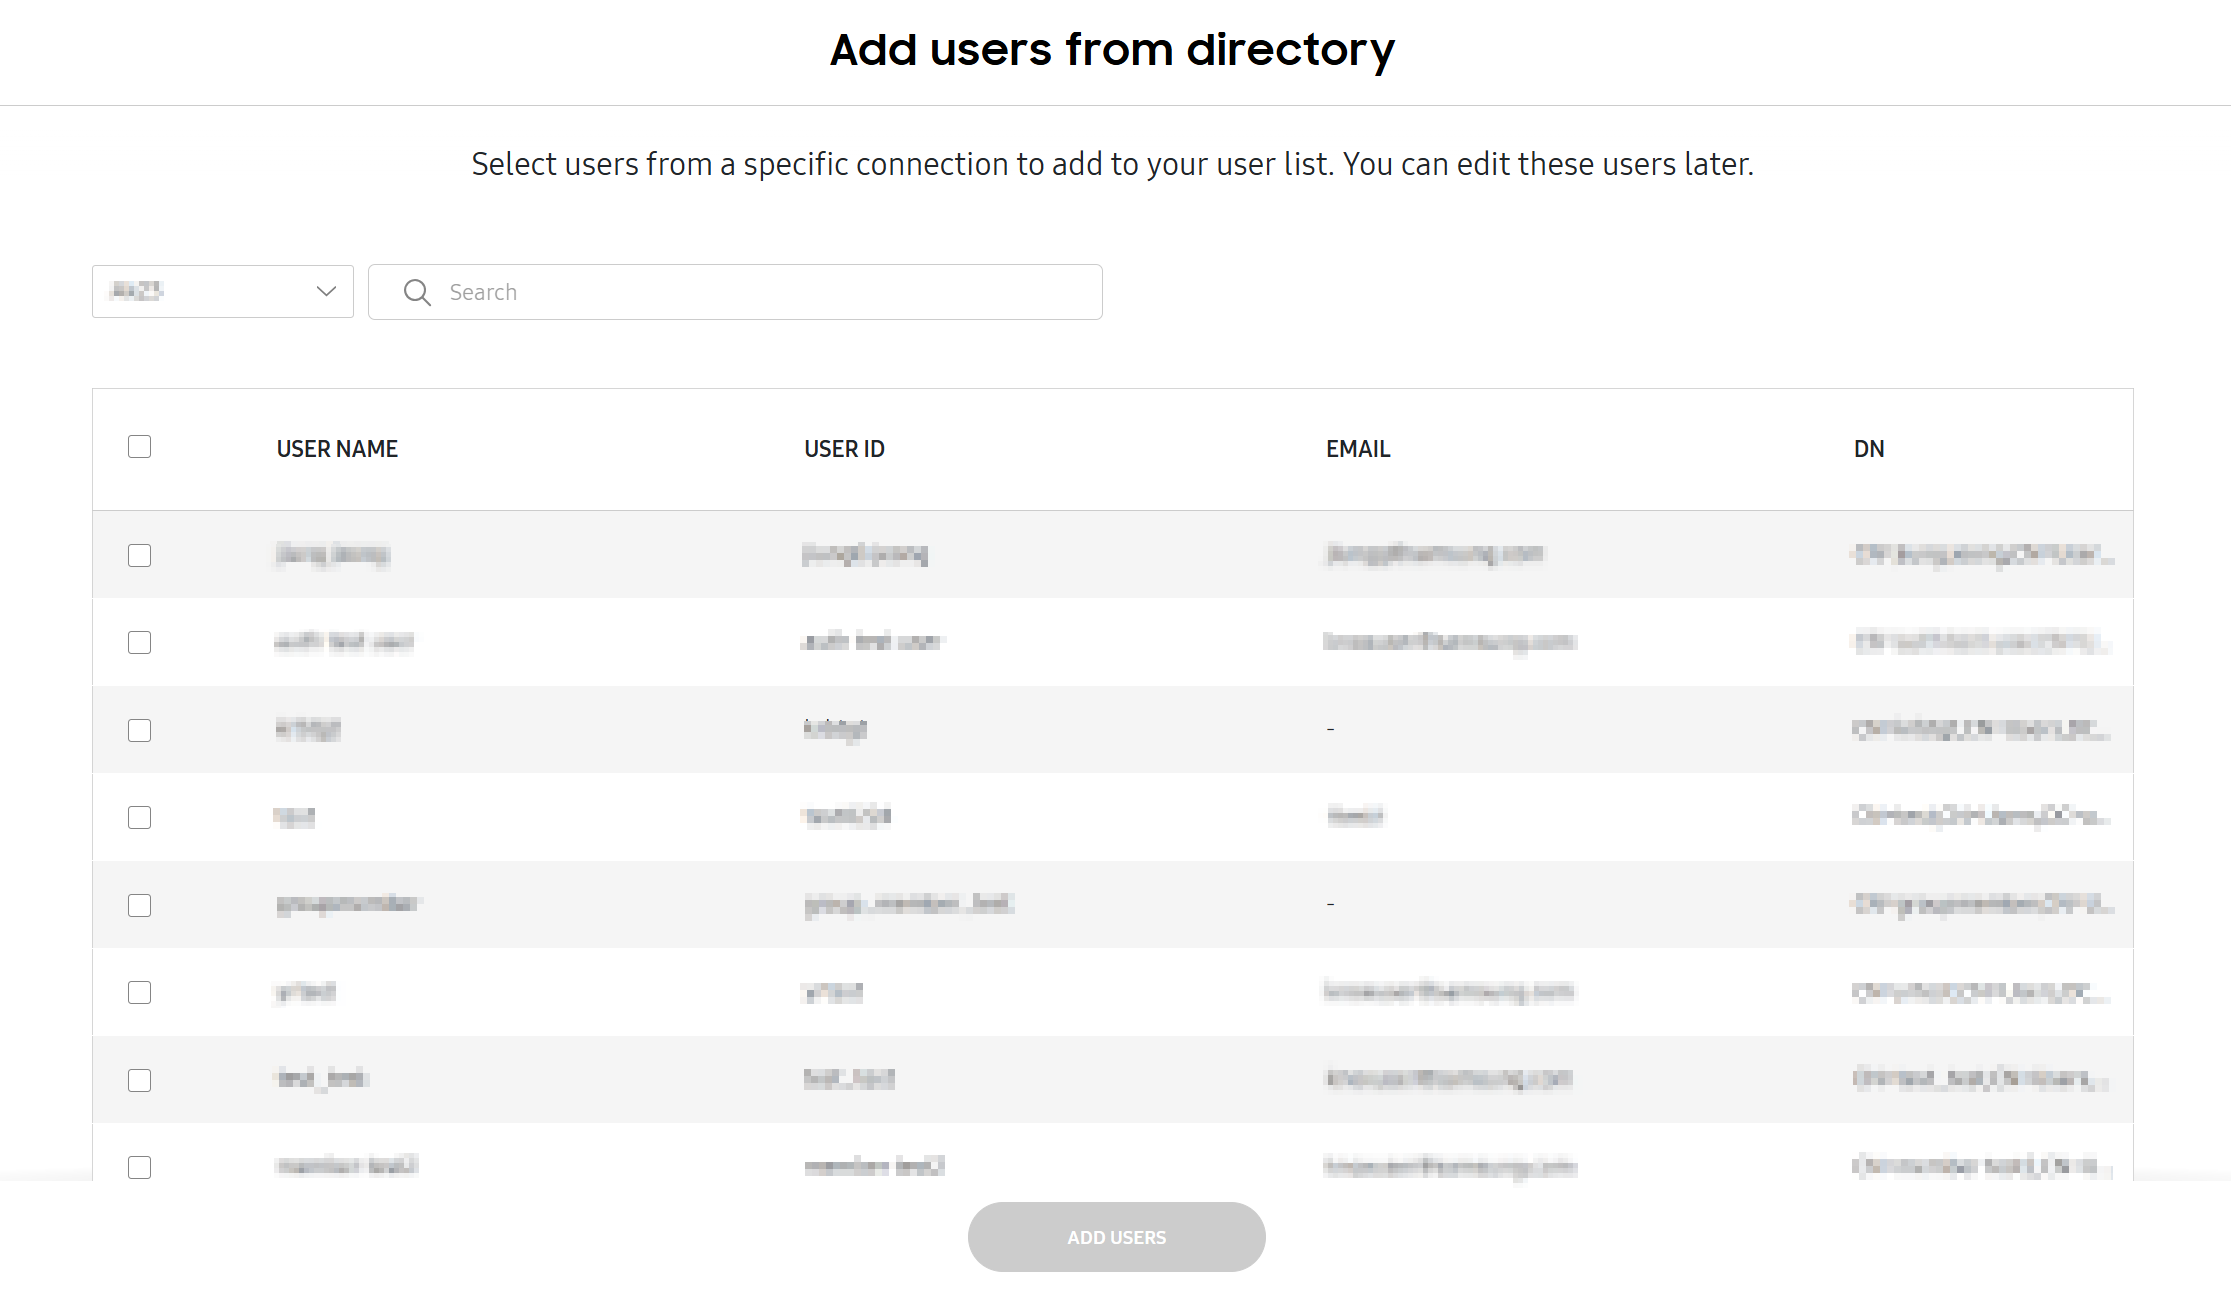
On the Users page, click ACTIONS > Add users from directory.
-
On the drop-down, choose a directory, then select users you’d like to add.
-
Click ADD USERS.
The user is added to your tenant, and you can now add them to a group.
Delete a user
To delete a user, the user must either no devices associated with them, or have all their devices in the Unenrolled state. To learn more about how to unenroll a device, see Unenroll and delete devices.
To delete a user:
-
On the Users page, select one or more users to delete.
-
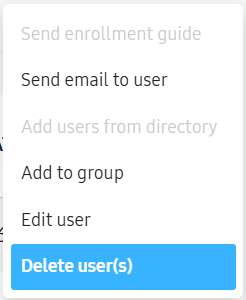
Click ACTIONS > Delete user(s).
-
On the Delete user(s) confirmation dialog, click DELETE.
The user is removed from your tenant.
On this page
Is this page helpful?