Minimum requirements and supported languages
Last updated June 17th, 2026
To use the Knox Manage new console, you need the following:
Samsung account
To register your company for Knox Manage, you need a Samsung account. To create a Samsung Knox account and register for Knox Manage, see Create a Samsung Knox account.
License
A valid Knox Suite or Knox Manage license. See Knox licenses to learn more.
PC requirements
A laptop or desktop computer capable of running the following:
| Item | Requirement |
|---|---|
| OS | Microsoft Windows XP and higher or macOS 13 (Ventura) and higher |
| Browser | Google Chrome version 41 and higher |
| Mozilla Firefox version 37 and higher | |
|
Microsoft Edge version 95 and higher Internet Explorer and Safari are not supported |
|
| Screen resolution | 1920 x 1080 px |
| Window scaling |
Window scaled to 100% To ensure an optimal experience, we recommend setting your browser scaling to 100%. If your browser is scaled higher, such as 125%, some of the page elements can shift out of view. |
As an Android Enterprise Recommended (AER) certified solution, Knox Manage is compatible with all AER devices.
Register your tenant ID
When you sign into Knox Manage for the first time, you’re directed to complete your registration by confirming your tenant ID.
Your tenant is the single, registered instance of your Knox Manage environment while your tenant ID is the unique identifier for your tenant. Your tenant ID is comprised of your organization domain, which is automatically configured based on the email you used to register for Knox services.
To register your Knox Manage tenant:
-
Open the Knox Manage console from the left navigation pane of the Knox Admin Portal.
-
On the pop-up that opens, your tenant ID is automatically entered.
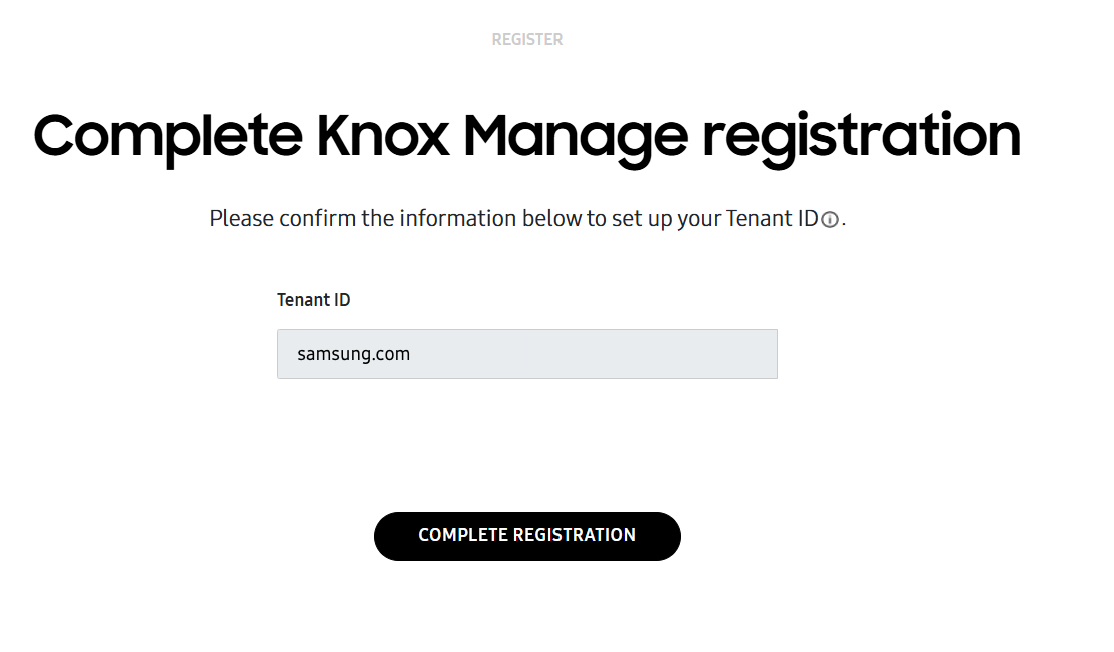
If someone with your organization domain has already created a tenant, you are prompted to enter a Prefix to differentiate your environment from theirs. Once created, you cannot change your prefix.
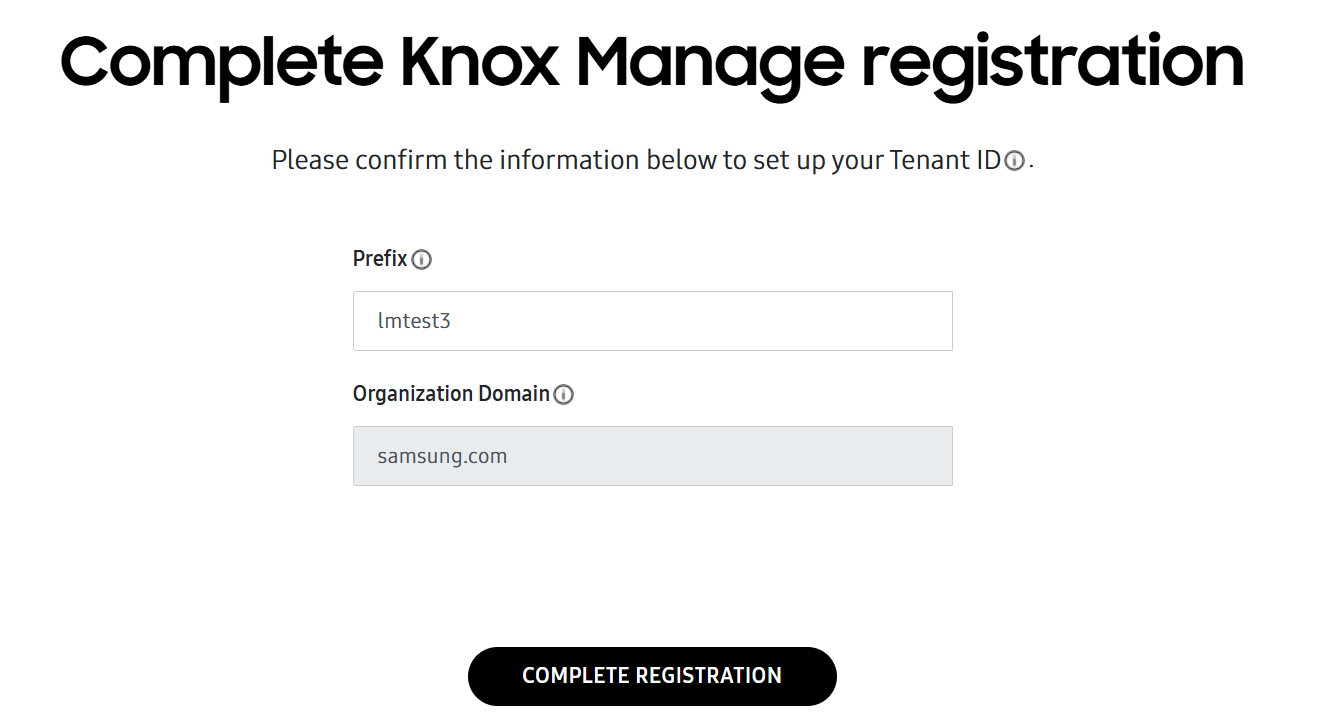
Click COMPLETE REGISTRATION.
-
On the page that opens, confirm your information, then click CONFIRM & COMPLETE.
Supported languages
Knox Manage supports the following languages:
| Supported languages | |
|---|---|
| Knox Manage console | English, Portuguese, Spanish, French, German, Italian, Korean, Polish. You can select a language in the Knox Manage console without changing the browser's language. |
| Knox Manage agent | Any of the supported languages as set in the device language settings. If the selected language in the Knox Manage agent isn't supported on the device, it defaults to English. |
On this page
Is this page helpful?