Create a profile and policies
Last updated June 17th, 2026
This page outlines how to configure profiles and policies in Knox Manage.
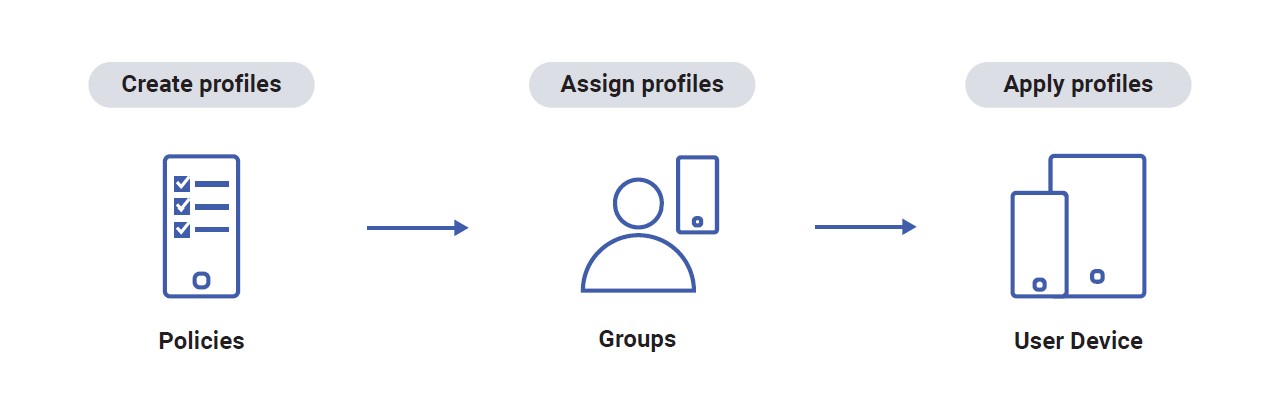
Differences between a profile and a policy
A profile is a set of policies containing device configurations and settings. Profiles allow you to configure policies to control individual device functions and permissions, such as the camera, screen lock, or Bluetooth connectivity.
You can also create policies separately as presets to reuse later. When you edit a policy preset that’s used across multiple profiles, each profile receives the latest update.
Create a profile
To create a profile:
-
Go to Profiles and policies > PROFILES.
-
Click CREATE PROFILE.
-
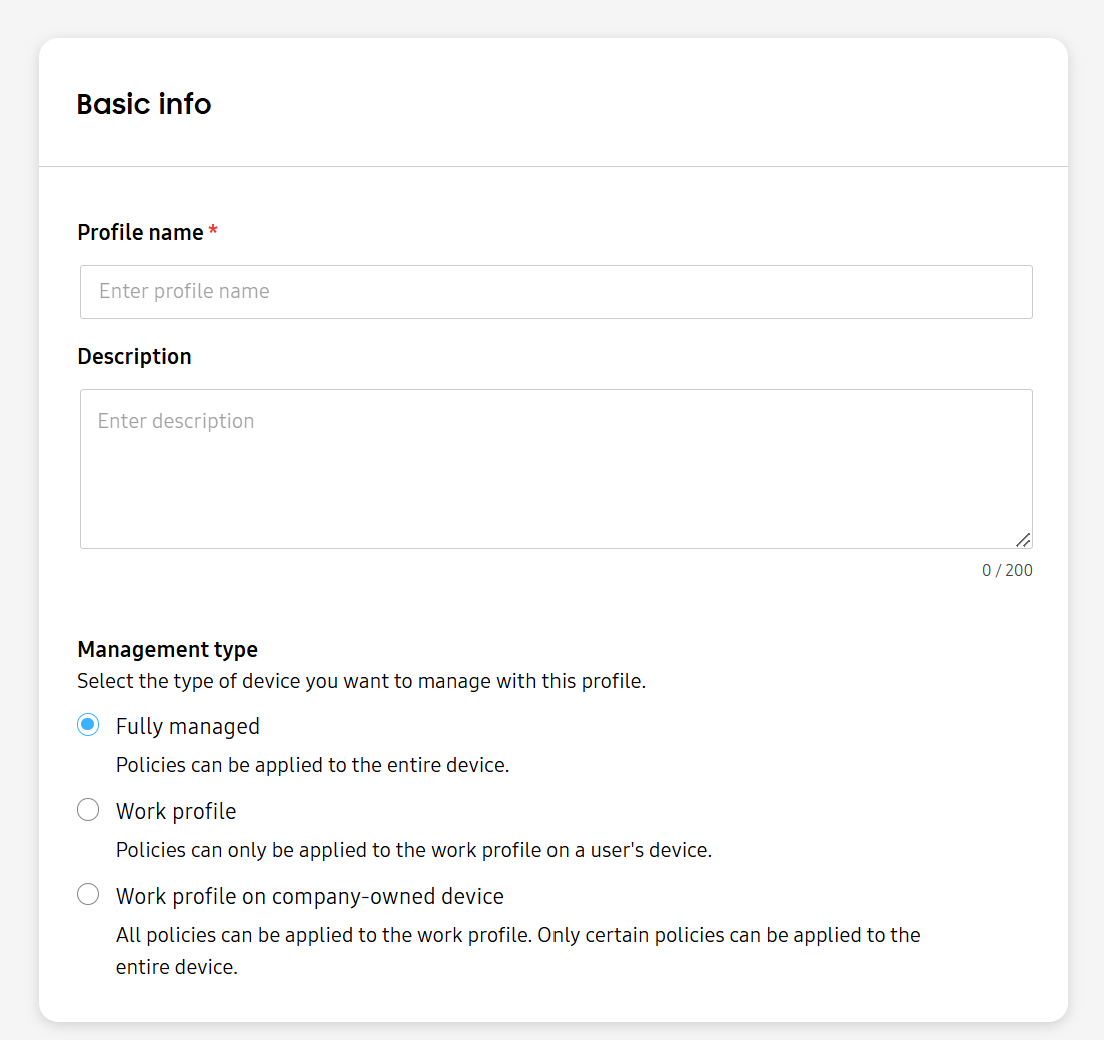
Enter a unique Profile name.
- Names must be between 3 and 50 characters long and are case-sensitive.
- Only alphanumeric characters, Korean characters, and underscores (_) are allowed.
-
Optionally, add a Description. The description must be under 200 characters. The following characters aren’t permitted: <, >, ‘, and “.
-
Select the Management type. Profiles can only manage devices from one management type. Once configured, the management type can’t be edited. If a profile is assigned to a group or organization containing different management types, then its settings are only applied to devices it’s able to manage. For instance, the settings of a profile with the Management type set to Fully managed only apply to the fully managed devices in a group.
The policies available in each profile differ depending on the management type you select. Your selection can’t be edited later. Select one below:
- Fully managed — Applies policies to the entire company-owned device.
- Work profile — Applies policies to the work profile on a personally-owned device.
- Work profile on company-owned device — Applies all policies to the work profile, but only eligible policies apply to the entire device. See Android Enterprise policies to learn more.
-
Click NEXT: CONFIGURE to proceed to the Configure screen. Configure your policies as required. If no setting is applied, the device’s default settings are used.
If you selected Work profile on company-owned devices as the management type, you can apply policy settings to just the work profile or the entire device. Switch between the Work profile and Device tabs to see eligible settings for each area.
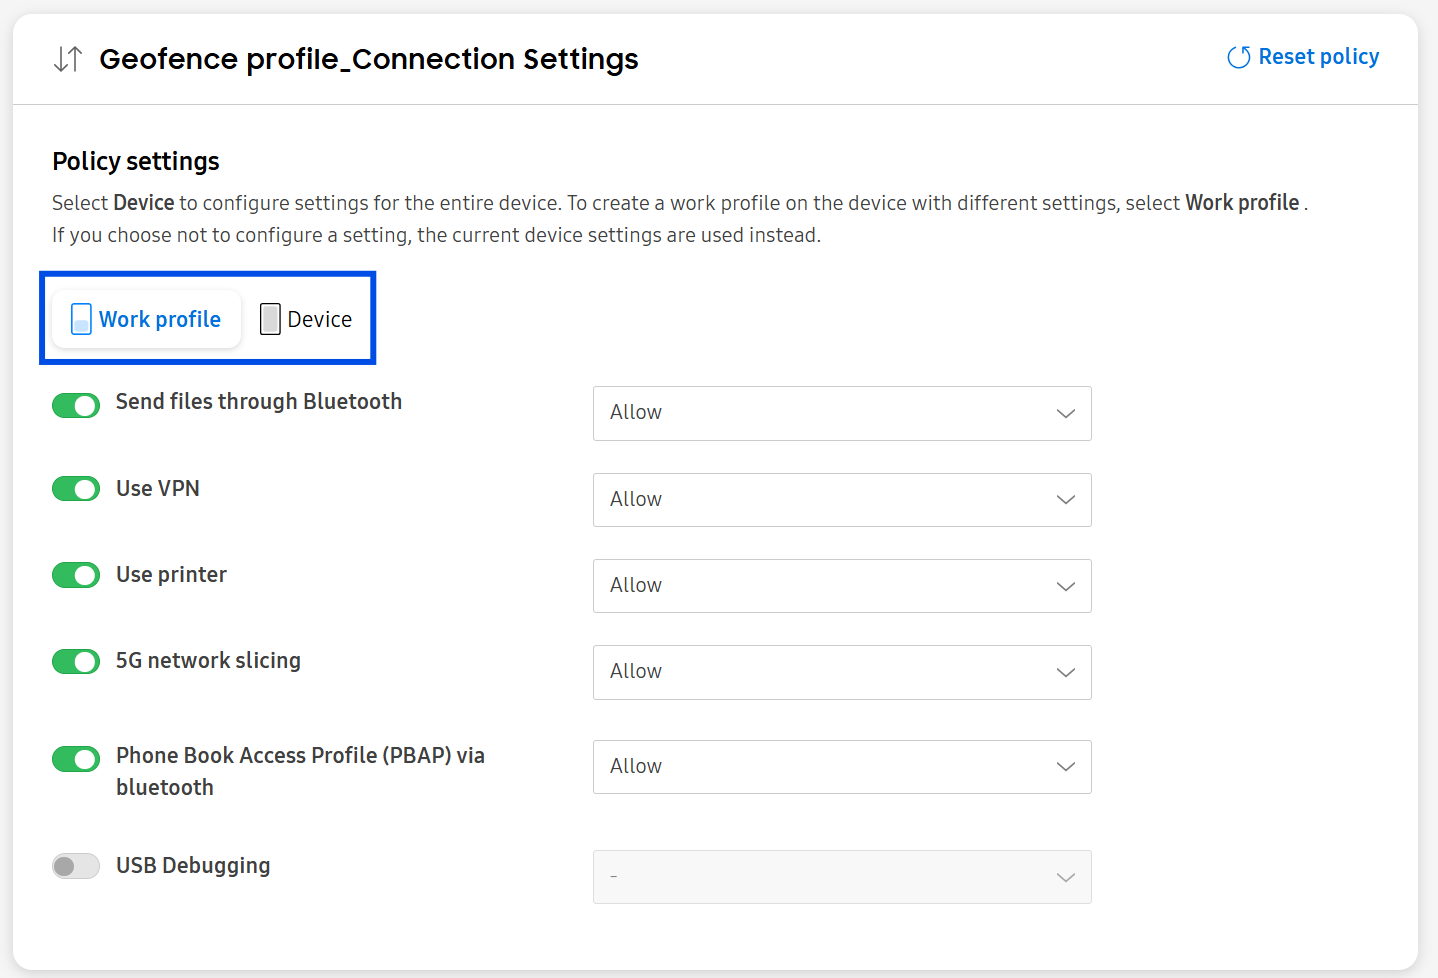
You can find policy settings by browsing the available categories, or by using the search bar. If you search for a policy sub-setting, the parent setting is highlighted when you select the search result.
In addition to configuring new policies, you can reuse an existing policy preset. For more information, see Create a policy.
If you don’t configure mandatory fields in a setting, a warning icon appears over the icon of the policy it belongs to. You can’t continue to the Review screen until you complete the settings.
-
Click NEXT: REVIEW to proceed to the Review screen. View the list of policies that you configured. If you selected Work profile on company-owned devices as the management type, you can also see which policy settings you configured for each area of the device. To make changes, click Edit.
-
Once you’re ready to proceed, you can:
-
Click CREATE PROFILE to create the profile now, then assign and push it to groups and organizations later.
-
Click CREATE AND ASSIGN to create the profile and assign it to groups and organizations simultaneously.
- On the Assign profile page that opens, select the groups or organizations to assign the profile to. Then click ASSIGN ONLY or ASSIGN AND PUSH PROFILE to assign and sync it.
If a group or organization has (Info icon) beside it, then the assigned policy settings conflict with ones already applied to that group or organization. Click Review policies to see which policy settings conflict.
If a device user belongs to both a group and an organization, and the policies applied to the group and organization conflict with each other, then the group’s policies are applied to the device user.
-
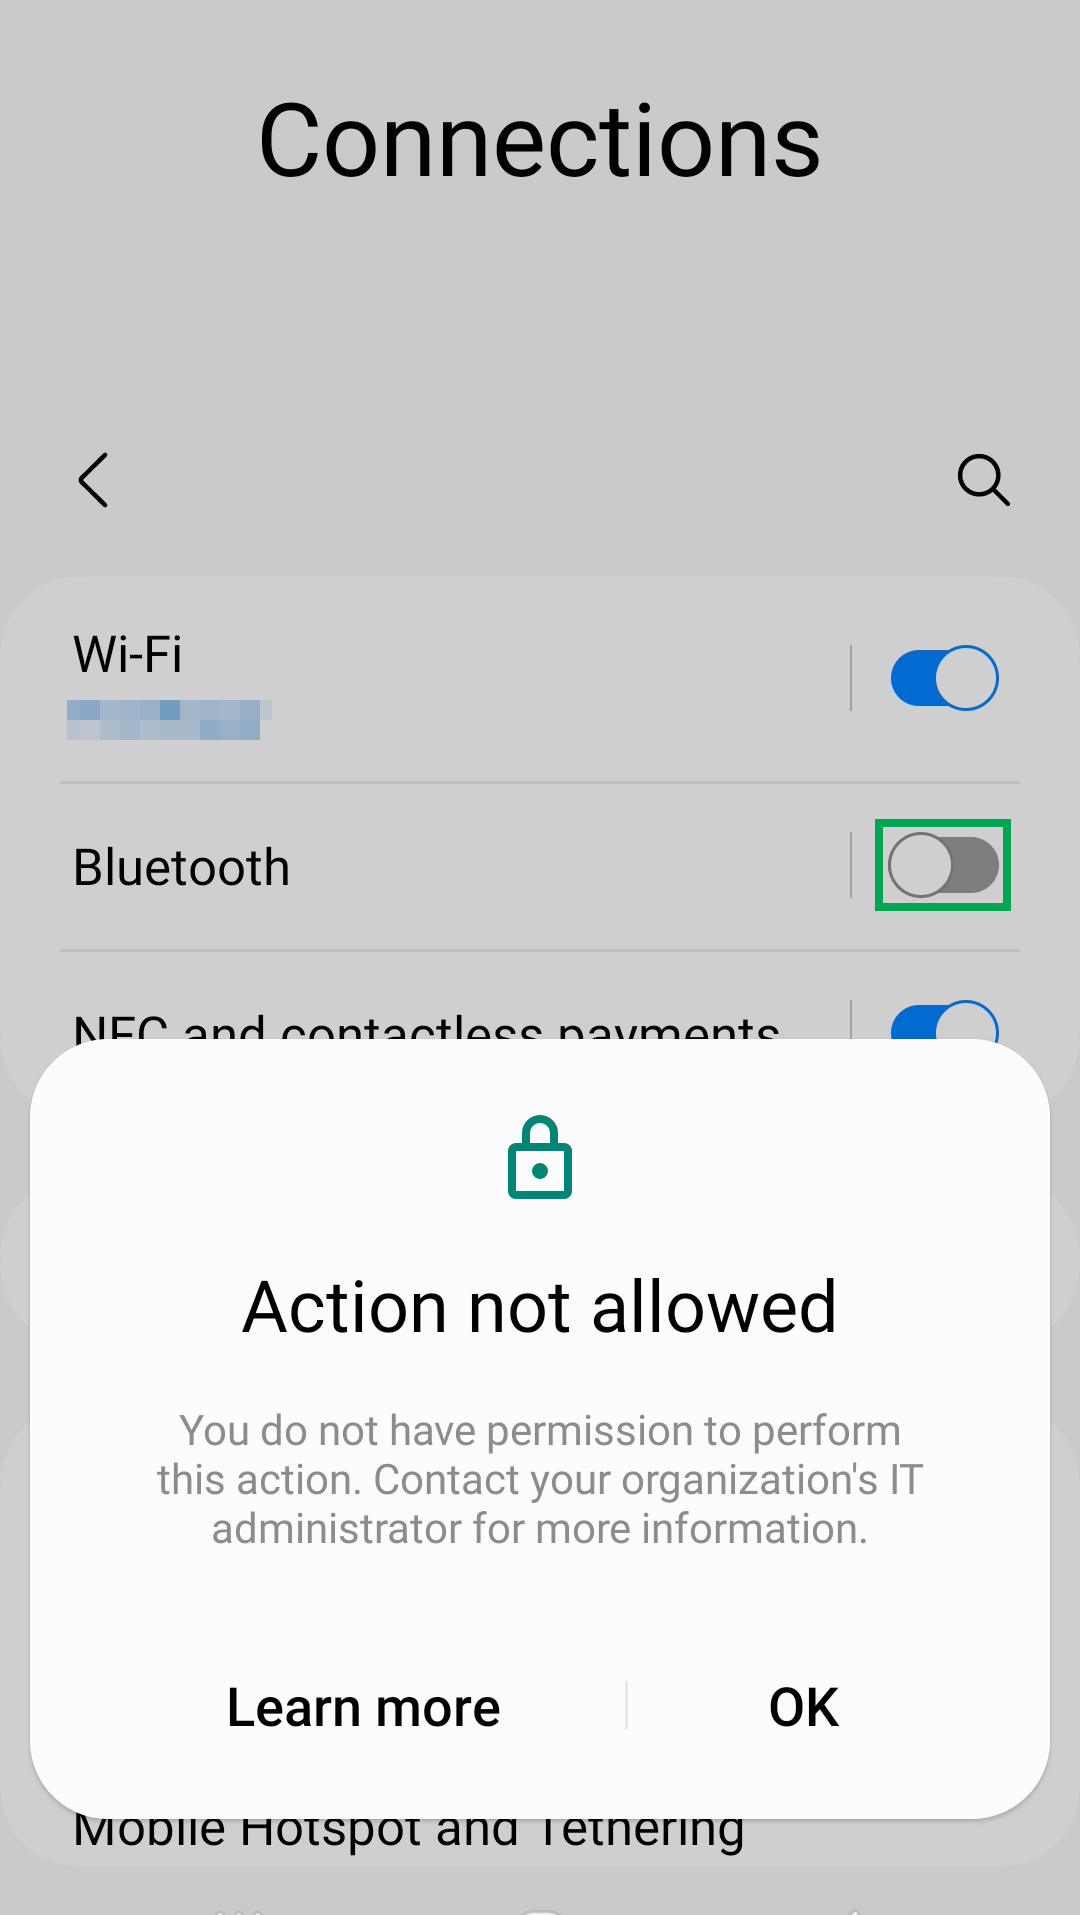
Once a profile is pushed to a group, the policy settings immediately apply to all associated devices.
Create a policy
To create a reusable policy preset:
-
Go to Profiles and policies > Policies. Then, click CREATE POLICY.
-
Give the policy a unique name, then click NEXT.
-
Policies available differ depending on the management type. Select one below:
- Fully managed — Applies policies to the entire company-owned device.
- Work profile — Applies policies to the work profile on a personally owned device.
- Work profile on company-owned device — Applies all policies to the work profile, but only eligible policies apply to the entire device. See Android Enterprise policies to learn more.
Then click NEXT.
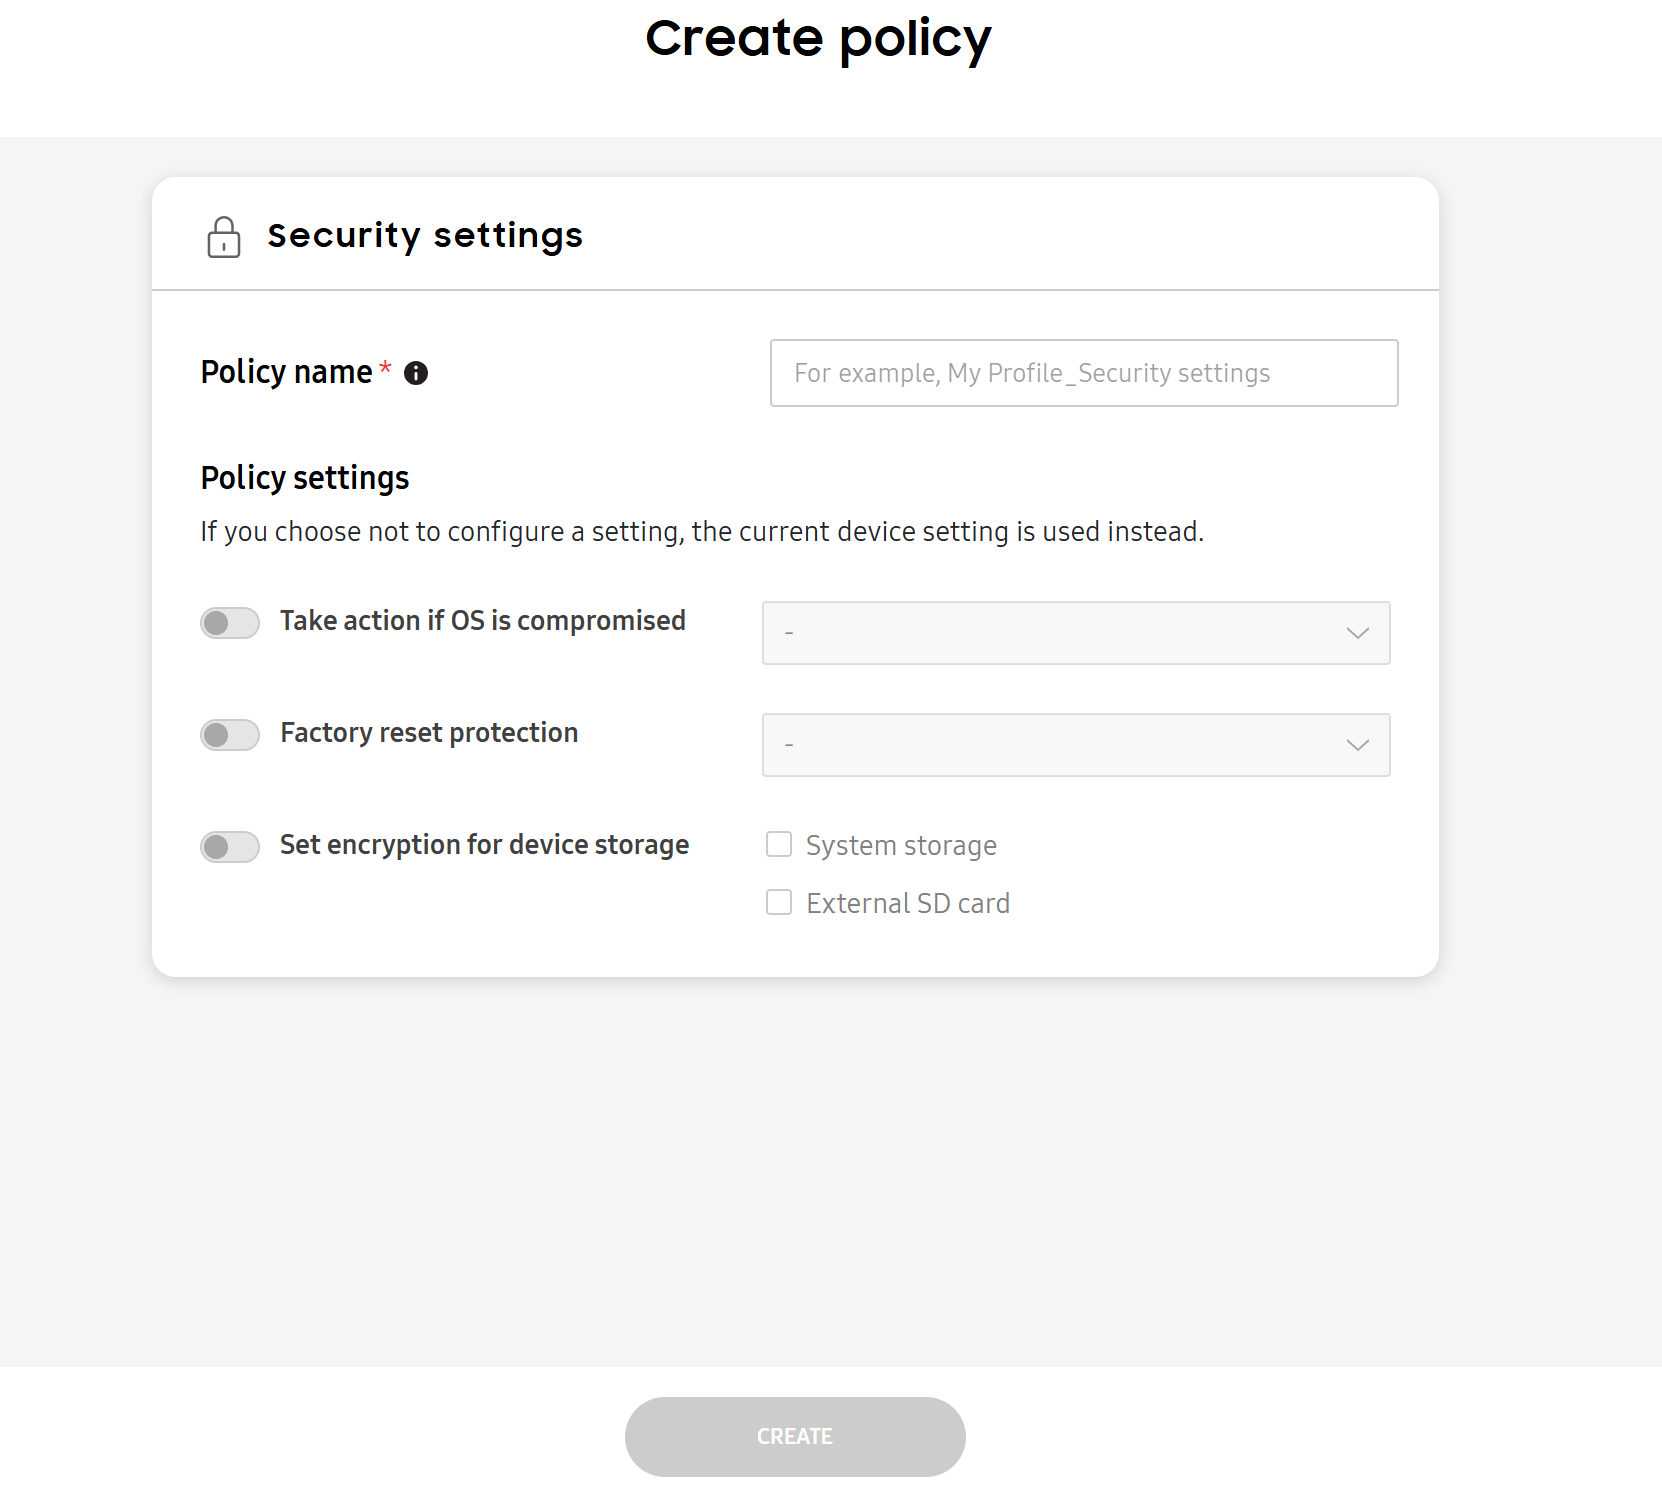
-
Configure policy settings. If you selected Work profile on company-owned devices as the management type, you can apply policy settings to just the work profile or the entire device. Switch between the Work profile and Device tabs to see eligible settings for each area.
You can now use the policy in profiles.
To use an existing policy preset:
-
Go to Profiles and policies > PROFILES. Select an existing profile to edit or create a new profile.
-
On the Configure screen, there are three ways you can use a policy:
- Click reuse a policy if you don’t have a policy selected.
- Select REUSE SAVED POLICY under the search bar.
- When you select a category that you previously configured policies for, a banner displays. Click SELECT POLICY on the banner.
On the Reuse saved policy pop up, search for existing policies by category or policy name. Select one, then click REUSE POLICY.
On this page
Is this page helpful?