Create a custom animation file
Last updated May 1st, 2025
You can create a custom device boot animation by uploading images to play in sequence, and setting the desired image orientation, dithering, and size. Once created and uploaded, you can preview and verify the animation before adding it to a profile and assigning it to devices.
Create an animation
To create a custom animation:
-
Click Library in the left-hand navigation menu and click the MEDIA tab.
-
Click ADD MEDIA in the upper right-hand corner.
-
Click CREATE ANIMATION to create a new animation sequence.
-
On the Upload a PNG sequence screen, upload a minimum of two and a maximum of 99 PNG images to use as animation frames, then click UPLOAD.
For optimal display, ensure the PNG files you upload are the same dimension and resolution as the target device’s screen dimensions and display resolution.
-
Provice an Animation name for your animation.
-
(Optional) Configure animation settings:
- Rotation — Select the animation’s degree of rotation.
- Sizing — Select how the animation will display on the device.
- Dithering — Specify the amount of dither used to reduce the file size. Note that higher settings will decrease the file size, but may also affect animation quality.
-
Click GENERATE ANIMATION to create the animation.
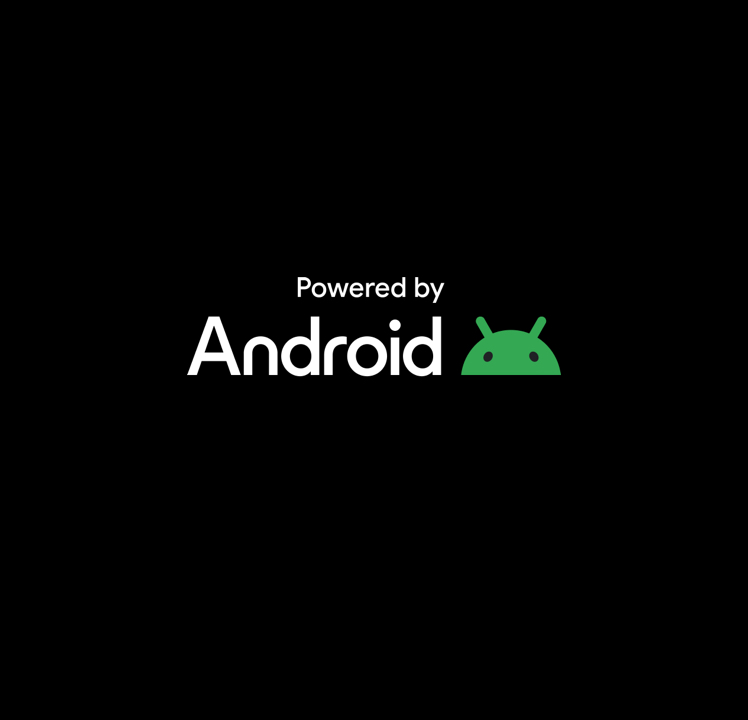
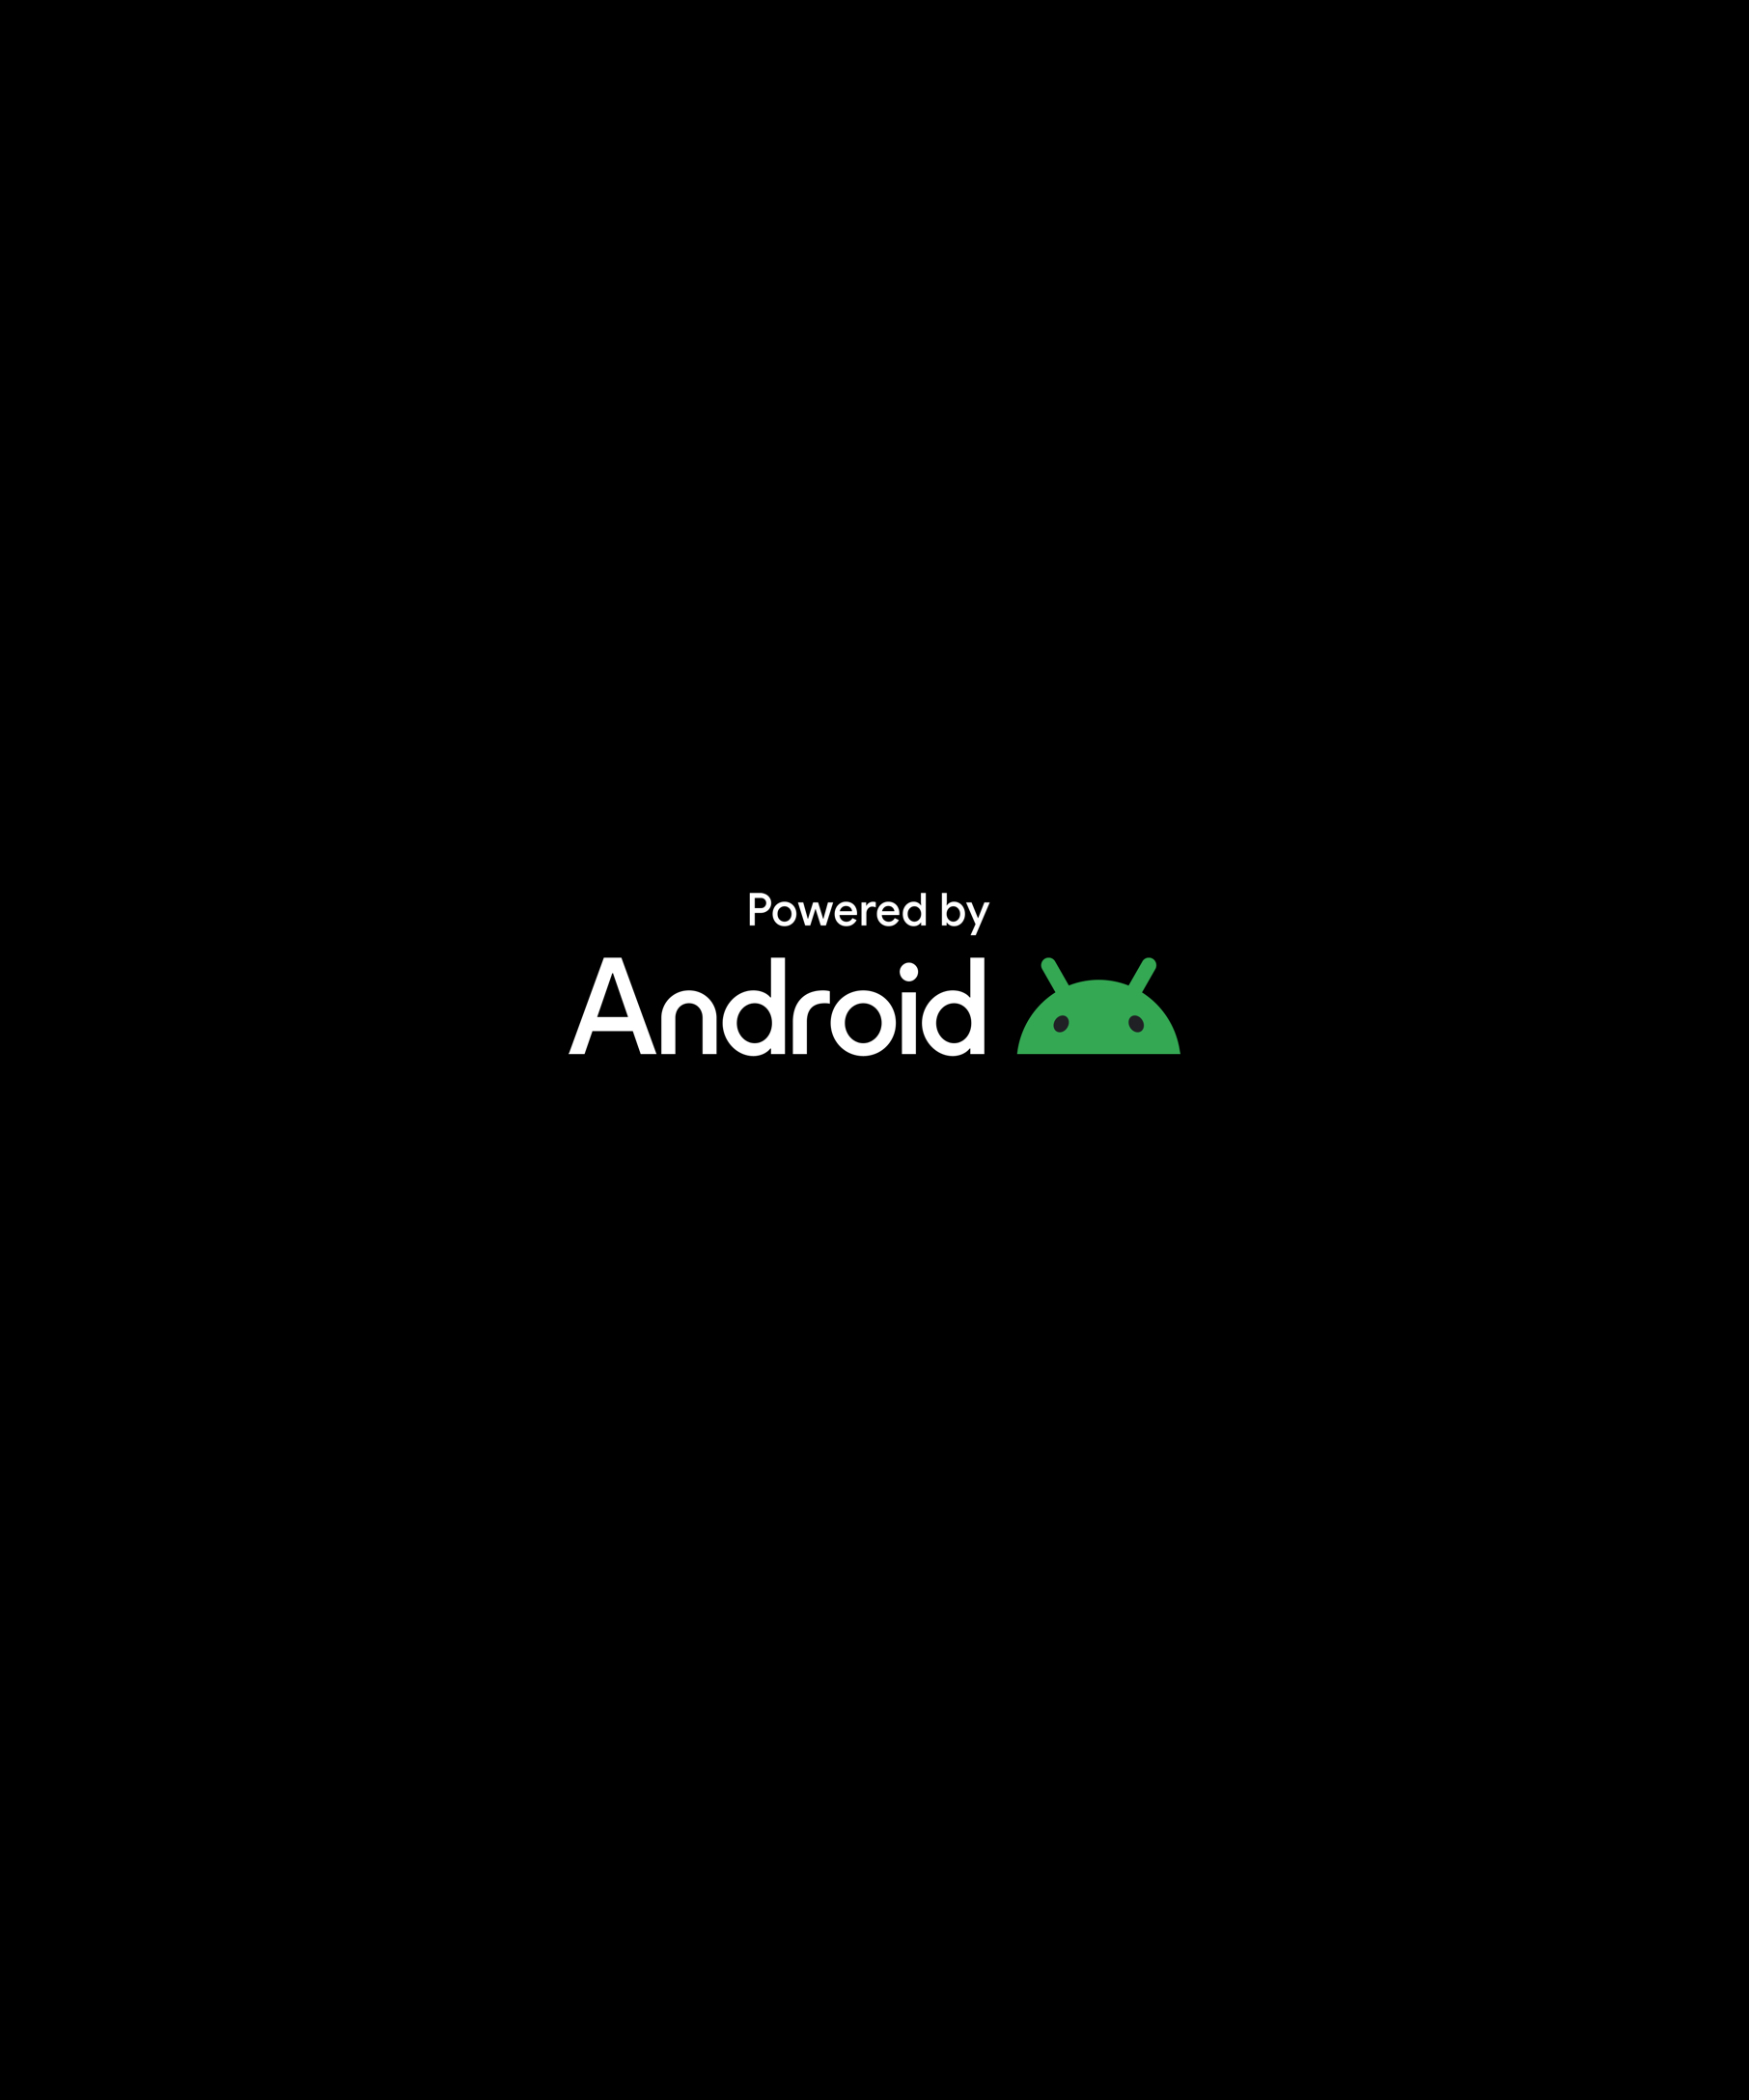
In compliance with Samsung’s branding policies, the Powered by Android logo must be displayed for 12 frames (1.7 seconds). Hence, when you create a booting animation, make sure to include the Powered by Android logo first, followed by your company’s logo, as per the following resolutions:
Galaxy S23, S23 Plus, S24
The following table provides the official Powered by Android logo frames that you can use to create your booting animations. Click any link in the Screen type column to download the image frame (in .jpg format) for your specific device model.
| Device model | Screen type | Resolution | |
|---|---|---|---|
| Galaxy Flip5 | Main screen | 1080 X 2640 pixels | |
| Galaxy Flip5 | Cover screen | 748 X 720 pixels | |
| Galaxy Fold5 | Main screen | 1812 X 2176 pixels | |
| Galaxy Fold5 | Cover screen | 904 X 2316 pixels | |
| Galaxy S23, S23+, and S24 | Main screen | 1080 X 2340 pixels | |
| Galaxy S23 Ultra | Main screen | 1440 X 3088 pixels | |
| Galaxy S24 Ultra | Main screen | 1440 X 3120 pixels |
Upload a QMG animation file
You can also upload an existing animation as a QMG file. To do this, select UPLOAD ANIMATION from the ADD MEDIA screen, and upload your animation file.
Delete a media file
To delete a media file from the library:
- Click Library in the left-hand navigation menu.
- Select a media file that isn’t currently being used with a profile.
- Click DELETE MEDIA in the upper right-hand corner.
- Click DELETE FILE to confirm the file’s deletion.
On this page
Is this page helpful?