Manage workspaces
Last updated December 14th, 2023
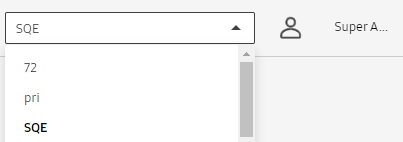
Unique to Knox E-FOTA On-Premises, workspaces allow larger organizations to divide their teams or business units into separate consoles. You can easily switch between workspaces using the dropdown menu to the left of your username.

As a super admin, you can view and manage a list of your organization’s workspaces:
- Sign in to the Knox E-FOTA On-Premises console.
- Click your account icon.
- In the menu that’s shown, click Settings.
- The left sidebar refreshes with a new set of tabs. Click Workspaces.
The following workspace actions are also available to you through the ACTIONS menu:
| Action | Description |
|---|---|
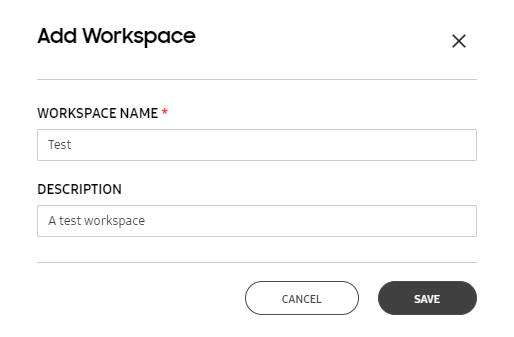
| Add Workspace |
Select this option to launch a popup where you can enter the name and description for a new workspace. Click Save to confirm. 
|
| Assign Users |
Select the checkbox next to a workspace in the list to enable this option in the menu. A dialog opens with a list of all users in the Knox E-FOTA On-Premises instance, across all workspaces. 
Select the checkboxes next to the users you want to assign to the workspace, then click ASSIGN. |
| Modify Workspace | Opens a dialog that allows you to edit the workspace name and description. |
| Delete Workspace | Select this option and click Delete in the confirmation popup to delete a workspace. |
| Download Workspace as CSV | Downloads a CSV file with the information of the selected workspaces. |
Is this page helpful?