Step 3 — Add devices
Last updated December 14th, 2023
Next, it’s time to add devices to the console, which you can do by uploading a CSV file. Adding devices without enrolling them doesn’t immediately consume any license assignments.
Each device you enroll consumes one license assignment.
To add devices to the Knox E-FOTA On-Premises console:
-
At the bottom of the navigation sidebar, click Bulk Actions.
-
Click Upload Devices.

-
Click Download CSV template and open the downloaded file.
-
In the first column, enter the IMEI/MEIDs or serial numbers of the devices you want to upload. Enter one IMEI/MEID or serial number per row.
Don’t include a header row, leave rows empty, or duplicate IMEIs, MEIDs, and serial numbers. Otherwise, your devices may not be added properly.
-
Save the file.
-
In the Knox E-FOTA On-Premises console, click Browse and select your CSV file.
-
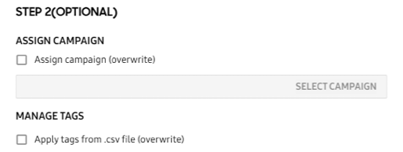
(Optional) Auto-enroll or assign the devices to a campaign. If you skip this step, you can enroll and assign devices at any time.
-
(Optional) Apply tags from the CSV file you uploaded to the devices. You can add a maximum of 10 tags, and tags are case-sensitive.
-
Click Confirm.
A message shows and confirms that the CSV file was uploaded. When your devices are verified and added to your inventory, they’re added to the Devices tab with the status Not enrolled.
Tutorial progress
You’ve completed 3 of 7 steps!
On this page
Is this page helpful?