Install the SDK
Last updated December 21st, 2023
Download the SDK
-
Sign in to the Knox Developer portal.
-
In the Knox Developers dashboard, click SDK Tools > SDK Downloads.
-
On the SDK Downloads page, click Download for the SDK you want.
-
Review the SDK Agreement. If you agree to the terms, select the checkbox and click Accept. The browser saves the SDK package into your Downloads folder.
-
Copy the extracted knoxsdk.jar to the add-ons folder of your integrated development environment (IDE). For Android Studio, the add-ons folder is located in Users \ username \ AppData \ Local \ Android \ Sdk \ add-ons.
Since AppData is a hidden folder, make sure that your file browser displays hidden items. The steps to do so vary depending on your operating system.
Create your Android Project
-
Open Android Studio.
-
Create a new project. Click File > New Project.
-
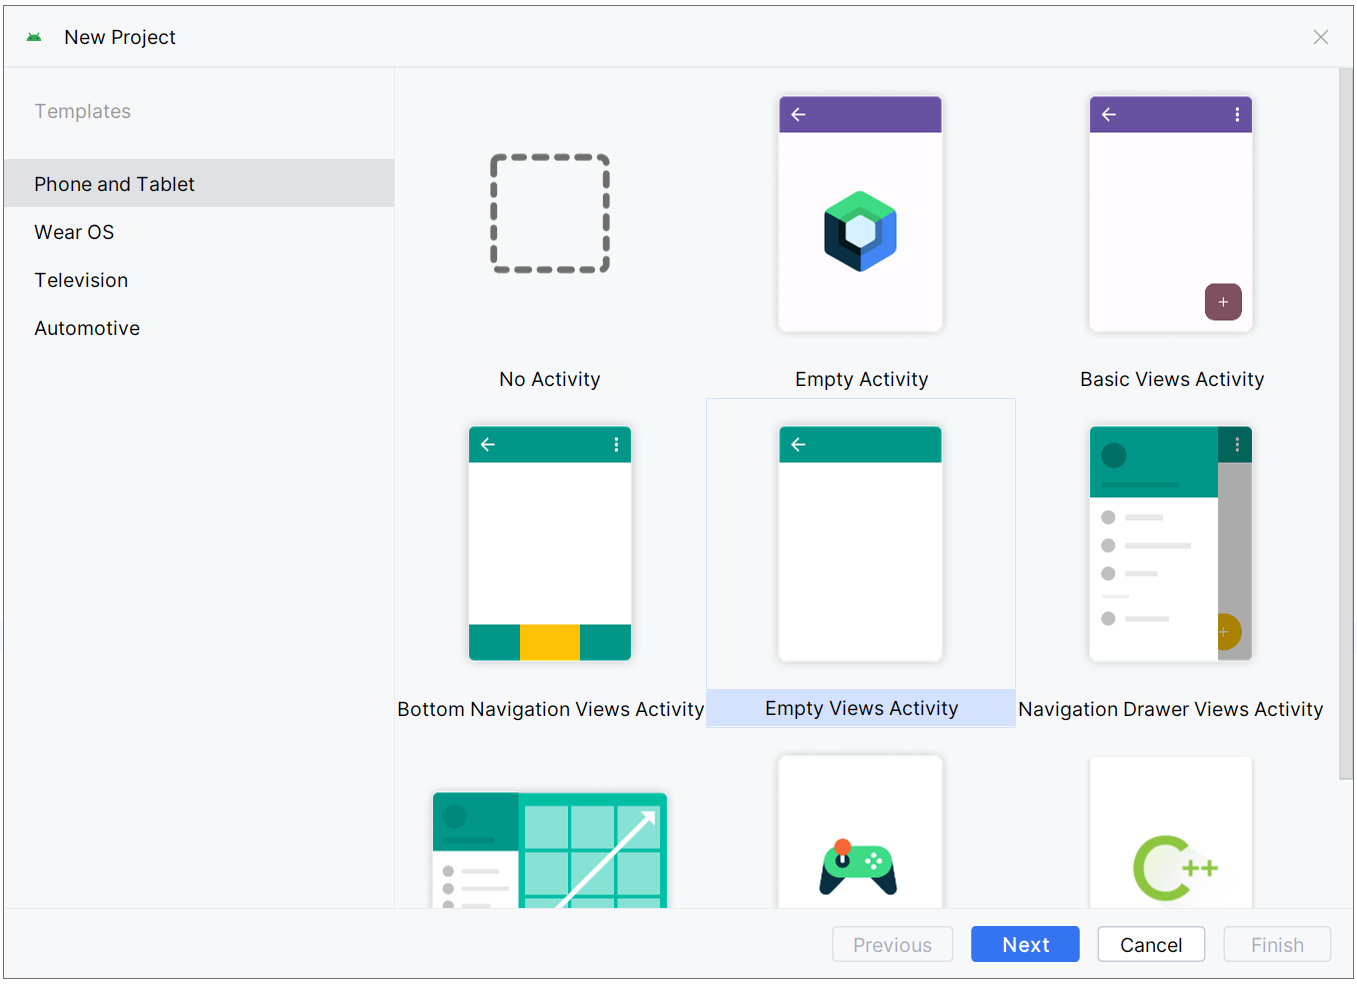
Select your activity type and click Next. For this tutorial, select Phone and Tablet > Empty Views Activity.
For more information on Activities, see Introduction to activities.
-
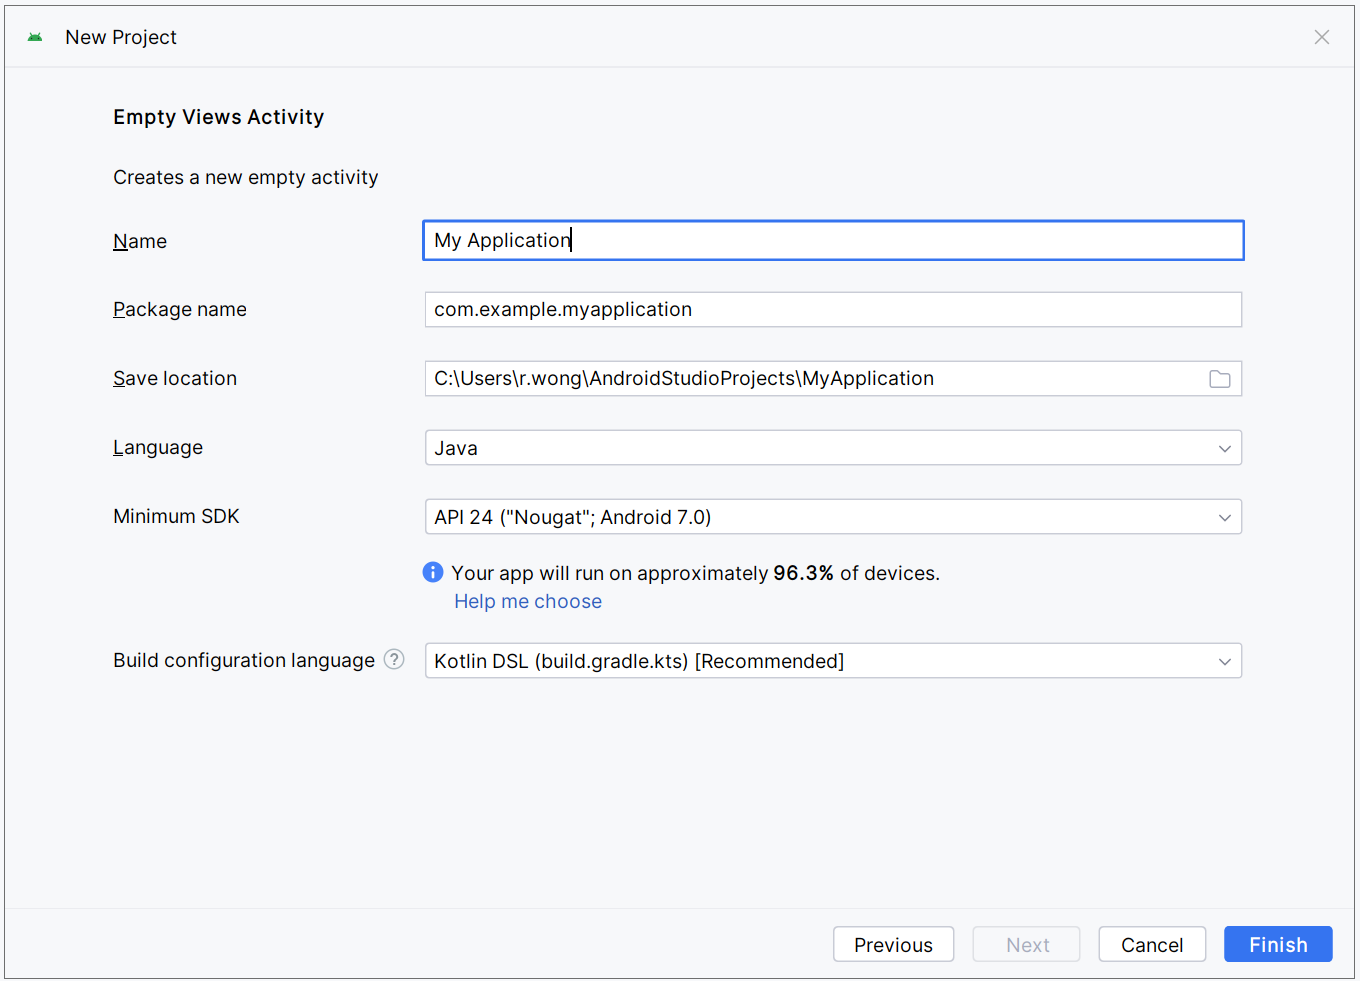
Fill out or select the fields:
Field Description Name This is your app name. Package name This is the combination of the company domain and application name, which must be unique across all packages in the Android environment. Android generates this from the application name and company domain values. Save location This is the directory where your app is stored. You can use the default or specify another location, if desired. Language This is the programming language used to develop your app. For this tutorial, select Java. Minimum SDK This is the minimum API level and Android platform version required to run your app.
For details about which Android version maps to which Knox SDK versions, see Knox version mapping.
If you target API level 26 or lower, you must later include the Knox supportlib.jar. This is for backwards compatibility, as earlier Knox platforms don't support the namespaces in the Knox SDK v3.x.
Build configuration language This is the programming language used for configuring scripts to build the module. -
Click Finish.
For more information on creating an Android project, see Google’s Create your first Android app.
Add Knox libraries to a project
-
Open the project in Android Studio.
-
Use a file browser to navigate to the location that the library files are stored. For example, in Android Studio: Users \ username \ AppData \ Local \ Android \ Sdk \ add-ons.
-
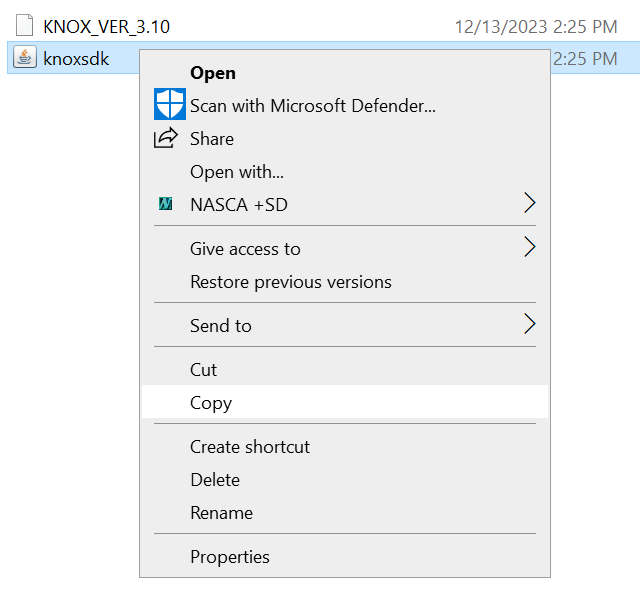
Right-click the knoxsdk.jar and click Copy.
-
If you previously targeted API level 26 or lower, you must also include the supportlib.jar. This is for backwards compatibility, as earlier Knox platforms don’t support the namespaces in the Knox SDK v3.x.
-
-
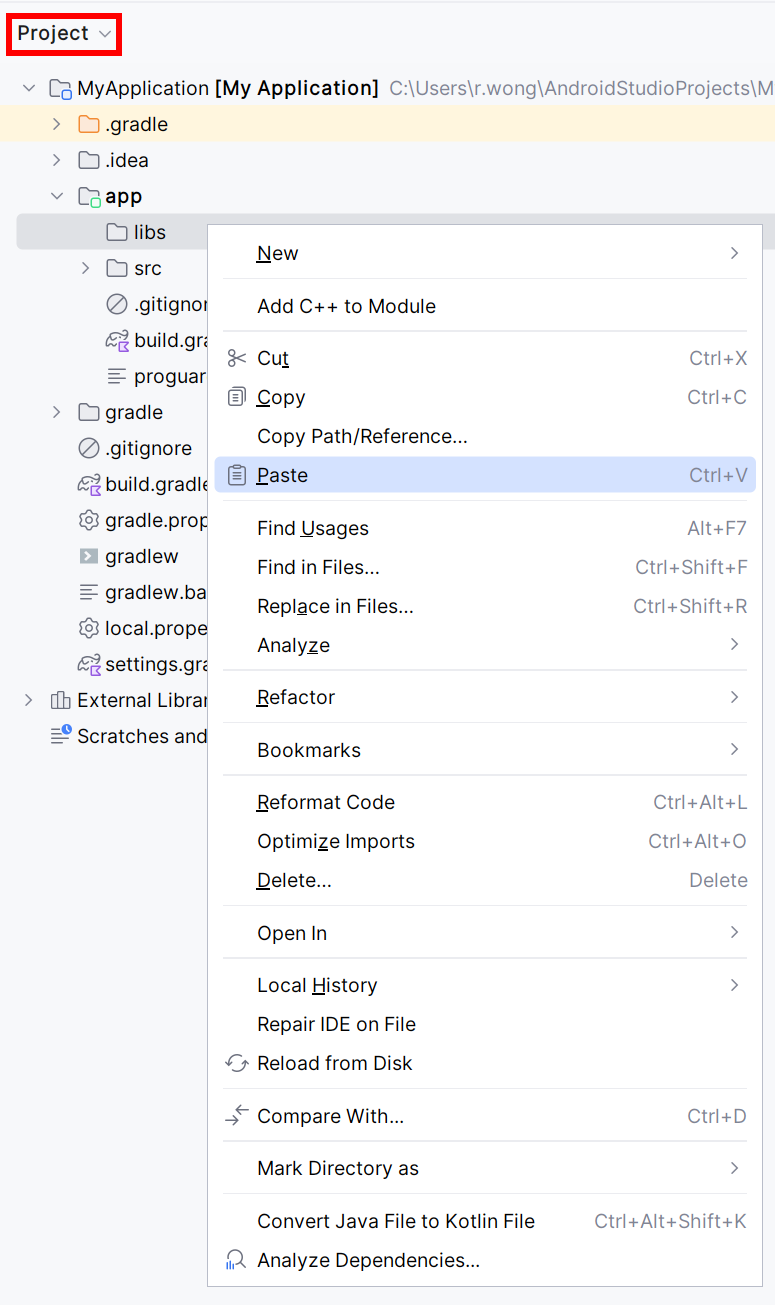
Switch to your Android Studio project, select the libs directory, and Paste the libraries into your project. If you don’t see the libs directory, make sure your file browser is using Project view rather than Android view. You may have to create this folder yourself.
-
Click OK to complete copying the libraries into the project. The libraries in your project are displayed in the libs directory.
-
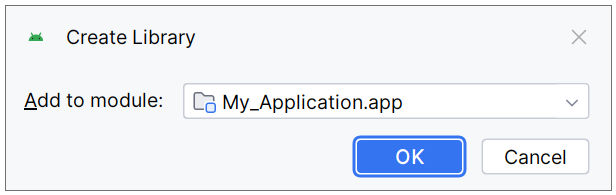
Right-click the library you just copied. Click Add As Library…
-
Select the module to add the library to, then click OK. If your app contains several modules, make sure that you add the library to the appropriate module. For this tutorial, select the app module.
Your project now includes the Knox SDK.
On this page
Is this page helpful?