Accept or reject devices
Last updated July 26th, 2023
Once a reseller uploads devices to your account, they’ll appear in the Devices page. You’ll need to accept the devices before you can manage them. Knox Guard devices in the Pending state can be accepted or rejected individually, collectively, or in a bulk operation.
Accept devices
To accept devices:
-
On the Devices page, select one or more devices.
-
Click Actions > Manage device > Accept Device(s).
-
(Optional) Enter an Approval ID (only for this device). This is the billing approval ID assigned by a financial institution’s unique billing system for loan payment approval.
If the device reseller is unregistered, they need to be approved and accepted onto the registered reseller list.
-
Click ACCEPT.
You can only accept multiple devices at once if they were uploaded by the same reseller.
Reject devices
Pending devices can be rejected when reseller data and acceptance terms are incomplete or incorrect.
-
On the Devices page, click ACTIONS > Manage device > Reject device(s). The Reject device(s) dialog displays.

-
Click REJECT.
Rejecting devices is an irreversible action. To add the devices to your account again, the reseller must delete, then reupload the devices.
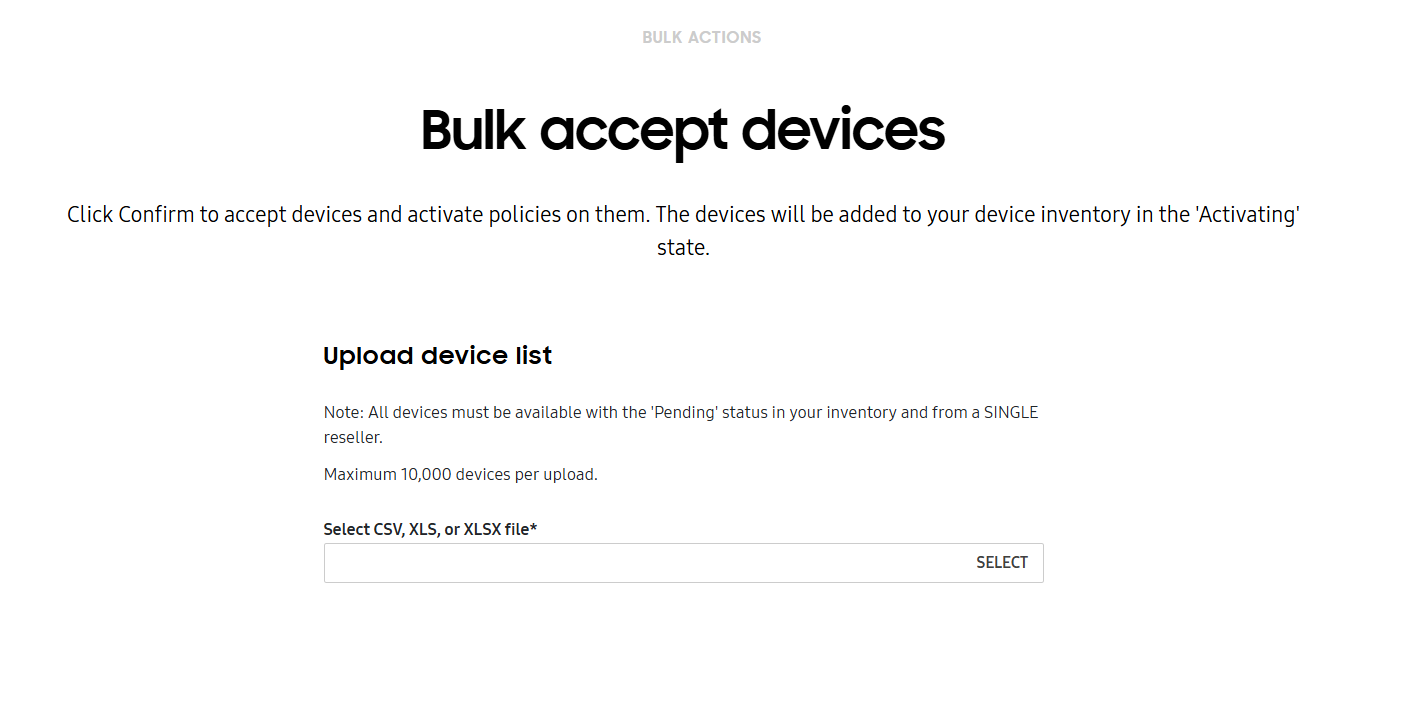
Accept devices in bulk
You can accept devices in bulk by entering their IMEIs or serial numbers into a standardized template. The maximum number of devices you can add in one action is 10,000.
If necessary, contact Samsung B2B Tech Support for information on using the Reseller API for enrollments beyond 10,000 devices.
To accept devices in bulk:
-
Click BULK ACTIONS in the bottom of the left navigation pane.
-
To download a standard template, click Download CSV template.
For more information on how to create a properly formatted CSV file, click Instructions for all bulk actions from the bottom left-hand side of the Bulk actions screen.
-
Under DEVICE MANAGEMENT, click ACCEPT DEVICES and upload your CSV file containing the device IDs.
-
Click CONFIRM.
On this page
Is this page helpful?