Submit a support ticket
Last updated July 26th, 2023
If you’re experiencing a technical issue, our support documentation contains many resources, including FAQs, KBAs, how-to videos, and admin guides, to help you troubleshoot.
Can’t find the answer to your question? This section guides you through the steps to submit a support ticket.
Access the support ticketing system
To get access to the support ticketing system:
- Sign in to the Knox Admin Portal.
- In the support center in the top-right corner, click Submit/View support tickets.
- (Optional) For SELECT PRODUCT, select the Knox product you’re submitting a ticket about.
- (Optional) For DESCRIBE YOUR ISSUE, enter a few keywords related to your issue. A dialog opens with related support resources to help you troubleshoot your issue.
- Click SUBMIT A TICKET to go to the next stage of the support process.
If this is your first time submitting a ticket, you’ll be prompted to acknowledge the legal terms before you can get access.
You’re then redirected to the support ticketing system.
Create a ticket
To create a new ticket:
-
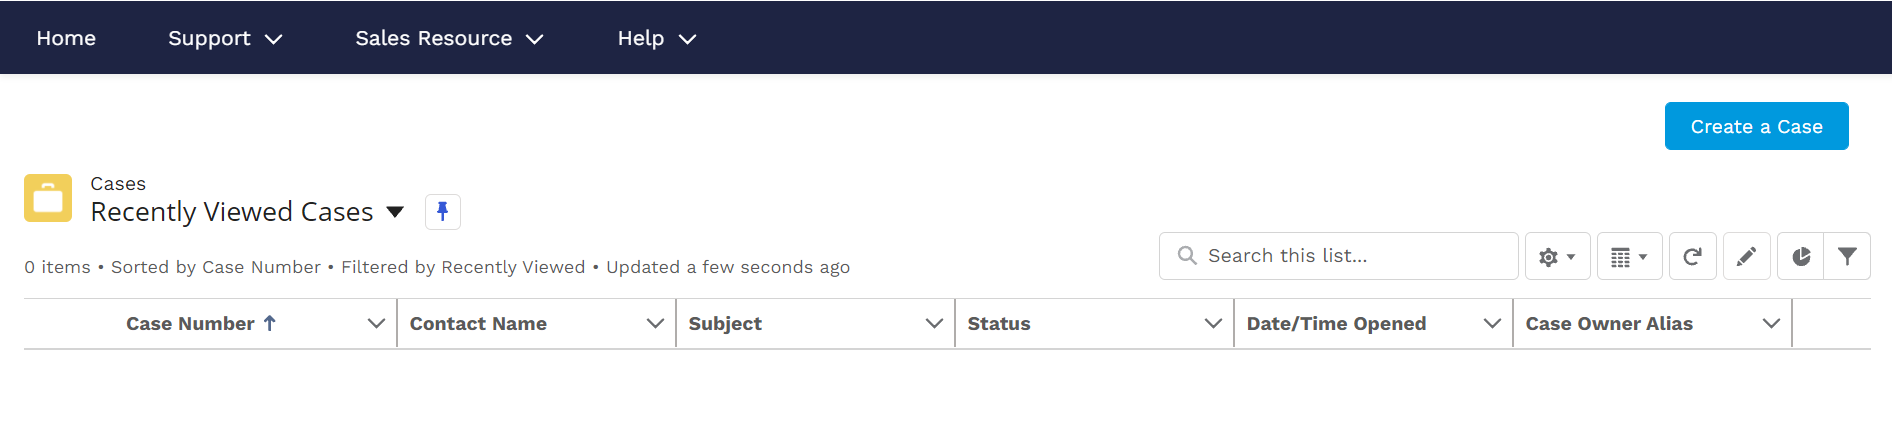
In the support ticketing system, click Create a Case to add a new ticket.
-
Fill the Product, Issued Location, License key, and Severity fields with the appropriate information.
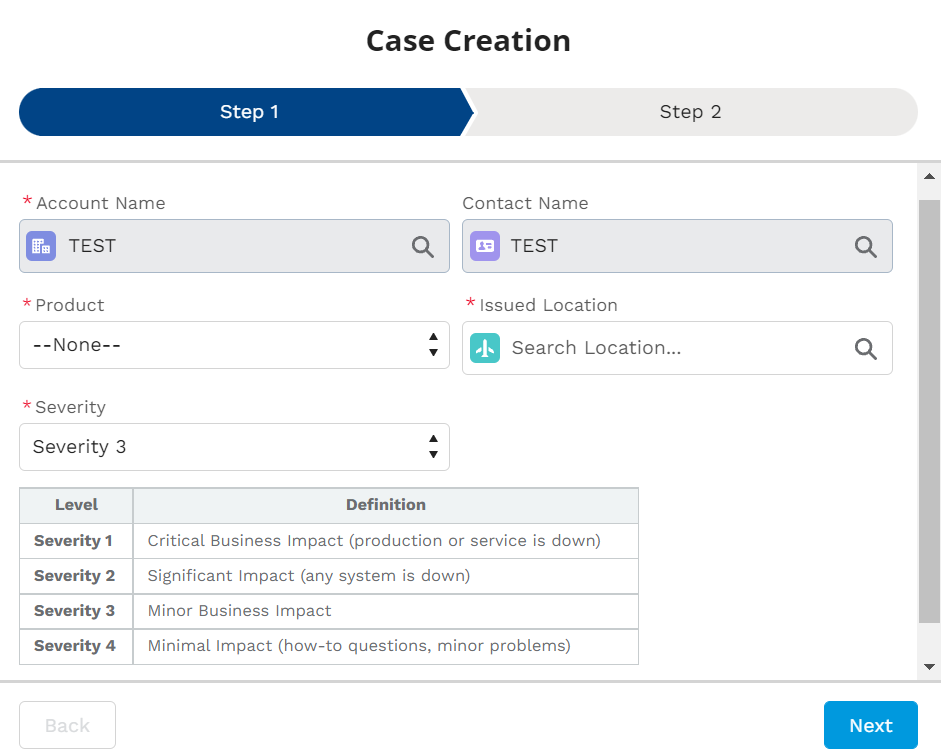
The License Key field is only shown after you fill the Product and Issued Location fields. To find your license, go to Licenses in the Knox Admin Portal, then copy a license key of your choice.
-
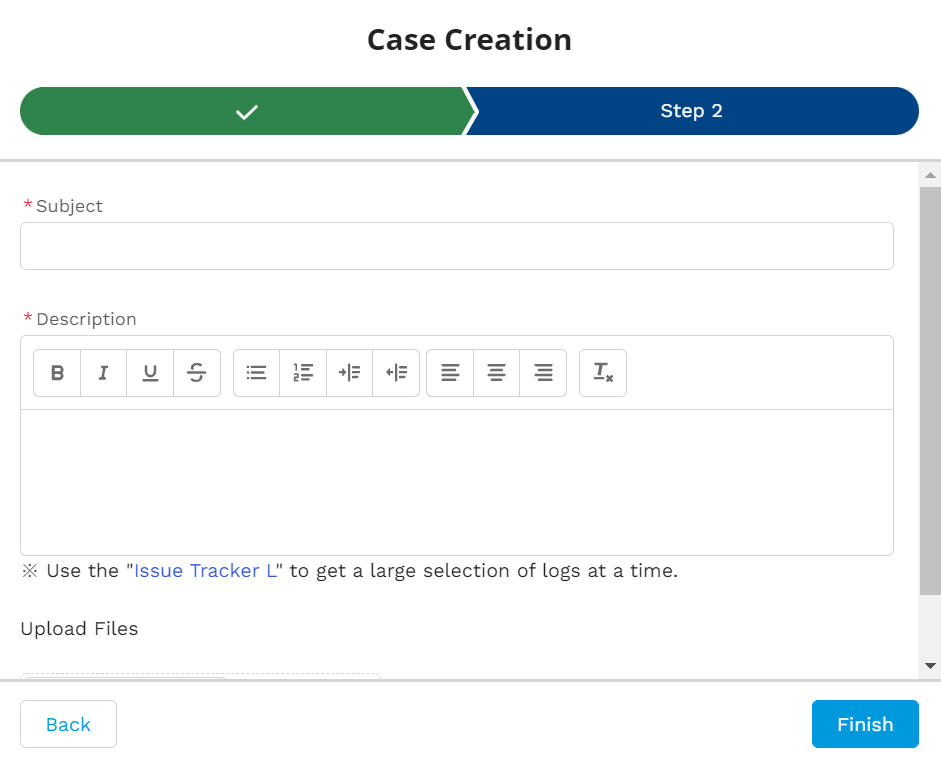
Enter a Subject and Description for the problem and attach any files that can help our support team better understand the issue, like log files.
-
When you’re done, click Finish to complete ticket creation.
On this page
Is this page helpful?