End-user get started
Last updated July 26th, 2023
This tutorial guides an end-user through the Knox Capture application and explains how to launch the barcode scanner from an app, review a scanning profile configuration, and change camera scan triggers.
Step 1: Get familiar with the Knox Capture interface
The first time Knox Capture is launched, a prompt displays Knox Capture the Privacy Policy and EULA terms. After reviewing the terms, tap Agree to move to the home screen.
On the home screen, you can change the Camera scan triggers options. This option allows users of rugged devices like the XCover Pro to choose which hardware key triggers the scanner. Note that the on-screen keyboard always displays the Knox Capture button, provided that you’re using the default Samsung keyboard.
Tap the options button to view the scanning configuration details, access support, and view data about the app.
To view the current scanning configuration:
-
Tap View current configuration in the options menu.
-
On the Current configuration page, tap a profile name in the list to review its details.
- Applications — A list of device applications managed by the profile. Tap the app name to see which of the app’s Android activities belong to the current profile.
- Scanner type — The IT admin-configured scan engine settings such as barcode types, flashlight settings, camera zoom levels, and more.
- Keystroke output — The rules configured to process and format scanned barcode data before it gets sent to an app as keystrokes.
Step 2: Launch a device app
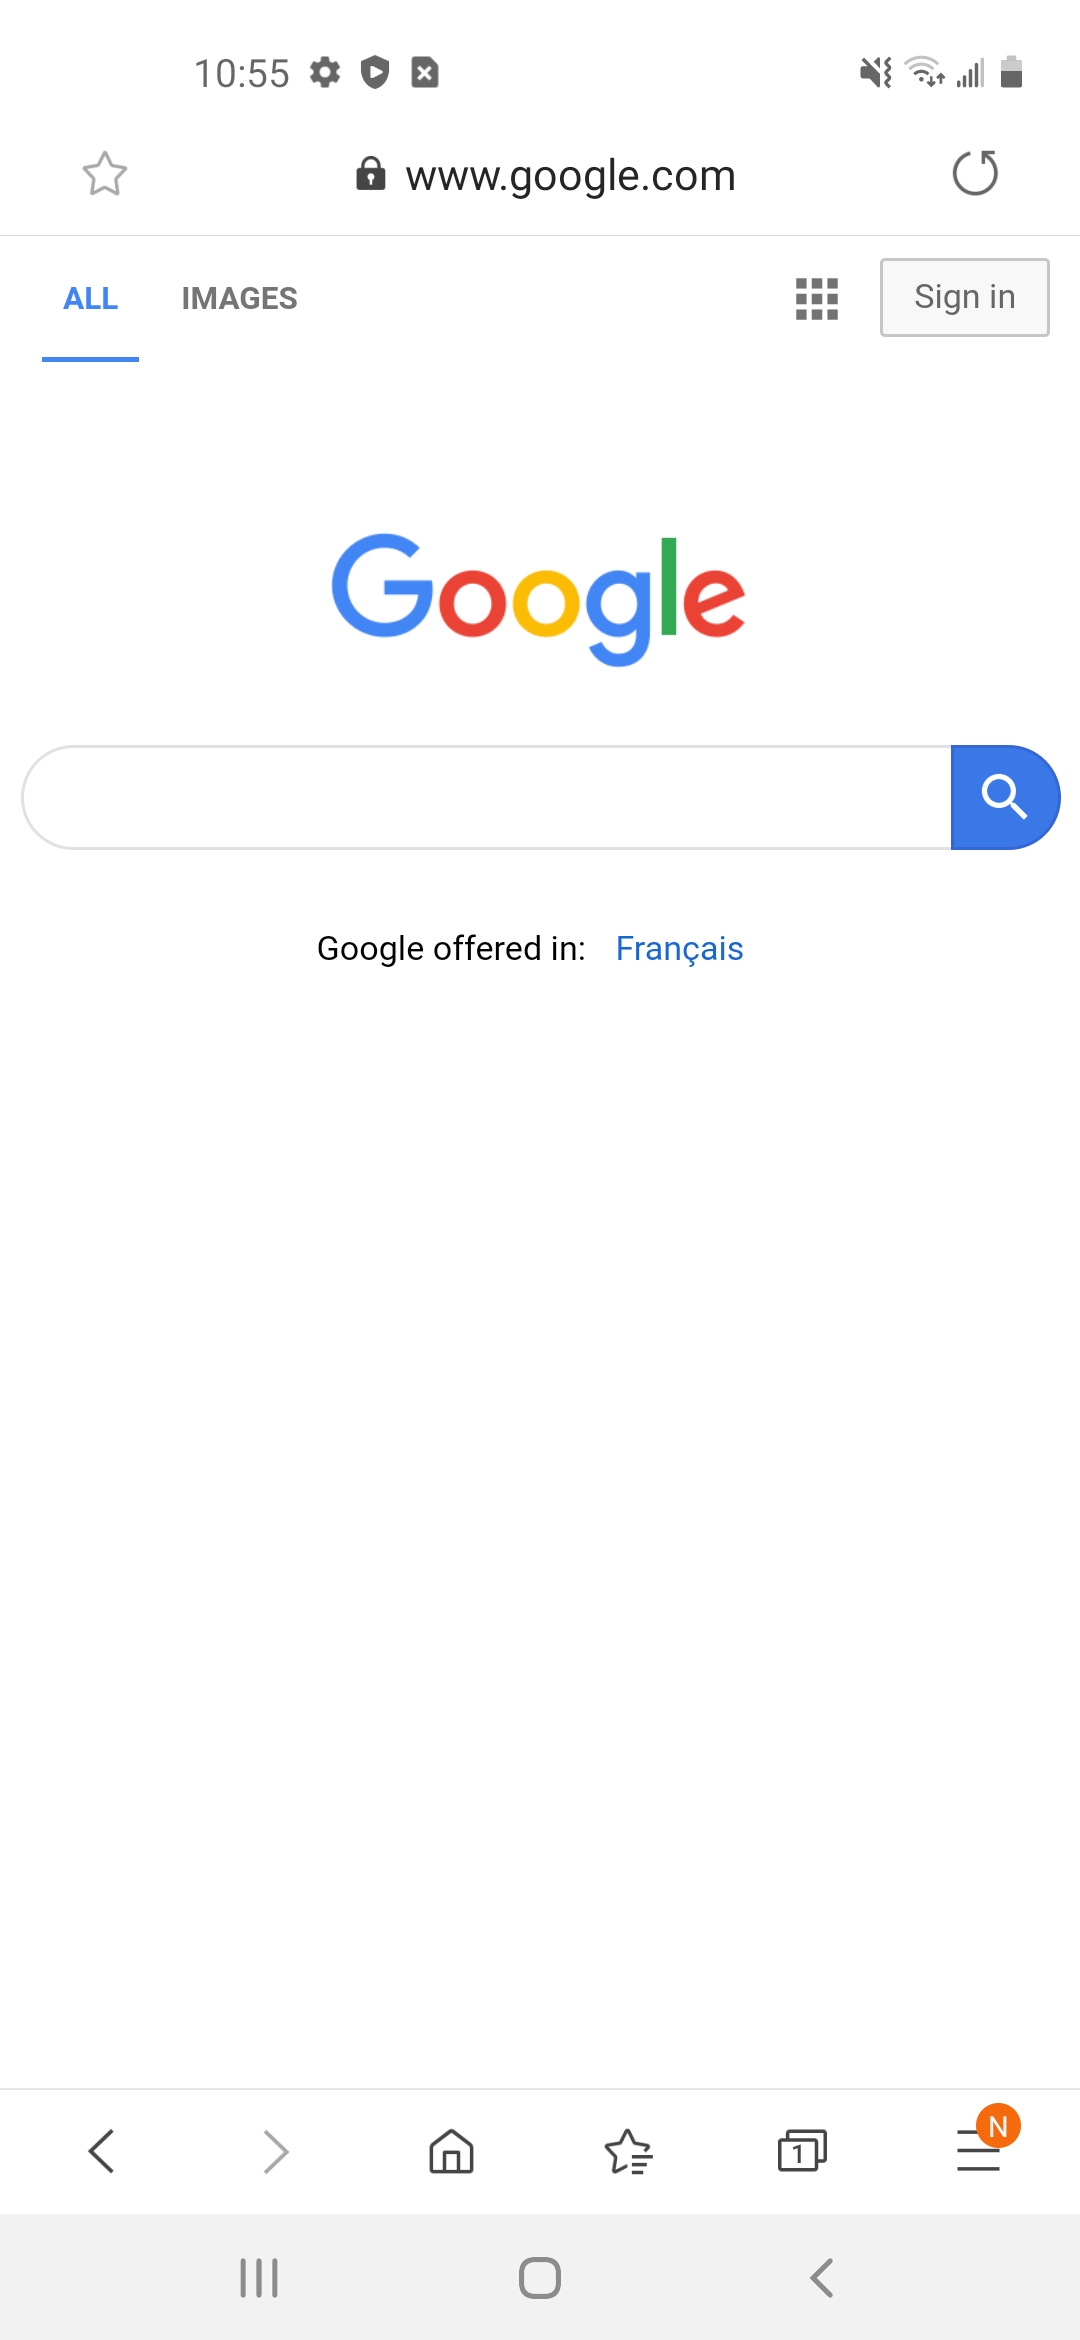
Before scanning, first open an app and tap an input field, like the search input field, so Knox Capture knows where to send the scanned data. In the following example, the Samsung Internet app is used:
- Launch the app.
- Tap an input field in the app. In the following example, tap the Google search input field.
Step 3: Trigger the scanner
Next, either press the hardware key set up as your camera scanner trigger (if applicable), or tap the Knox Capture button on the keyboard.
The Knox Capture button is only visible if Samsung Keyboard is selected as the default keyboard.
Step 4: Scan a barcode
Once the camera is triggered, point it at the following sample barcode:

After focusing, Knox Capture automatically records and processes the captured data.
Step 5: View the scanned data
After processing the captured barcode data, Knox Capture sends it back to the app that triggered scanning. In this example, the Google search input field displays the barcode information:
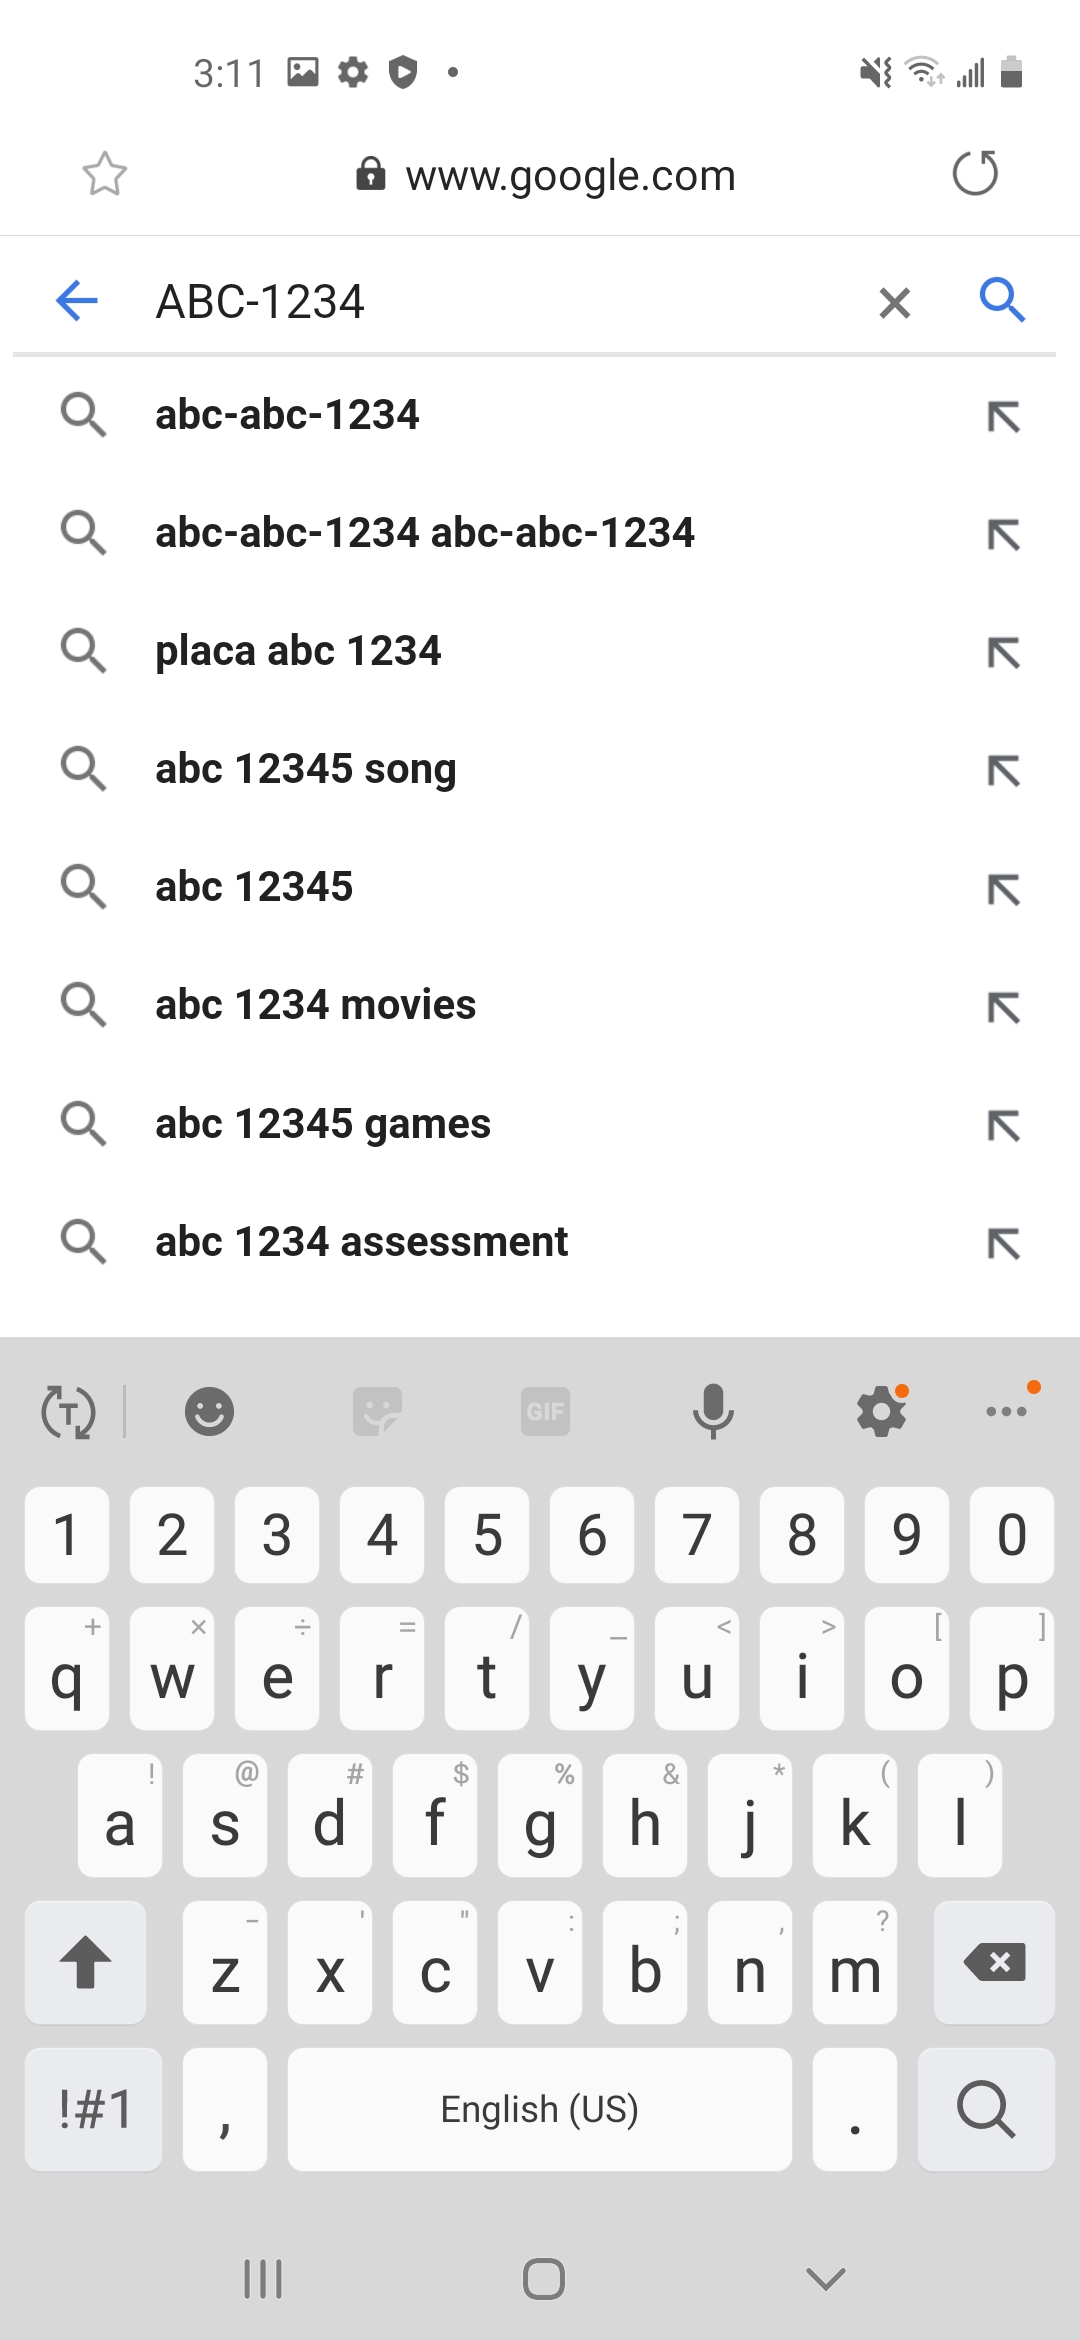
If the current configuration includes keystroke output rules, then those rules would apply to the barcode data. For example, if the IT admin created a rule to append an Enter key event after each scan, then this would emulate a user tapping Enter on their keyboard. In this example, it would trigger a Google search result for the characters “ABC-1234”
Summary
You are now familiar with the Knox Capture interface and can trigger and scan barcodes with a simple key press. You should also be able to select the camera scanning trigger and view the Knox Capture configuration set by the IT admin.
On this page
Is this page helpful?