Manage students and groups
Last updated August 28th, 2026
Use the Manage class panel to find students, organize groups, and prepare the class roster, making it easy to manage students and run activities.
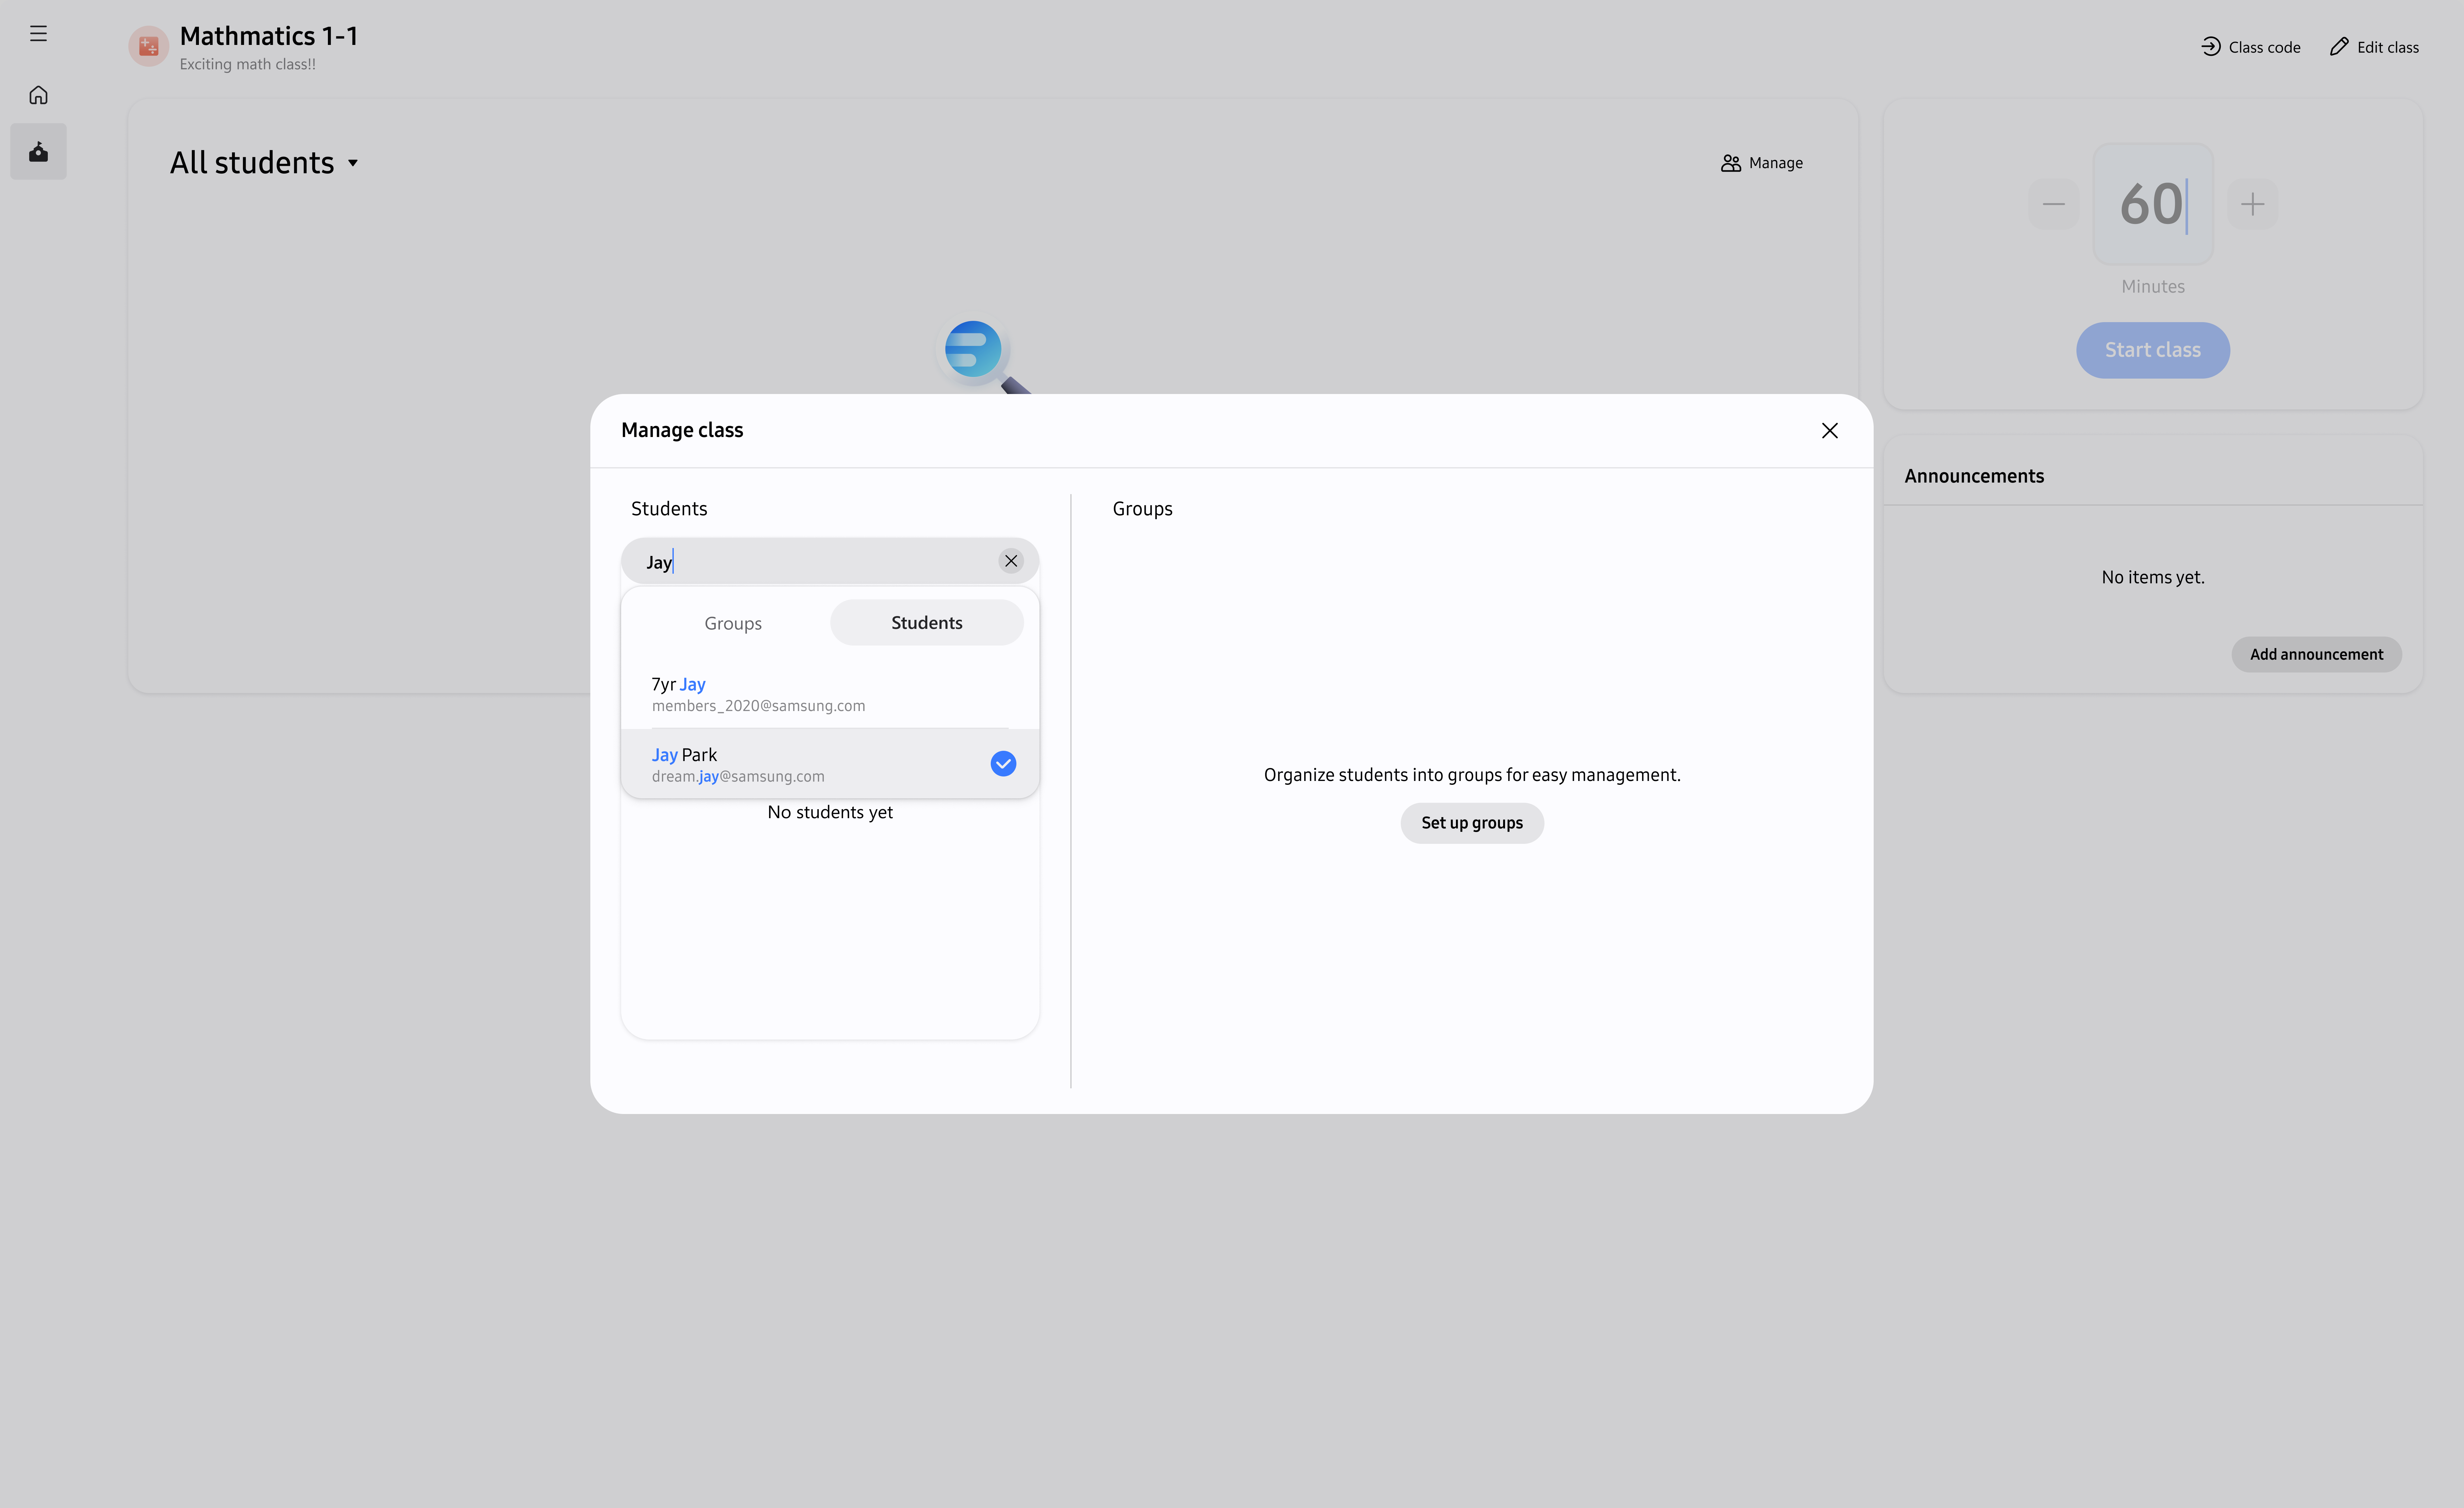
Open the Manage class panel
Use this panel to view and organize the students in a class, helping you quickly find students and manage group assignments.
- Open the class detail page.
- Select Manage.
Groups apply only to the class in which you create them.
Add students to a class
Students must have Classroom User accounts before you can add them to a class. A newly created account can take a few seconds to appear in search results. If it does not appear after you try again, ask your IT administrator to create or verify the account. For details, see Invite a Classroom user.
After creating a class, add students to the class roster so they can join class sessions.
- Open the class detail page.
- Select Manage to open the Manage class panel.
- In the Students section, search for students by their registered email address.
- Select the student from the search results.
- Select Add to enroll the student in the class.
- Repeat steps 3–5 until your roster is complete.
- Review the class roster to confirm all enrolled students are listed.
A class can contain up to 100 students. If the class reaches this limit, remove a student before adding another. If an add action fails, keep the search results open and try again. For an issue that continues, check your network connection.
Share a class code
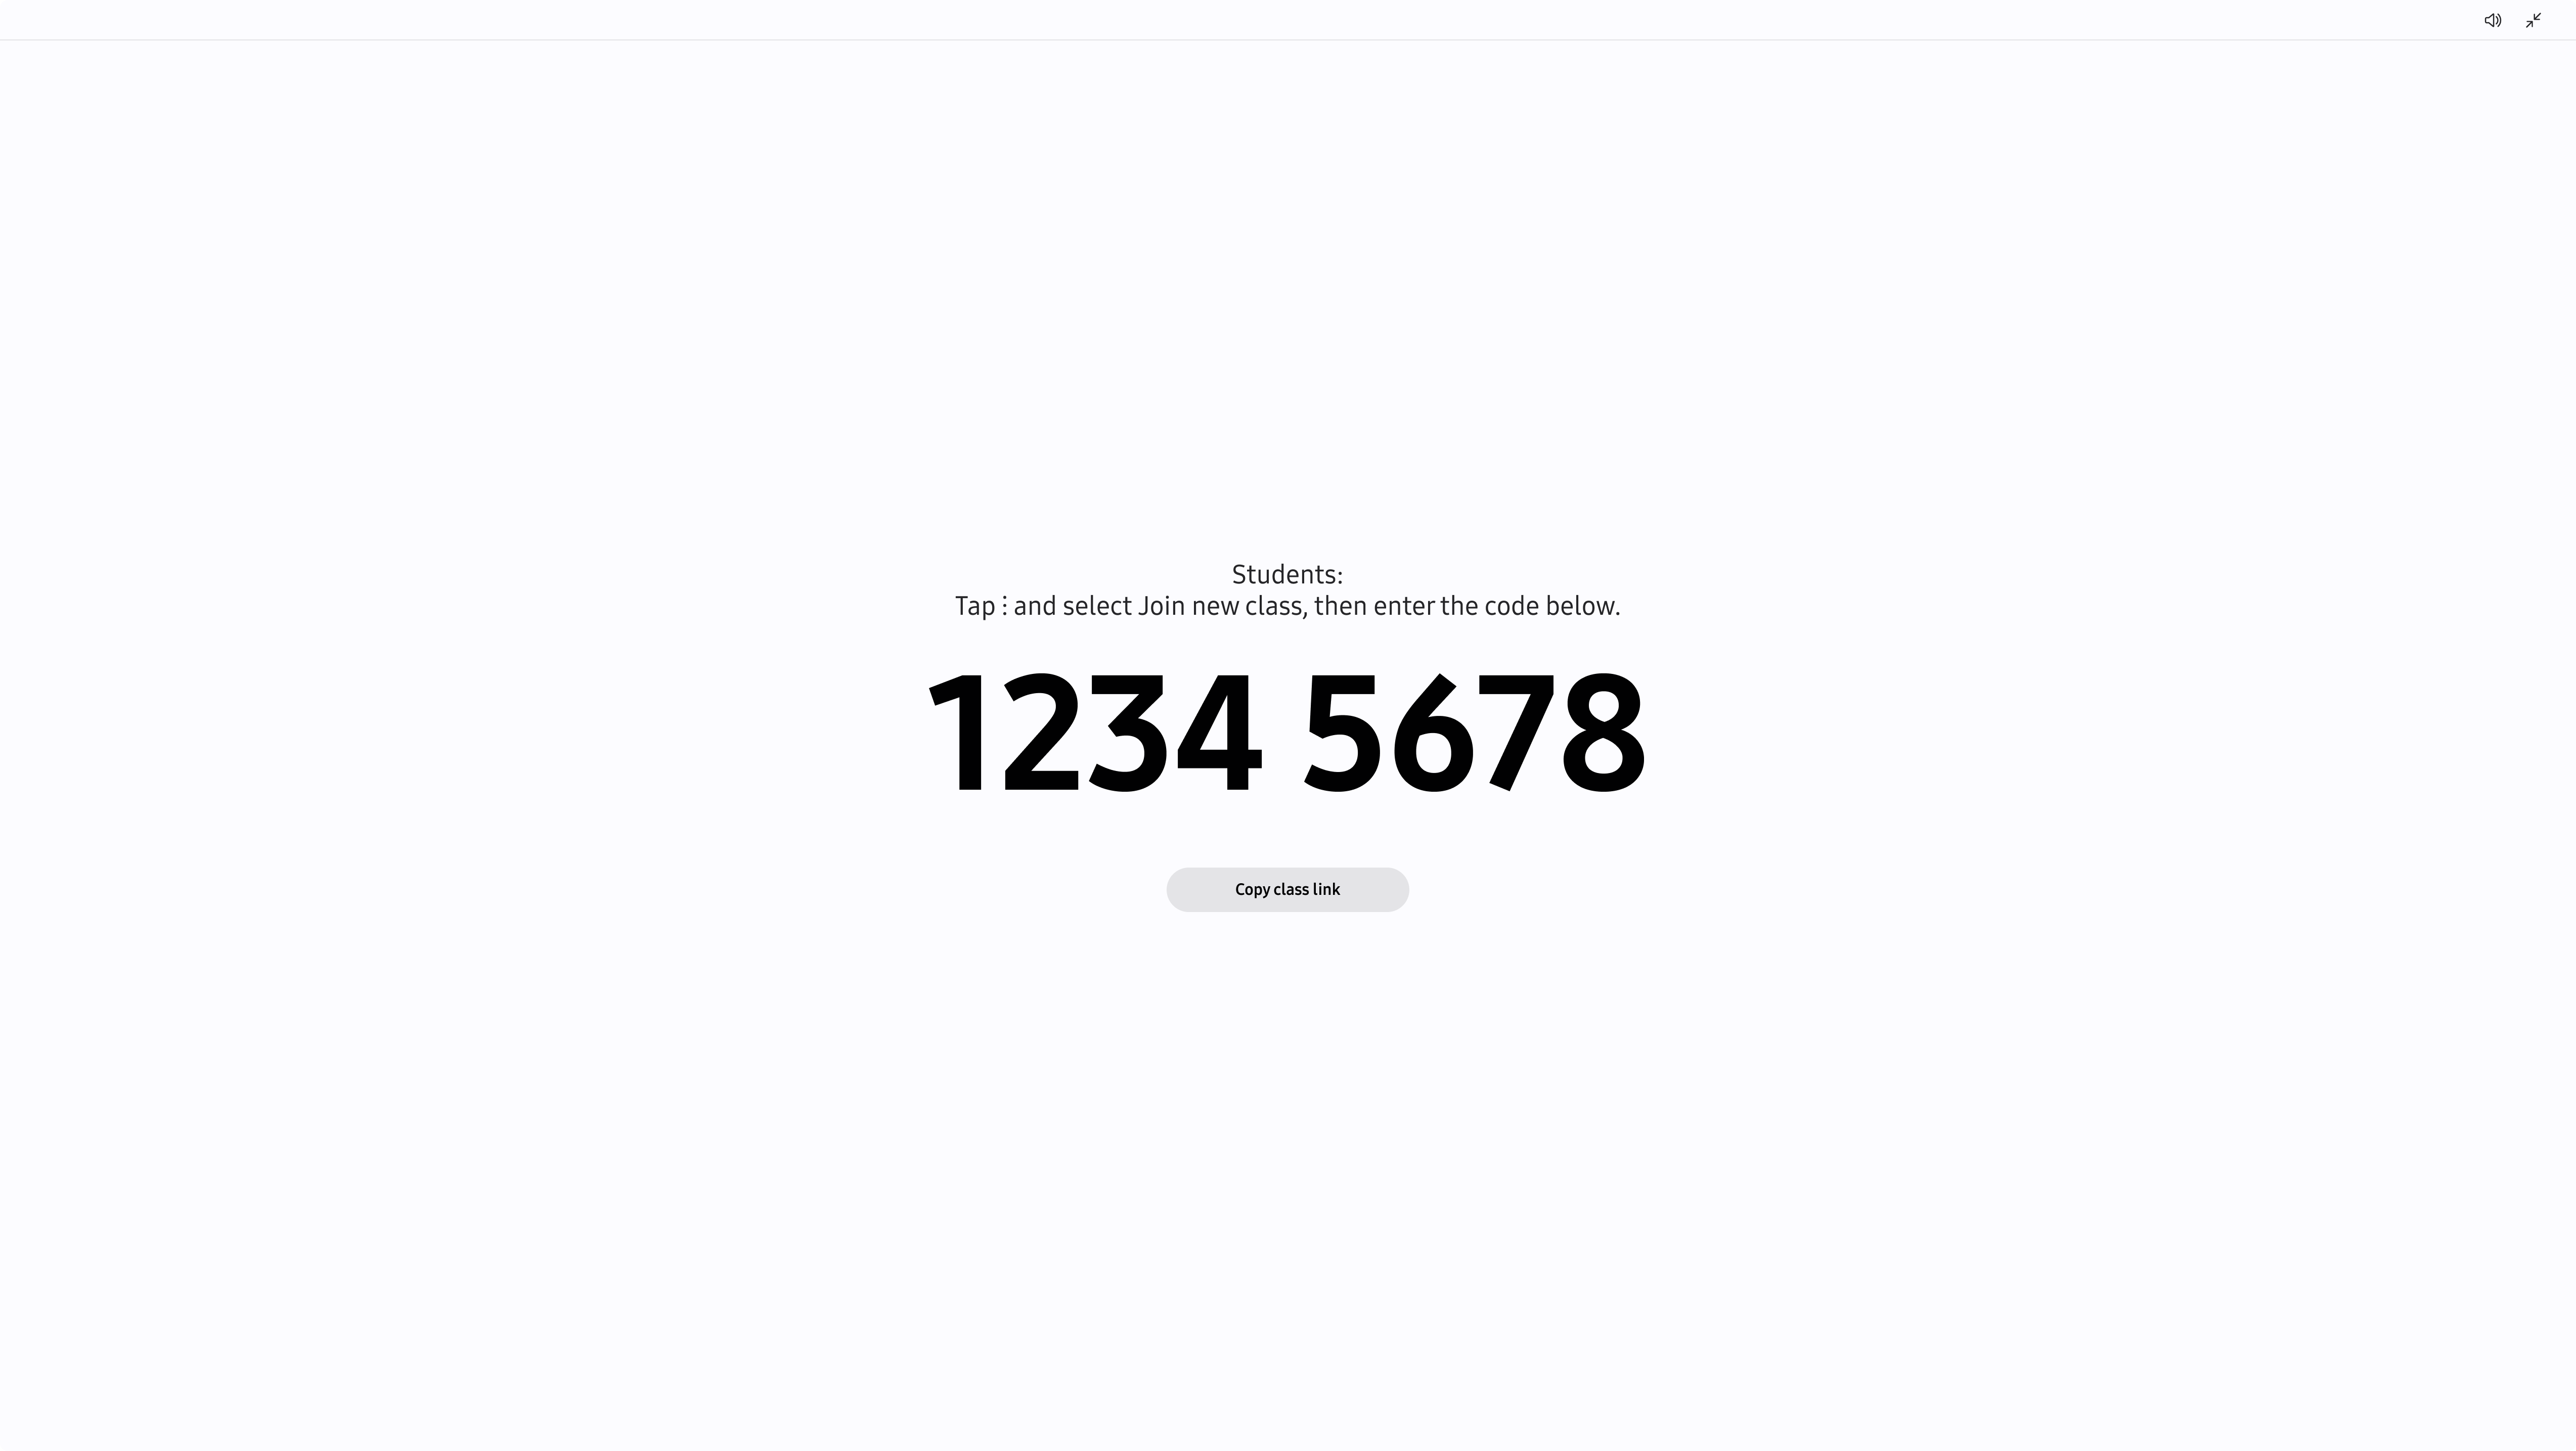
You can also share a class code with your students so that they can join your class roster from their Knox Classroom app. Students should input the class code your shared on their Knox Classroom app. To learn more about inputting a class code as a student, see Join a class.
- Open the class detail page.
- Select Class code.
- Share the displayed code with your students.
Remove a student from a class
Remove a student when they should no longer be enrolled in the class.
- In the Students section, select the remove control for the student.
- Review the confirmation message.
- Select Remove.
Removing a student from the class also removes them from every group in that class. If removal fails, the student remains in the roster; try again or check your network connection.
Find students
Search or filter the roster to locate a student.
- In the Students section, select Search by account group or ID.
- Enter the student’s name or ID.
- Use the student filter to show all students, unassigned students, or a specific group.
Student names are listed alphabetically. For a student account ID, enter the full ID. In the groups area, you can use a partial group name or group ID to find a group.
Create groups
Create groups to organize students for an activity. Groups apply only to the current class.
- In the Groups section, select Set up groups.
- Choose the number of groups to create.
- Select Create groups.
- Enter a name for each group.
- Select Save.
The group setup flow selects five groups by default. If the class has fewer than 10 students, it selects two. You need at least two students to create groups, and the number of groups cannot exceed half the number of students. Knox Classroom adjusts a number outside these limits to the nearest valid value.
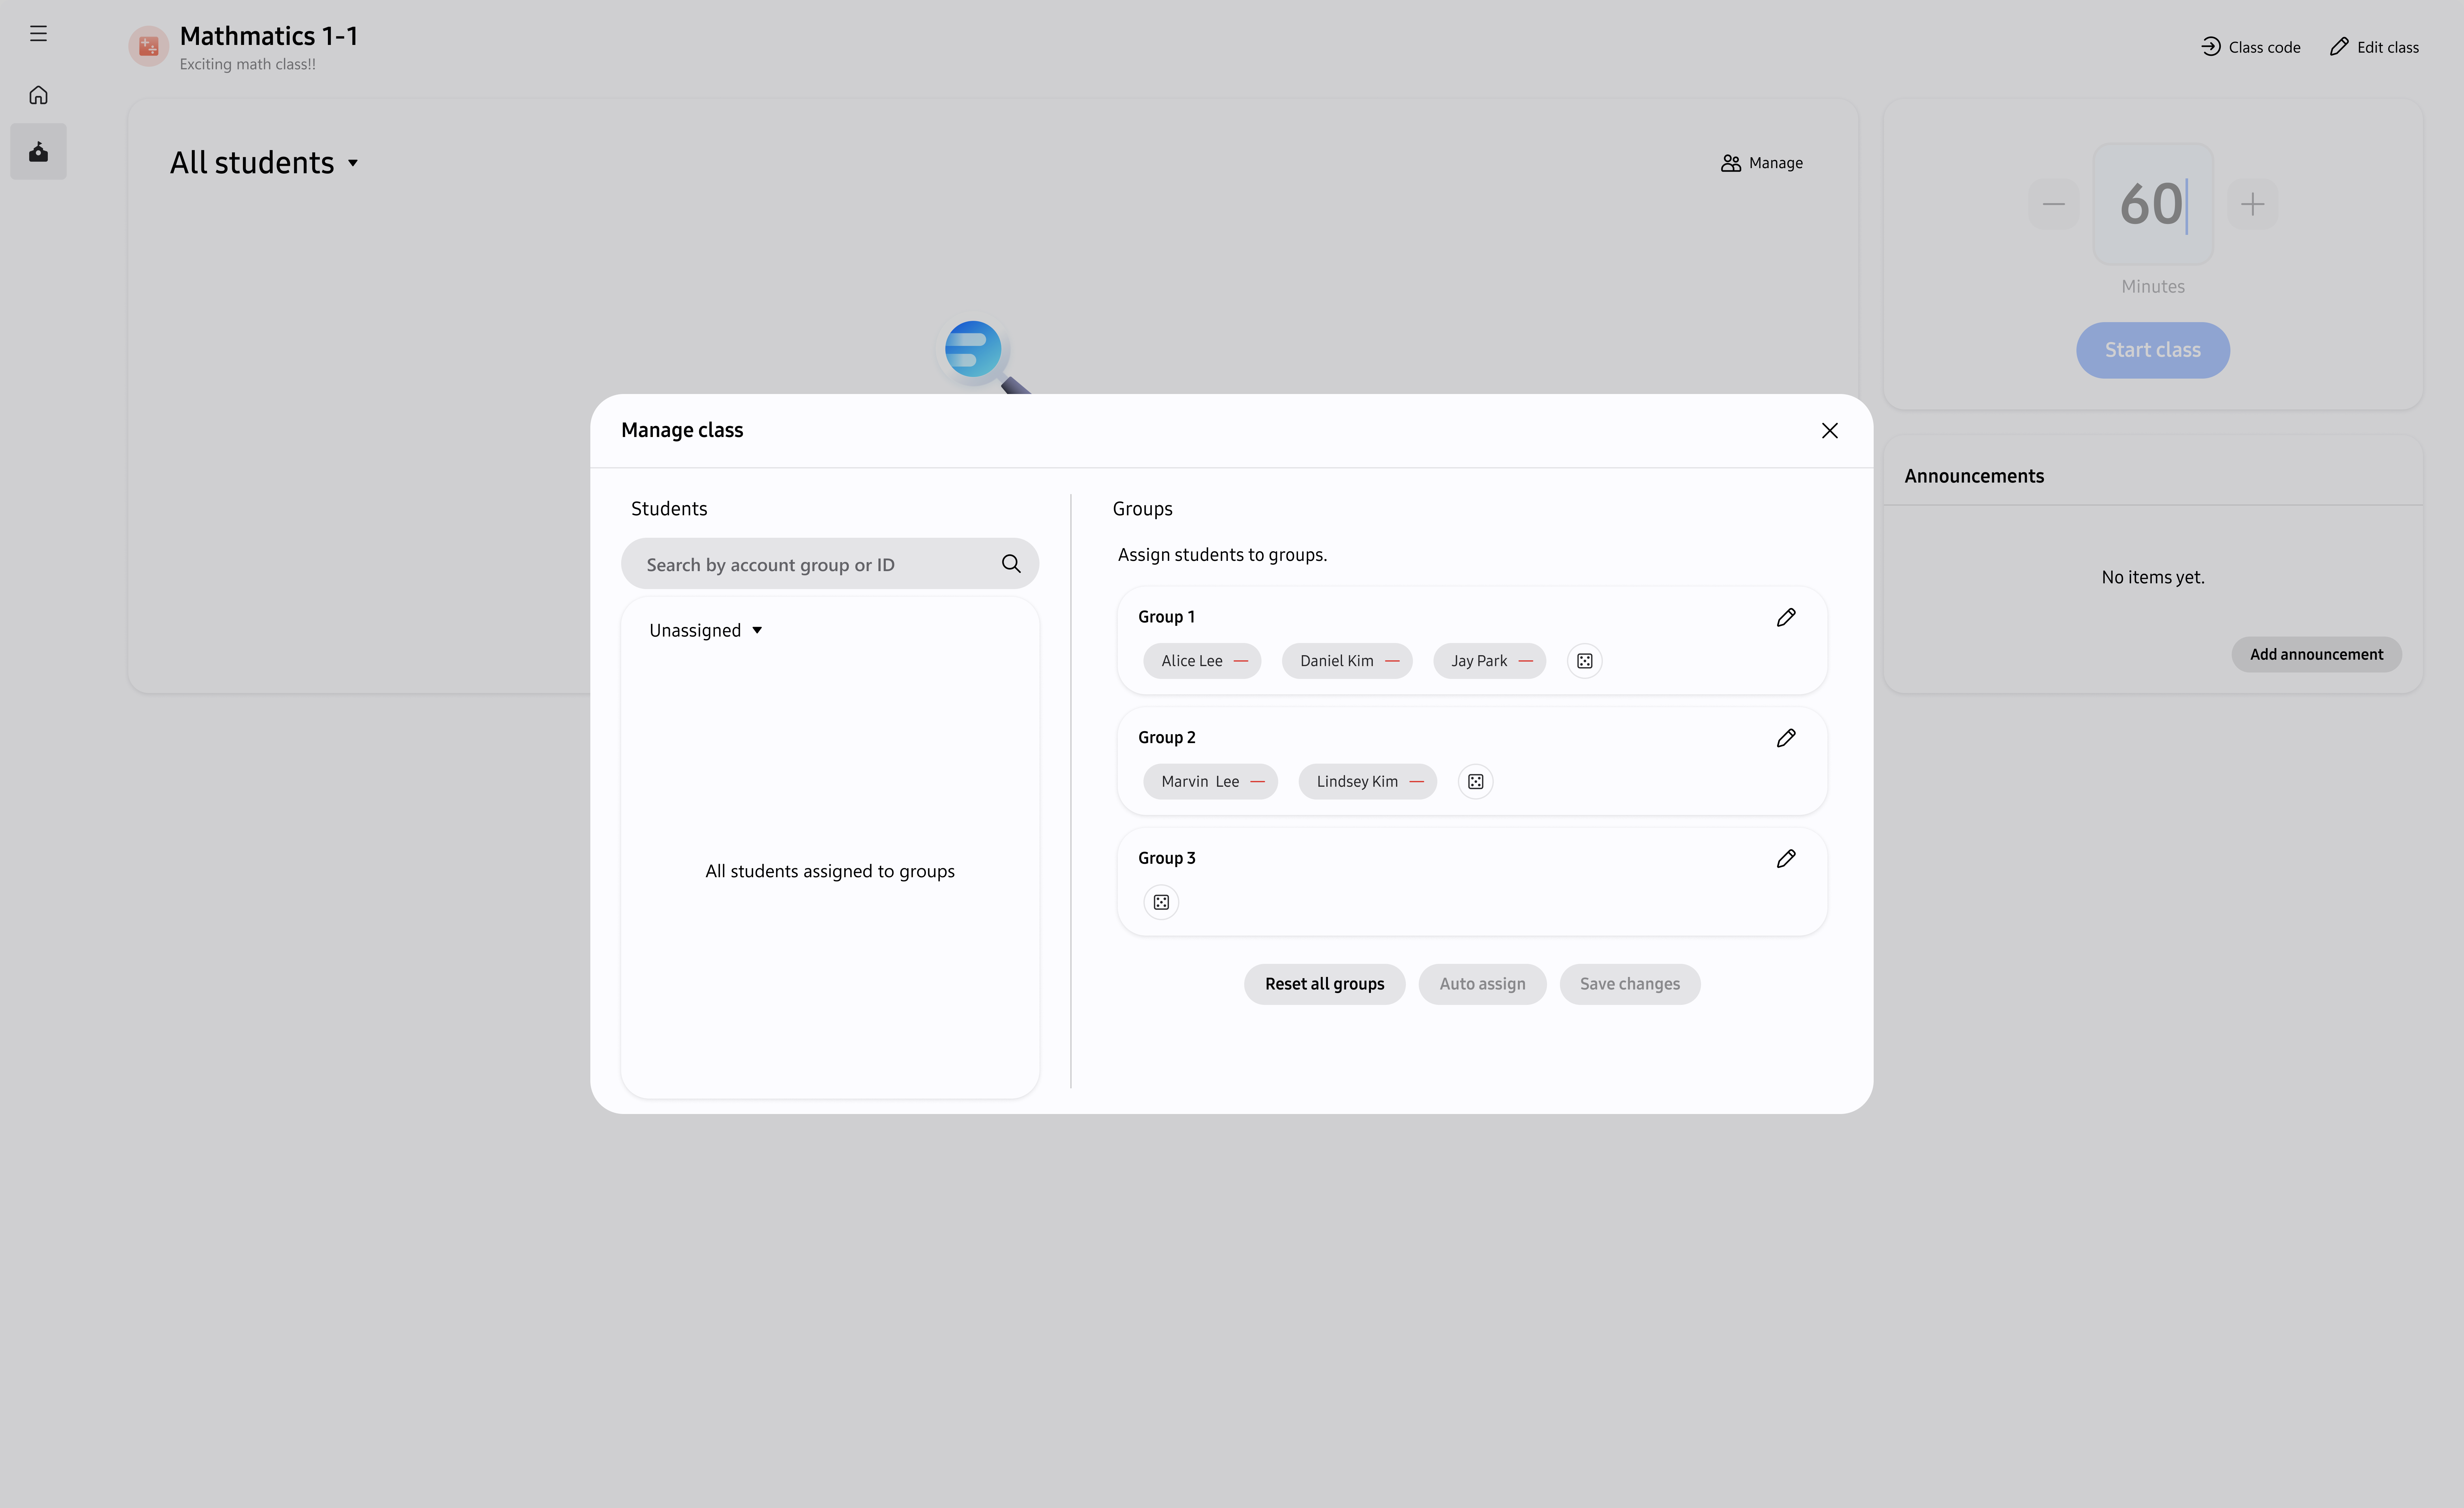
Assign students to groups
Assign students to groups manually for precise control over group composition, or use auto assign to quickly distribute students evenly across groups.
Assign students manually
- Select a student.
- Drag the student to a group, or choose the group to which you want to add them.
- Repeat until each student has the intended assignment.
- Select Save changes.
A student can belong to only one group in the class. If you try to add a student who is already assigned, Knox Classroom keeps the existing assignment and shows an error. Groups are listed alphabetically by name.
During a live session, you can select a group in the All students menu to view and monitor the students assigned to it. Students can see their own in-class group in the Knox Classroom app.
Automatically assign students
- Select Auto assign.
- Confirm the assignment.
- Select Save changes.
Auto assignment distributes students as evenly as possible among the available groups. It is unavailable when there are no students to assign.
Edit or reset groups
To rename a group, select the group name, enter a unique name, and select Save. If the name is already in use, enter a different name.
To remove all group assignments without removing students from the class, select Reset all groups, then select Reset. Review the confirmation message before continuing.
If saving, creating, or resetting groups fails, your current changes remain available. Try again, or check your network connection.
Remove a student from a group
Remove a student when their group assignment changes.
- Locate the student in the group.
- Select the minus icon next to the student’s name.
- Select Save changes.
The student is removed from the group but remains in the class roster.
Where to go next
Continue by running the class or sharing an update.
- To start monitoring and managing your class, see Start and manage a class session.
- To share updates with your class, see Send announcements to your class.
On this page
Is this page helpful?