Manage devices
Last updated September 6th, 2023
View devices
-
Sign in to the Knox Admin Portal.
-
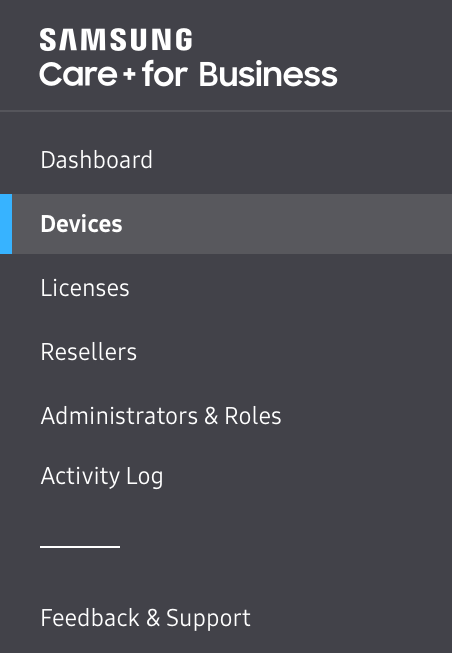
Select the Devices tab.
-
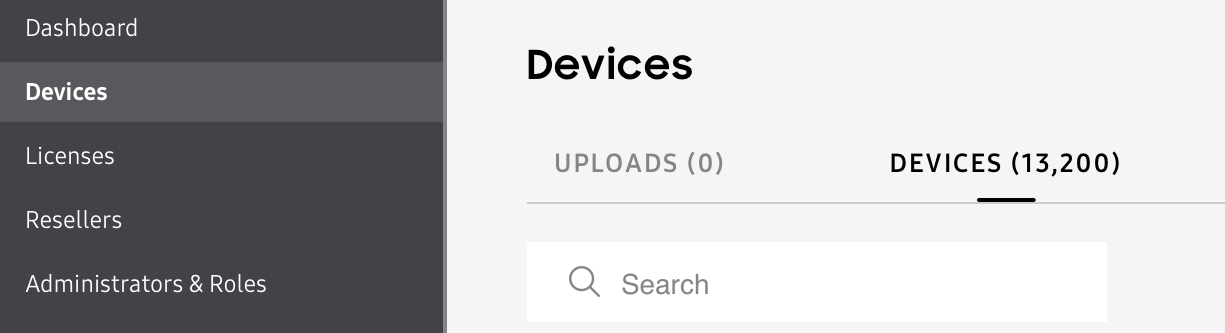
Select the DEVICES tab again here.
-
Filter and sort submitted devices by IMEI/SN, SKU, Market name, Device tier, Status, Coverage, and coverage Start date and End date.
-
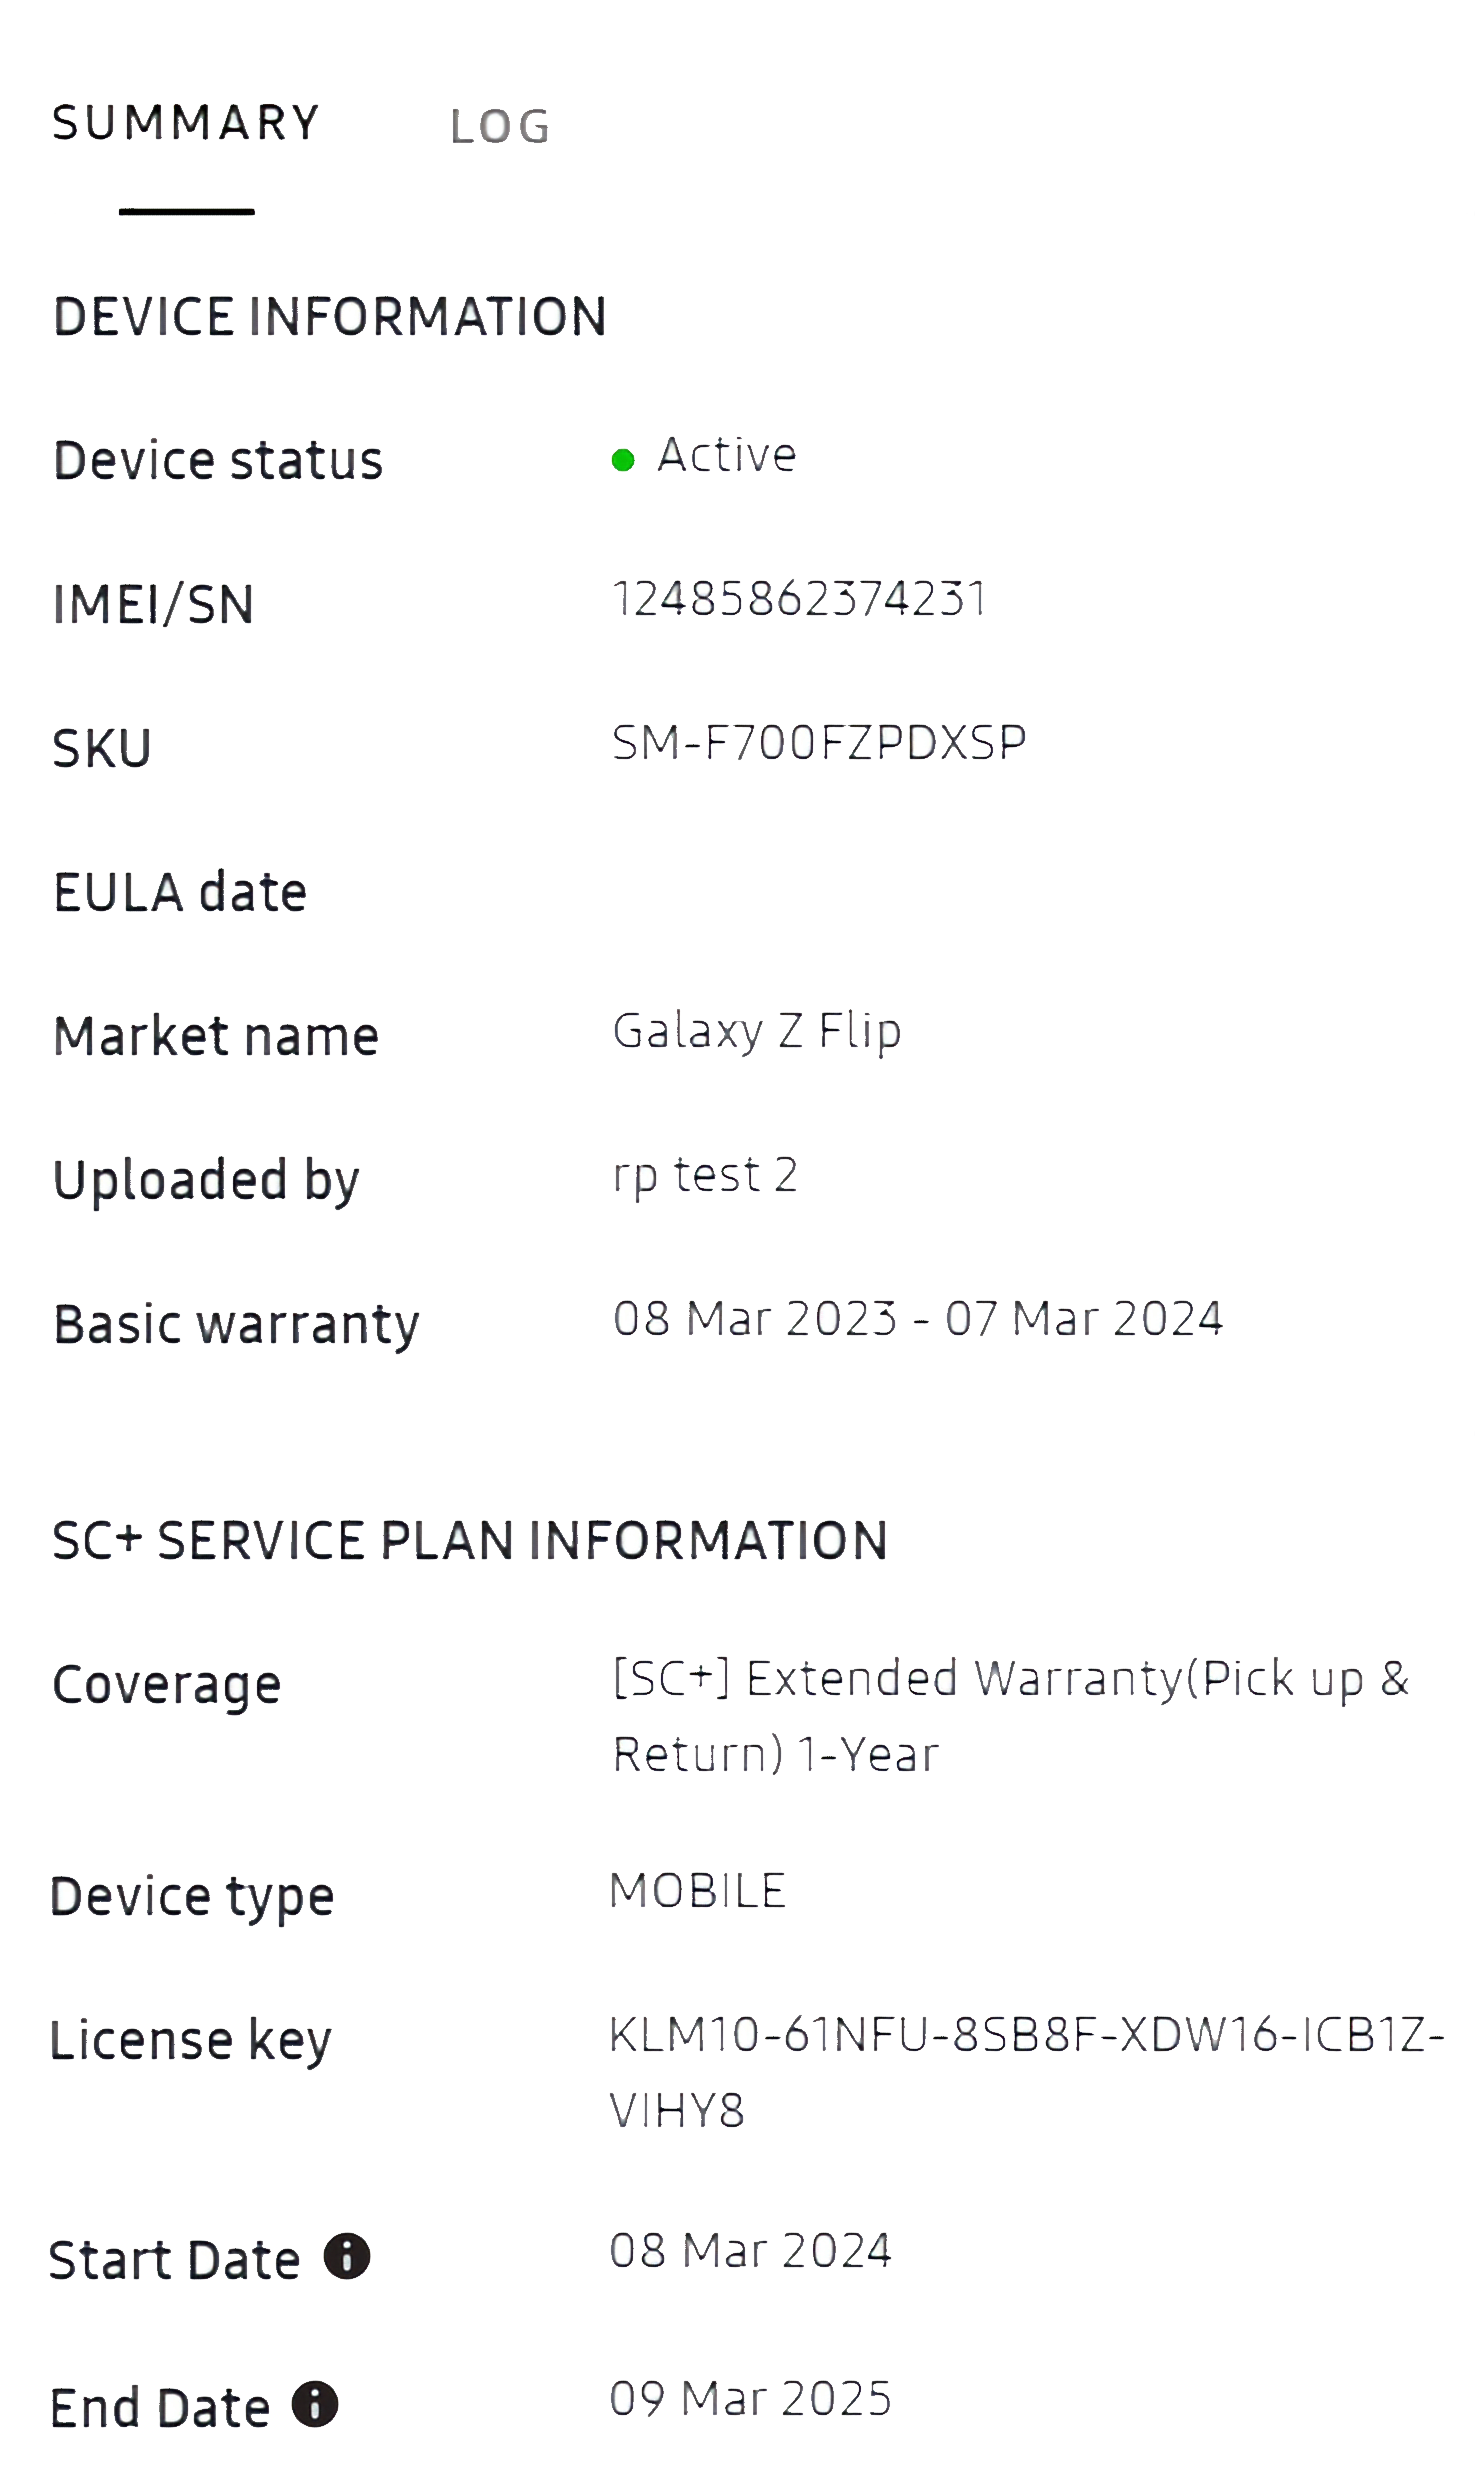
Select the IMEI/SN number of the device in order to see it’s full details.
-
Click the VIEW ALL DEVICE INFORMATION button in the DEVICE DETAILS dialog. It takes you to a consolidated device info view on the Knox Admin Portal.
Approve devices
-
Sign in to the Knox Admin Portal.
-
Select the Devices tab.
-
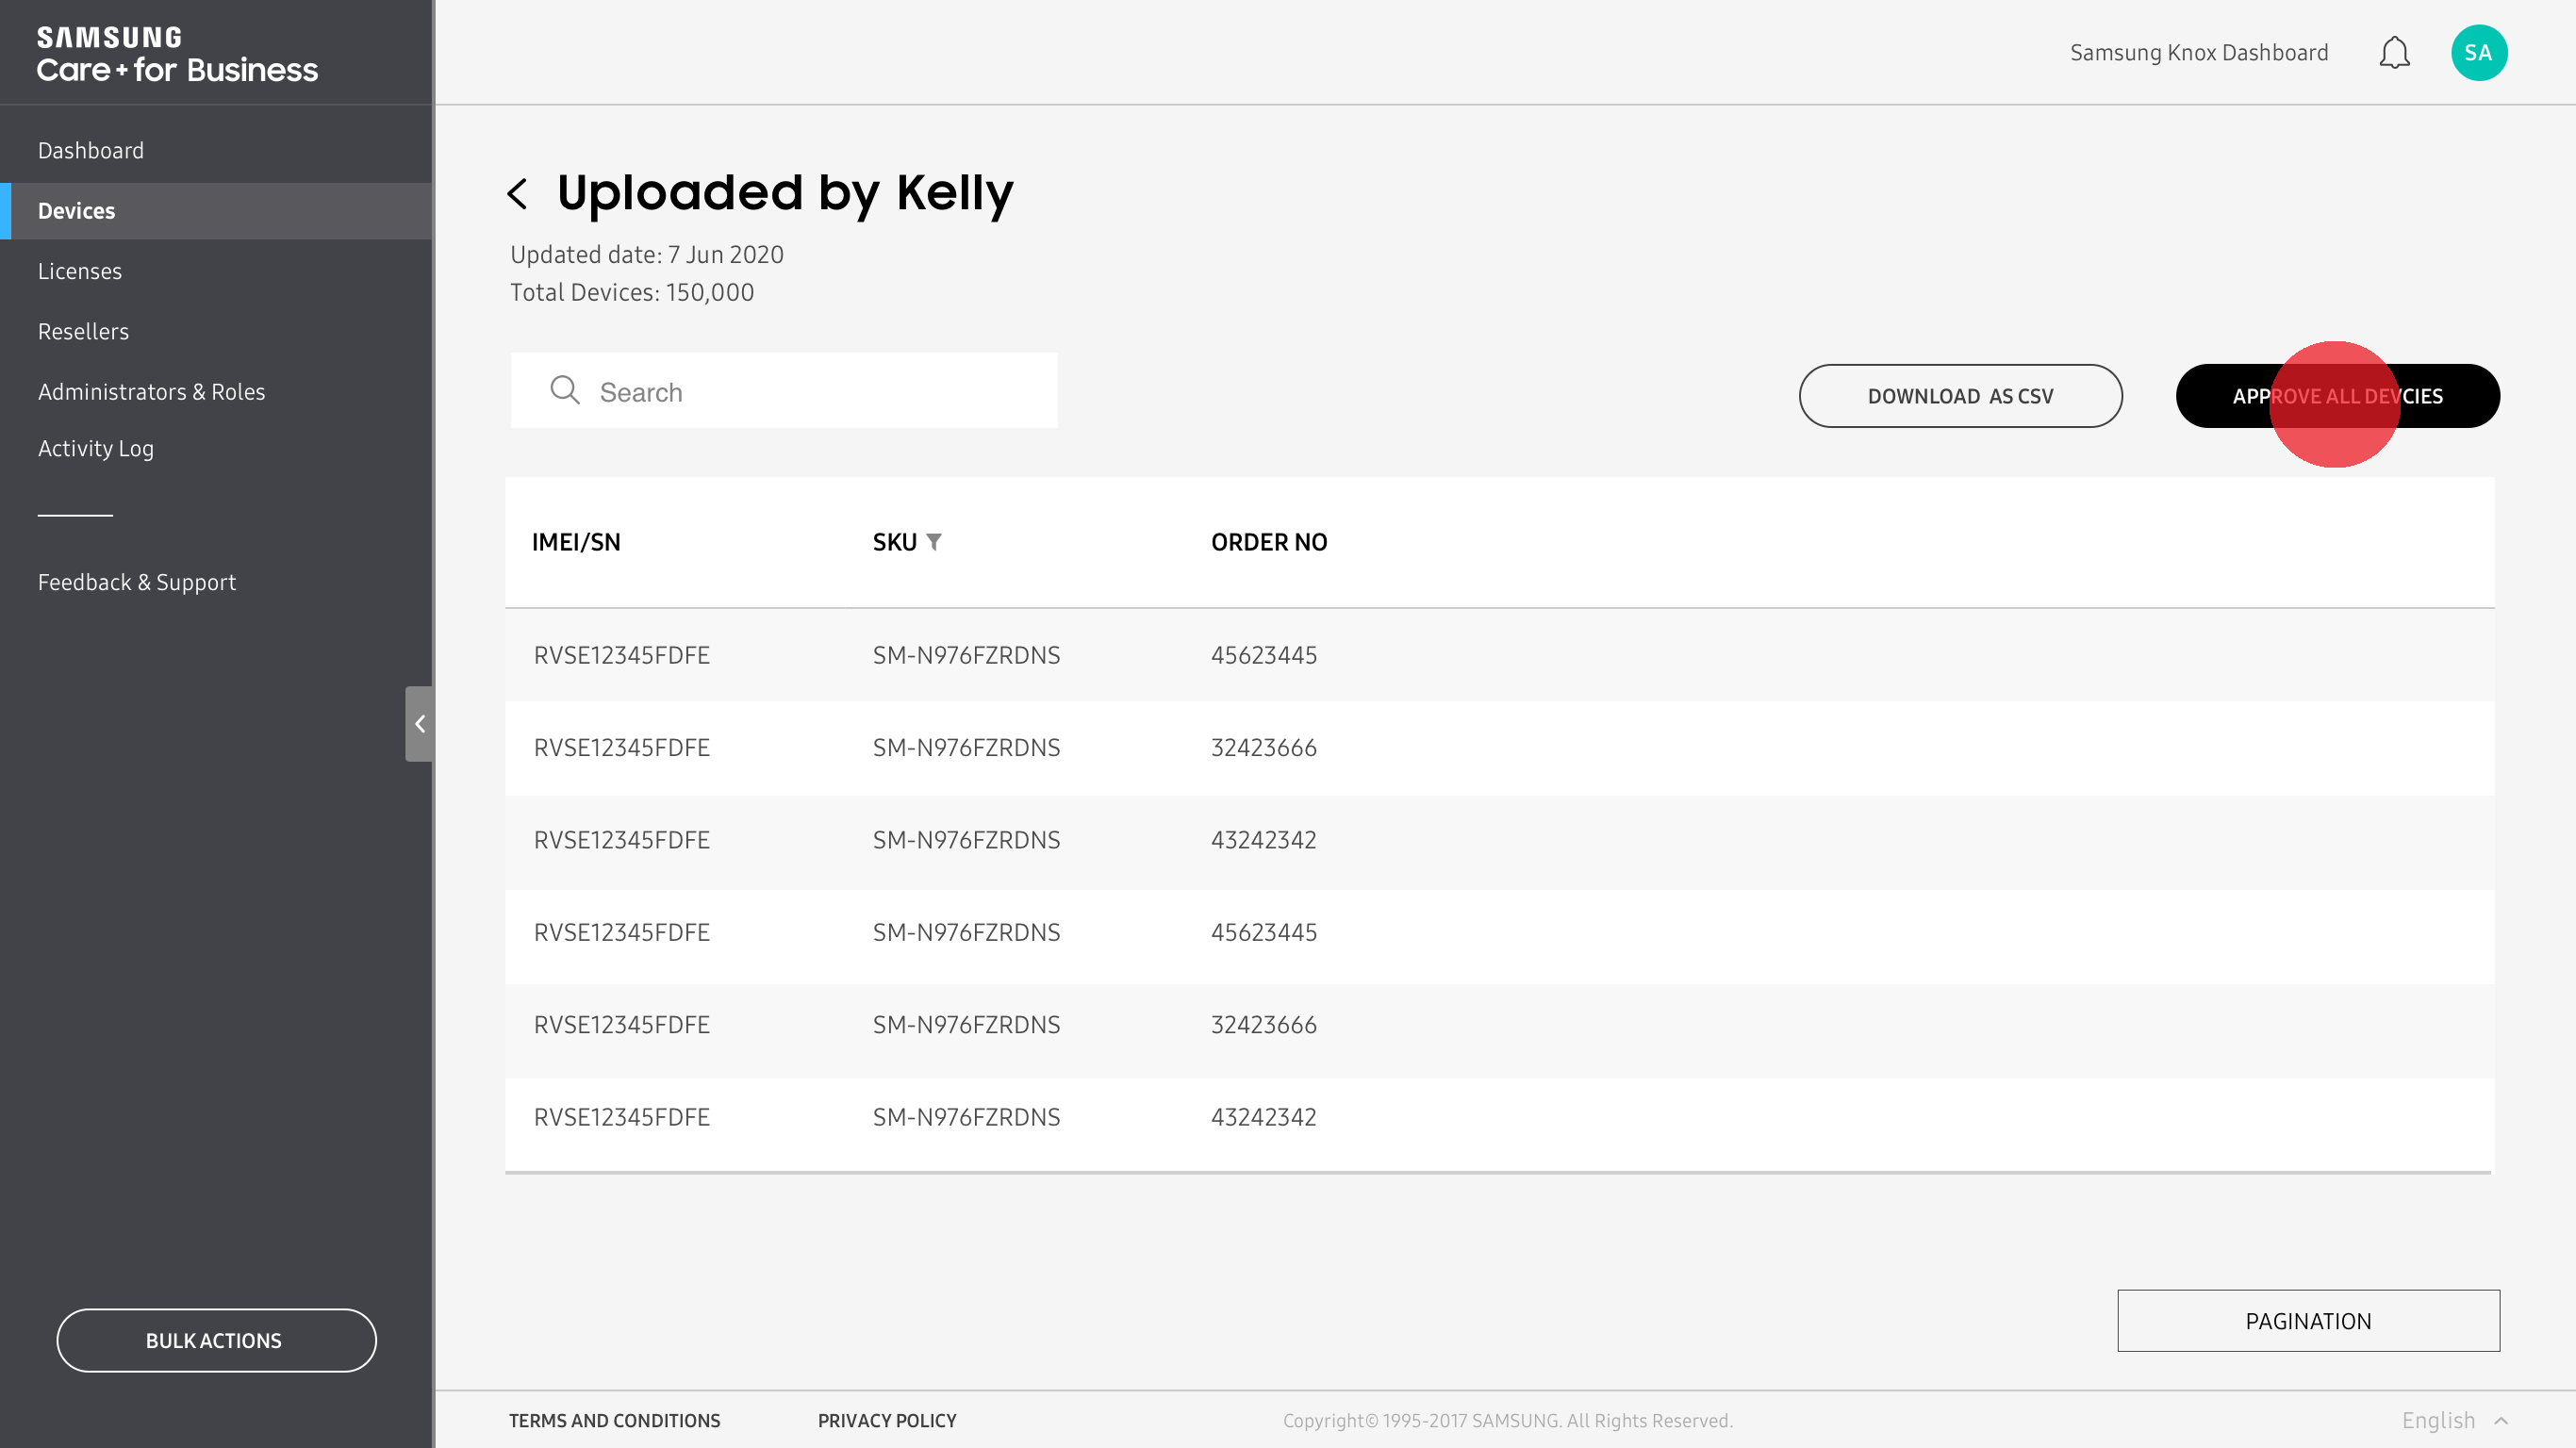
Select the UPLOADS tab.

-
Select the pending approval and click APPROVE ALL DEVICES. In the next screen.
-
(Optional) Next you will get a prompt to configure settings to auto-approve uploads from this reseller. If you want to have that, select CONFIGURE OPTIONS and add the appropriate settings as mentioned previously in reseller management.
This step prompts you to specify the license you want to use to enroll the devices. Each device you enroll consumes one license seat. Choose one of the following options:
- Automatically assign license to devices— This option is enabled only if you check the device auto approval option. You can check this option too if you want the auto-approved devices from this reseller to be automatically assigned to a license.
- Selected license— Select the license which you want to associate with devices from this reseller.
-
The device status changes from Pending to Approved. You can view details of each device upload by selecting the View link under DETAILS column for the respective device upload task.
Delete devices
-
Sign in to the Knox Admin Portal.
-
Select the Devices tab.
-
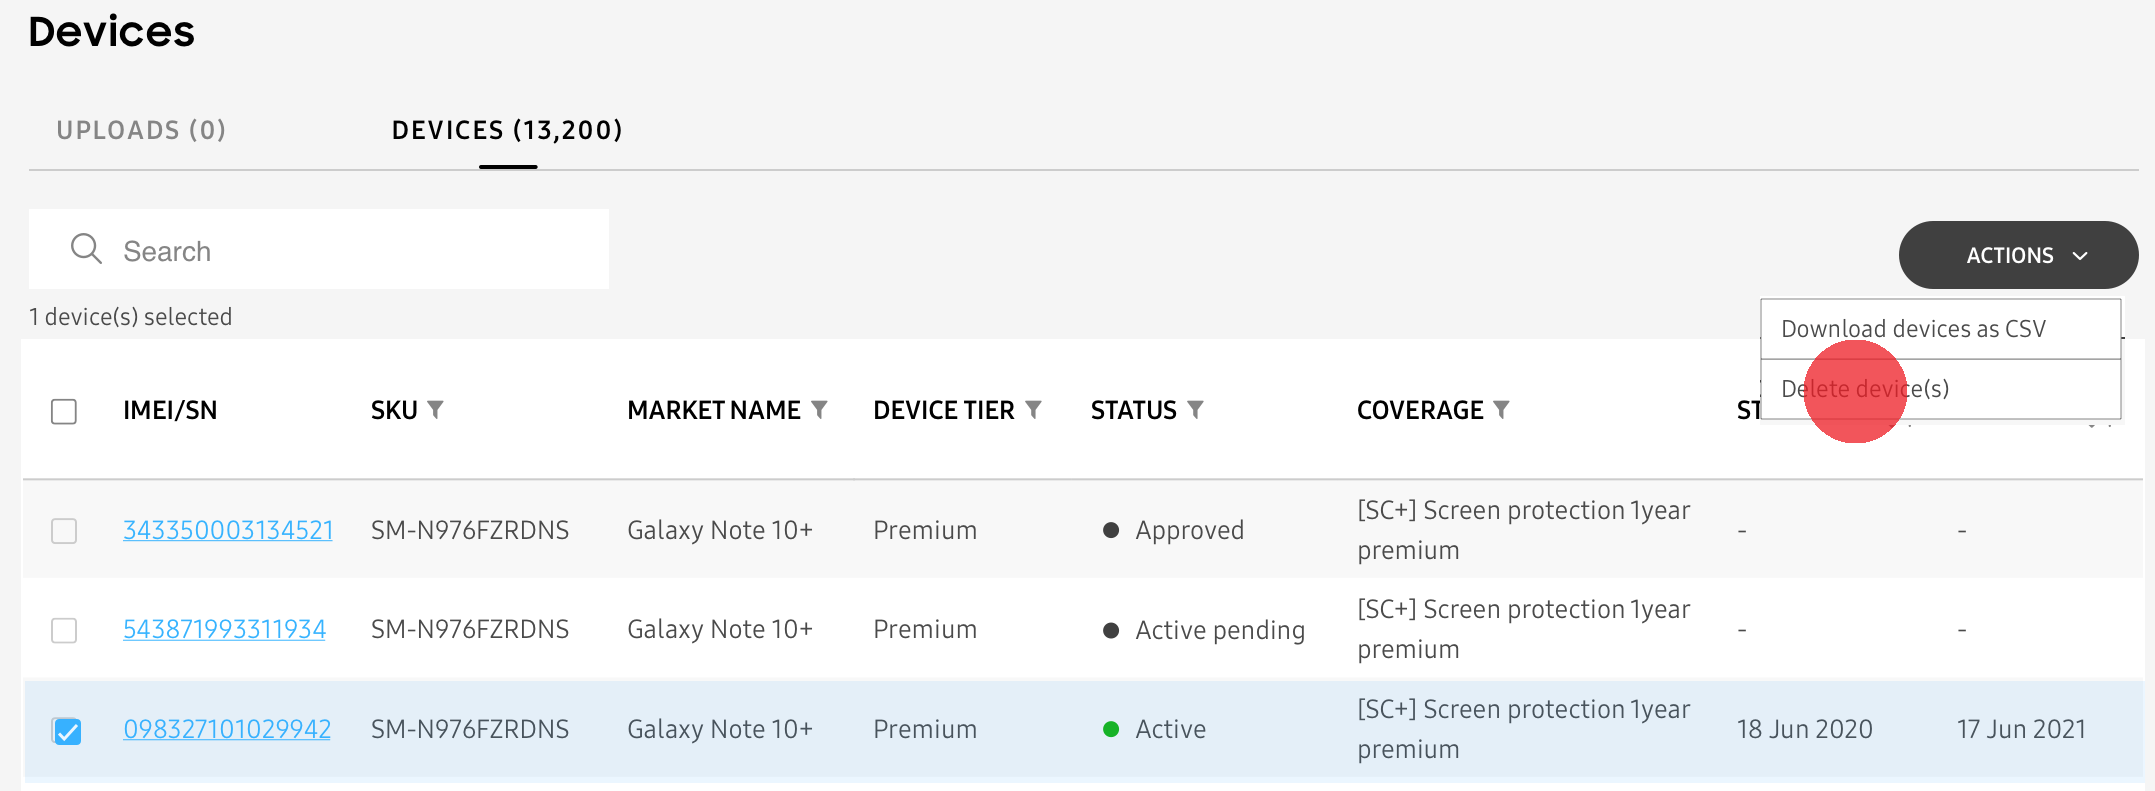
Select the DEVICES tab again here.
-
Check the device you want to delete from the checkbox and select Delete devices from the ACTIONS drop-down.
-
Read the pop-up prompt and select DELETE again.
Bulk assign license
You can assign licenses to the devices in bulk from the Devices page. The instructions to do so are the same as explained in the Bulk actions.
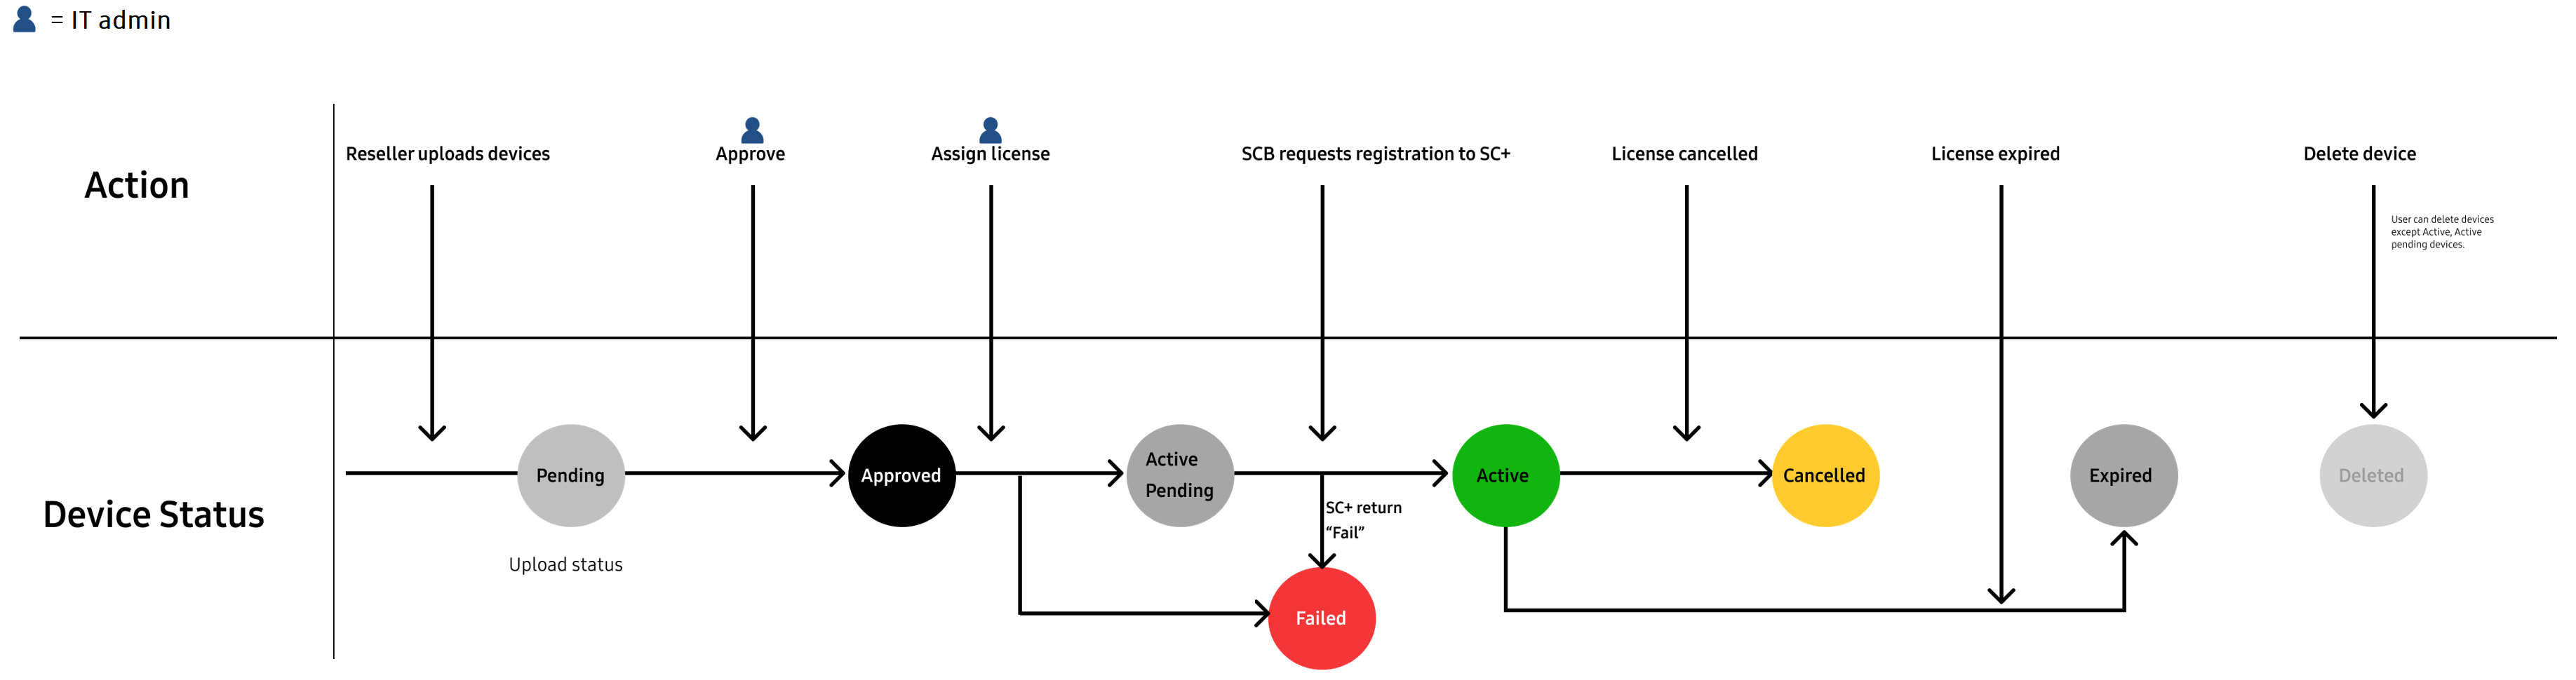
Device status
When you perform actions on a device such as upload it, assign it to a license, and so on, it’s assigned a state based on the result of those actions. See the diagram below to understand the various device states:
Tutorial progress
You’ve completed 4 of 5 steps!
On this page
Is this page helpful?